Docs
Using the text widget
Let’s discover how to use a powerful widget in the Blockbax platform, namely the text widget. Alongside our Title widget, this text widget has significantly more customization options. Customization options include but are not limited to defining links, creating tables, inserting images and much more. Make sure you take a look at the documentation, as that’s where you can find all of the various methods of displaying information.
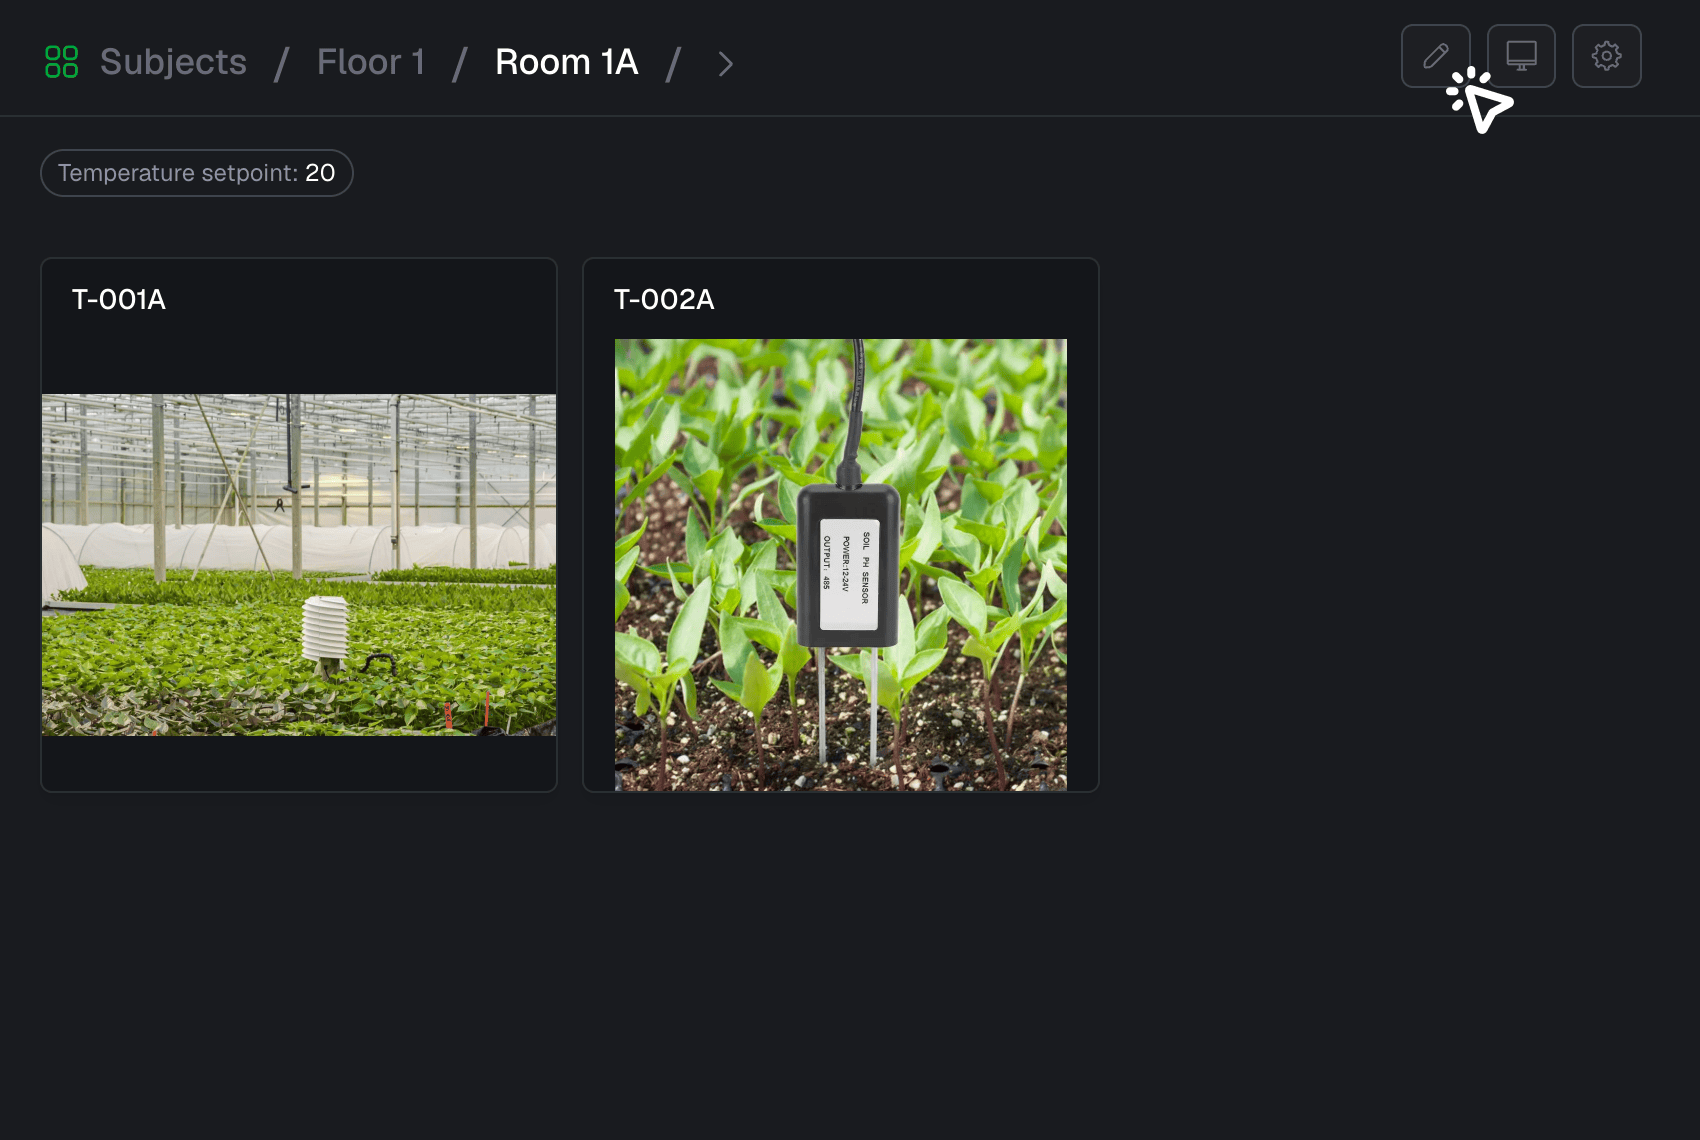
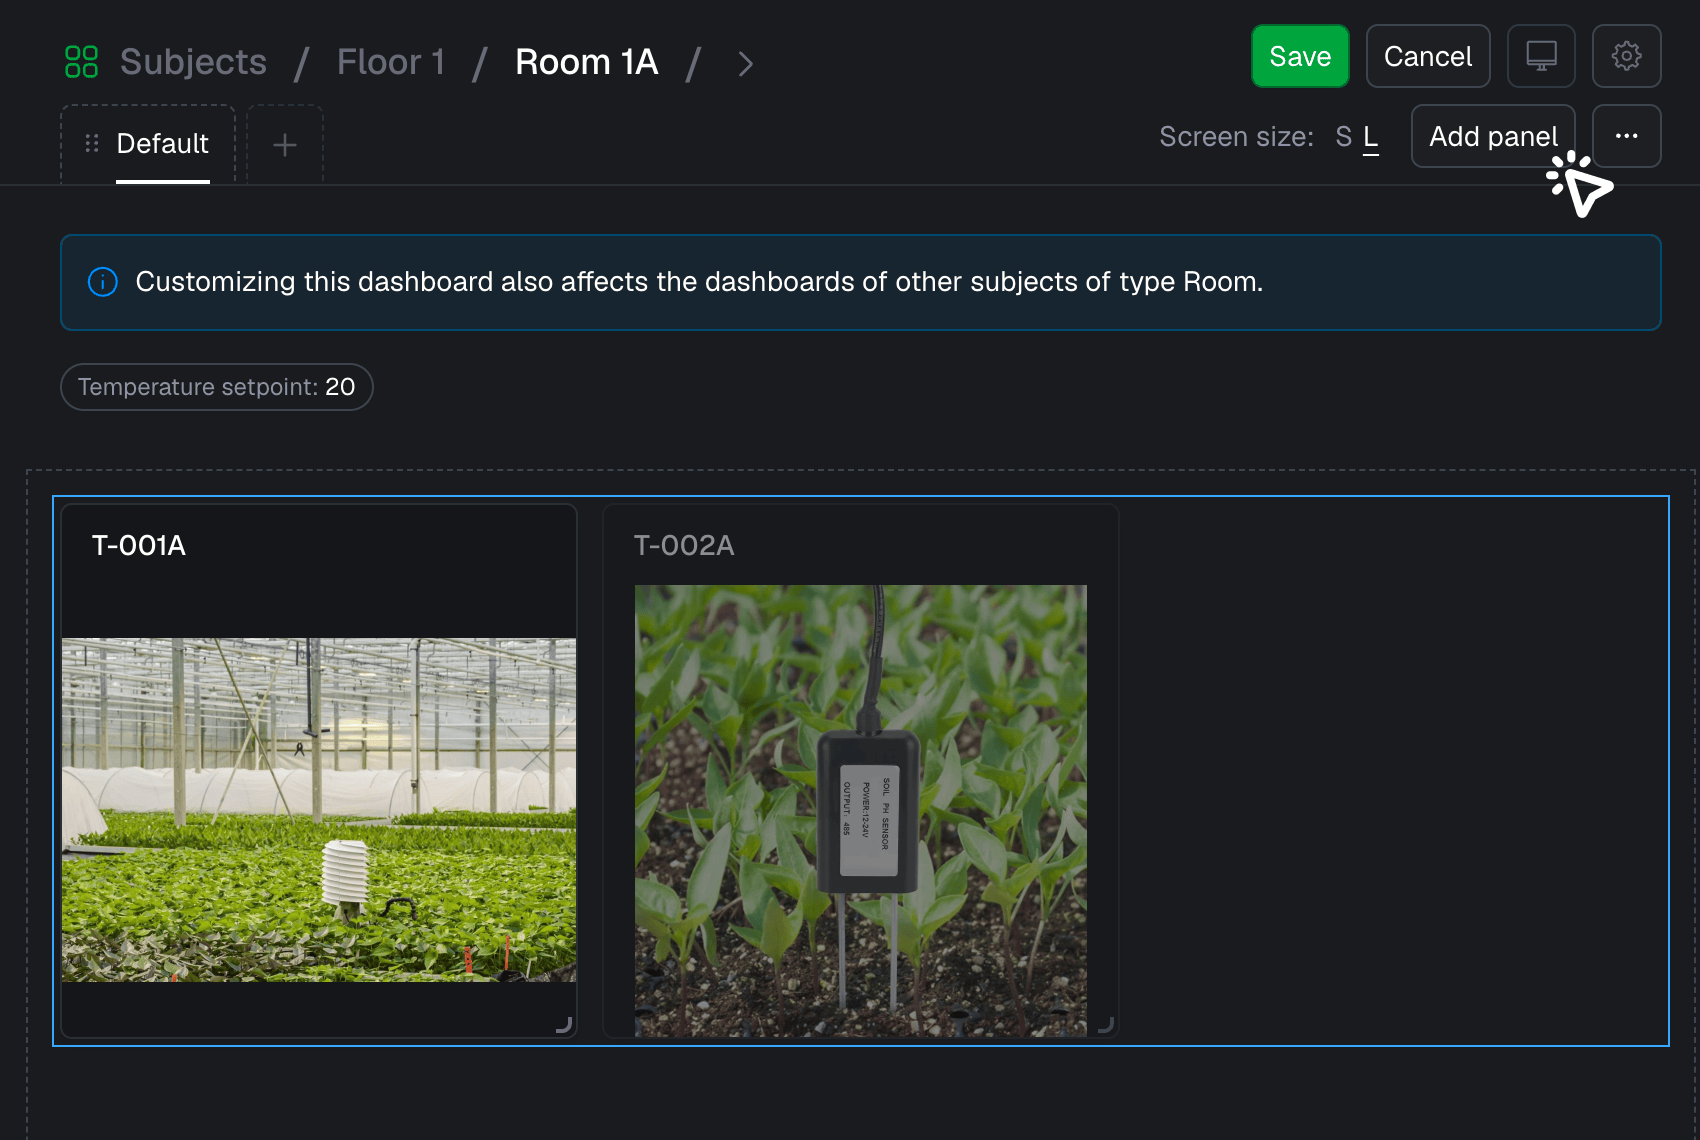
- Navigate to a subject dashboard and click here to enter Edit mode.
- Click "Add panel"
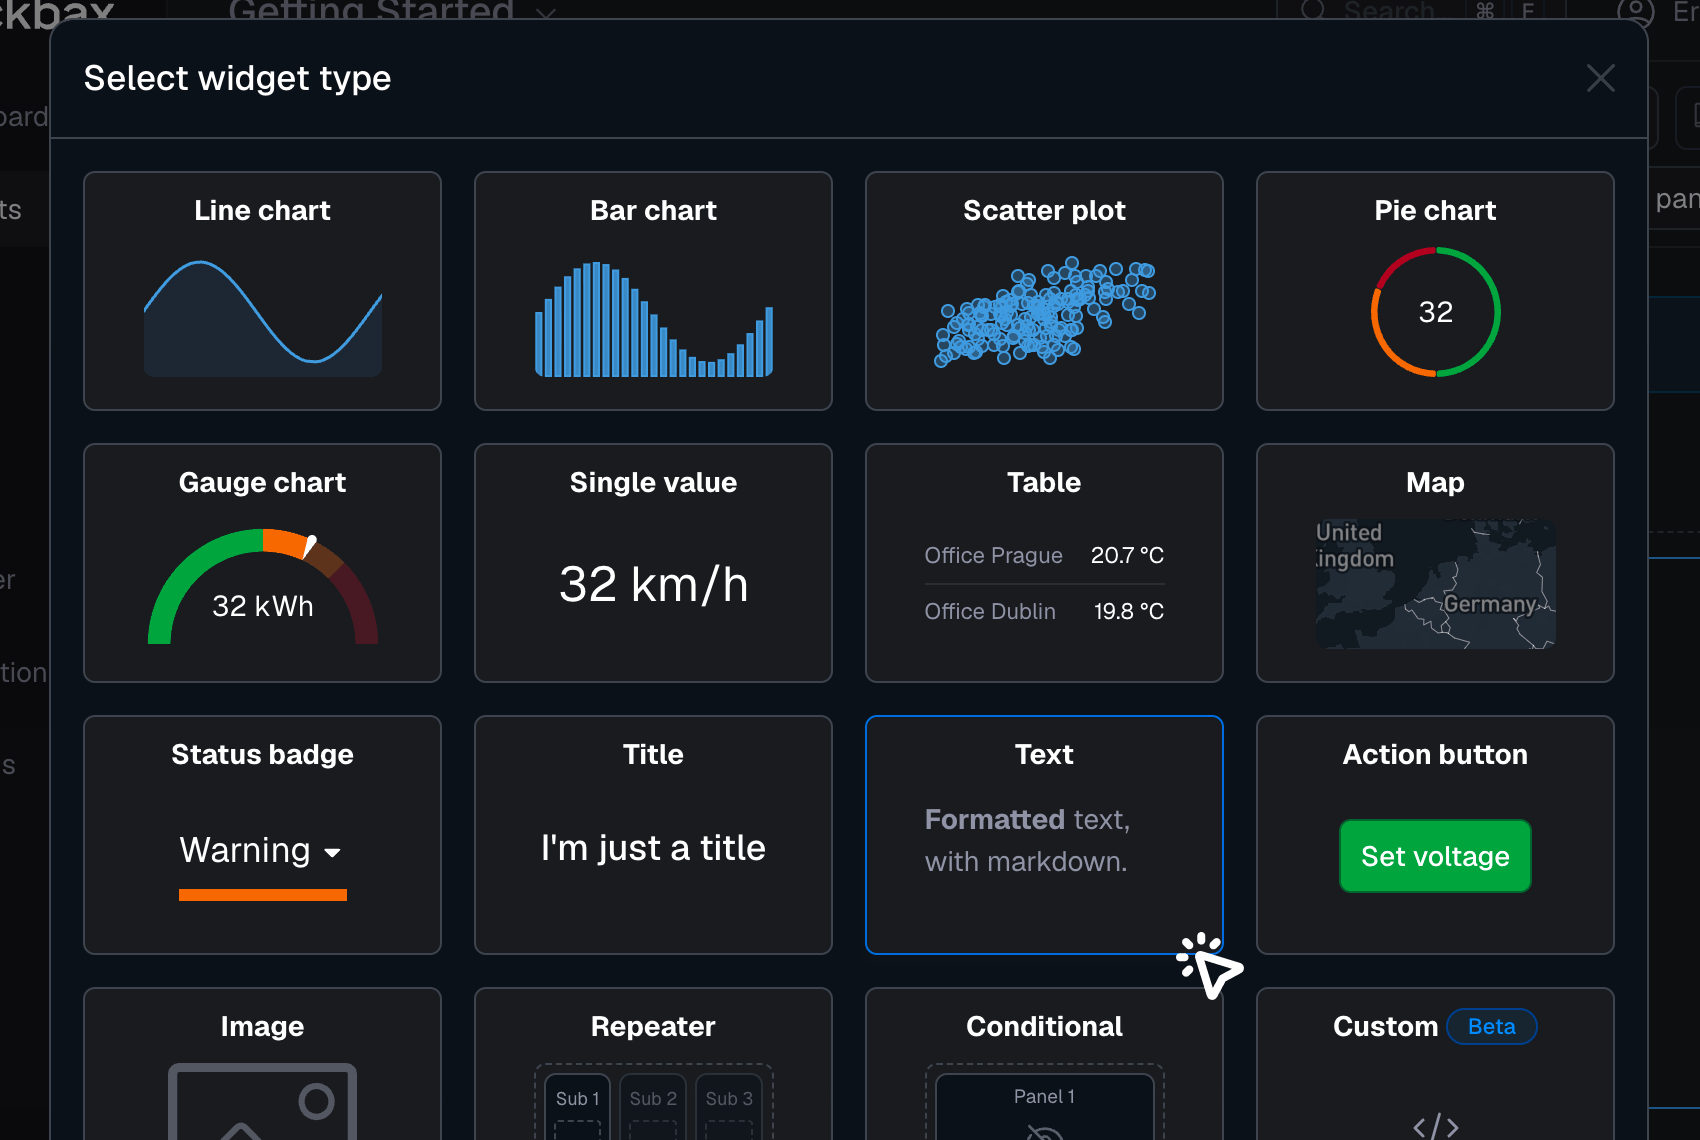
- Select the "Text widget" and "Markdown" text" as data to display
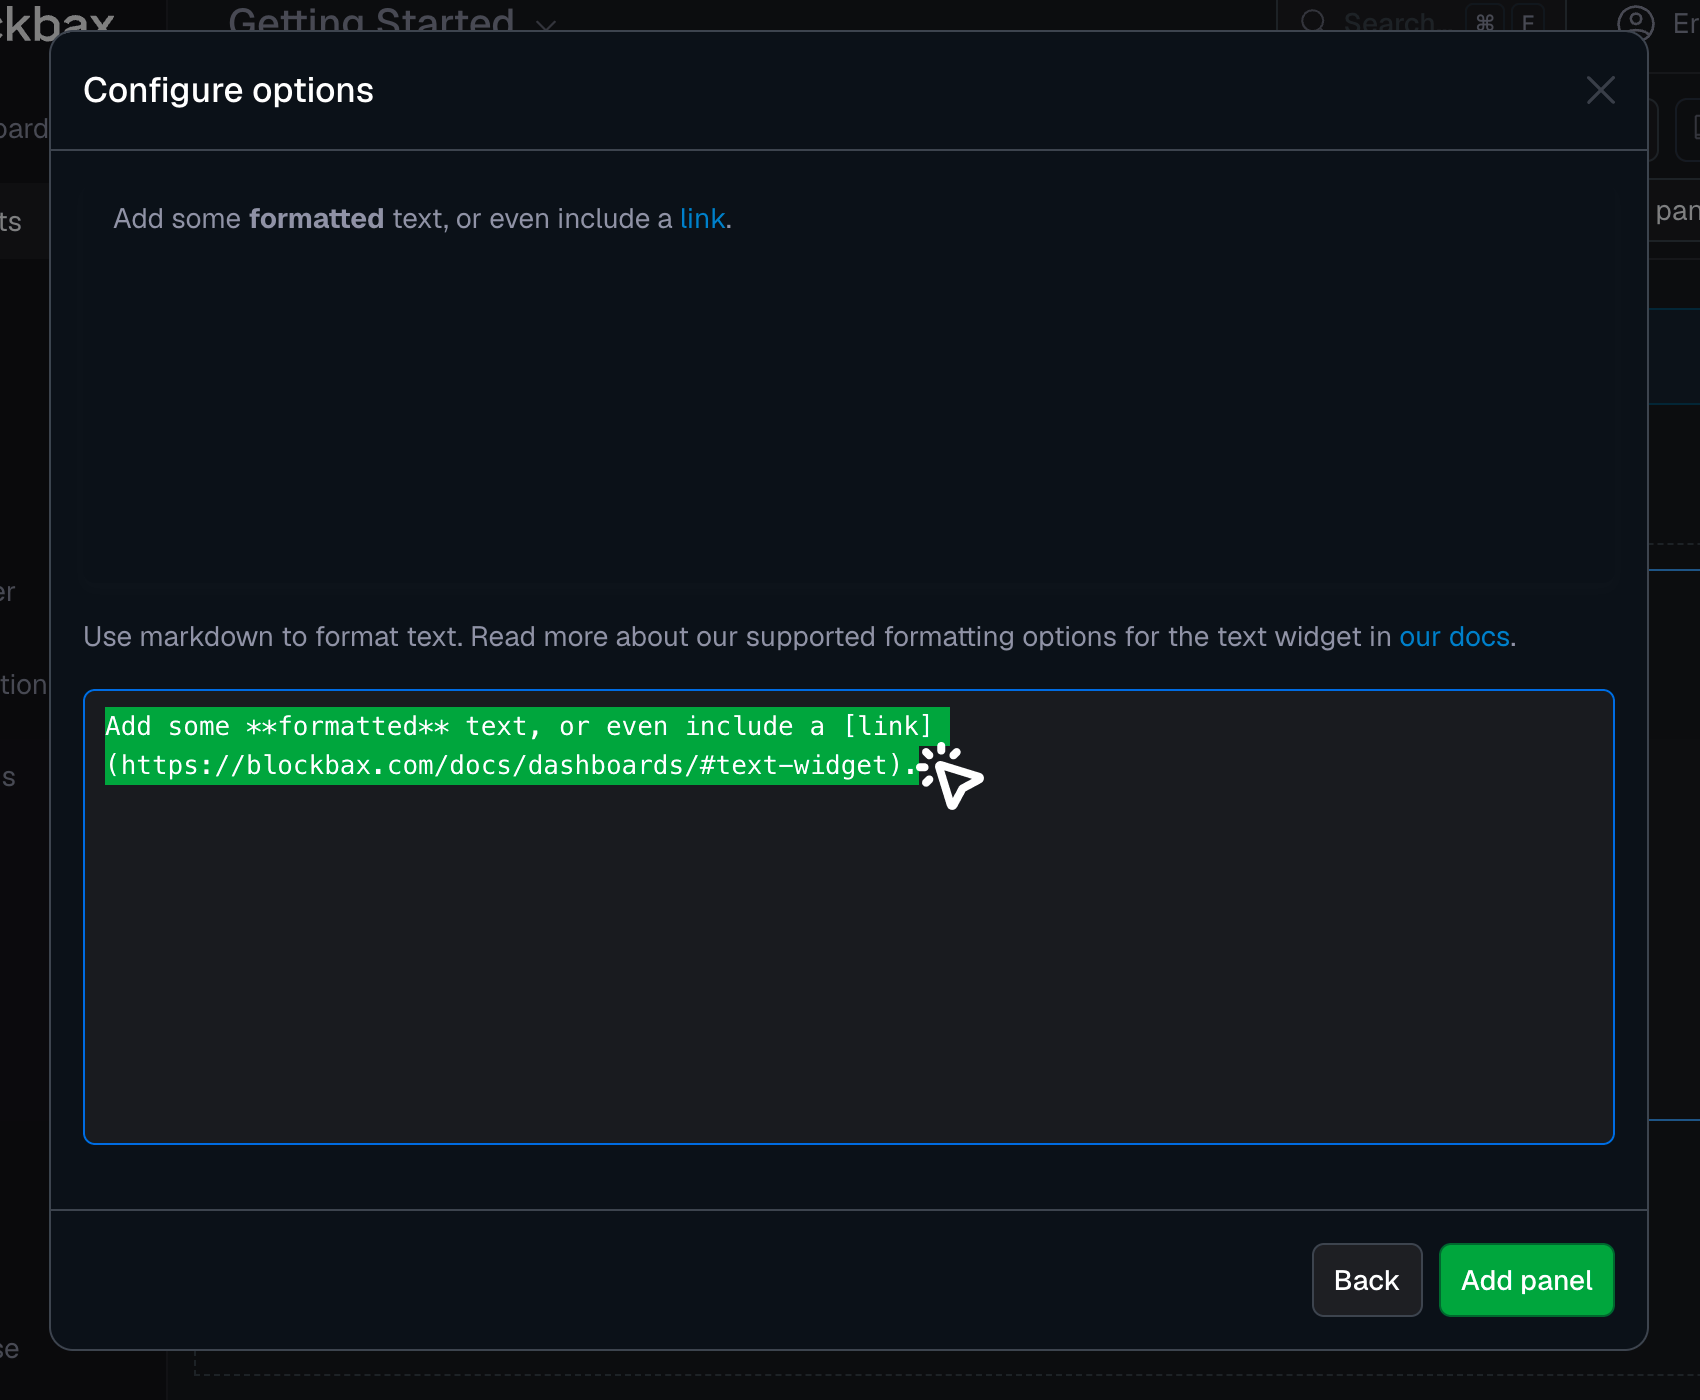
- Clear the example from the text field
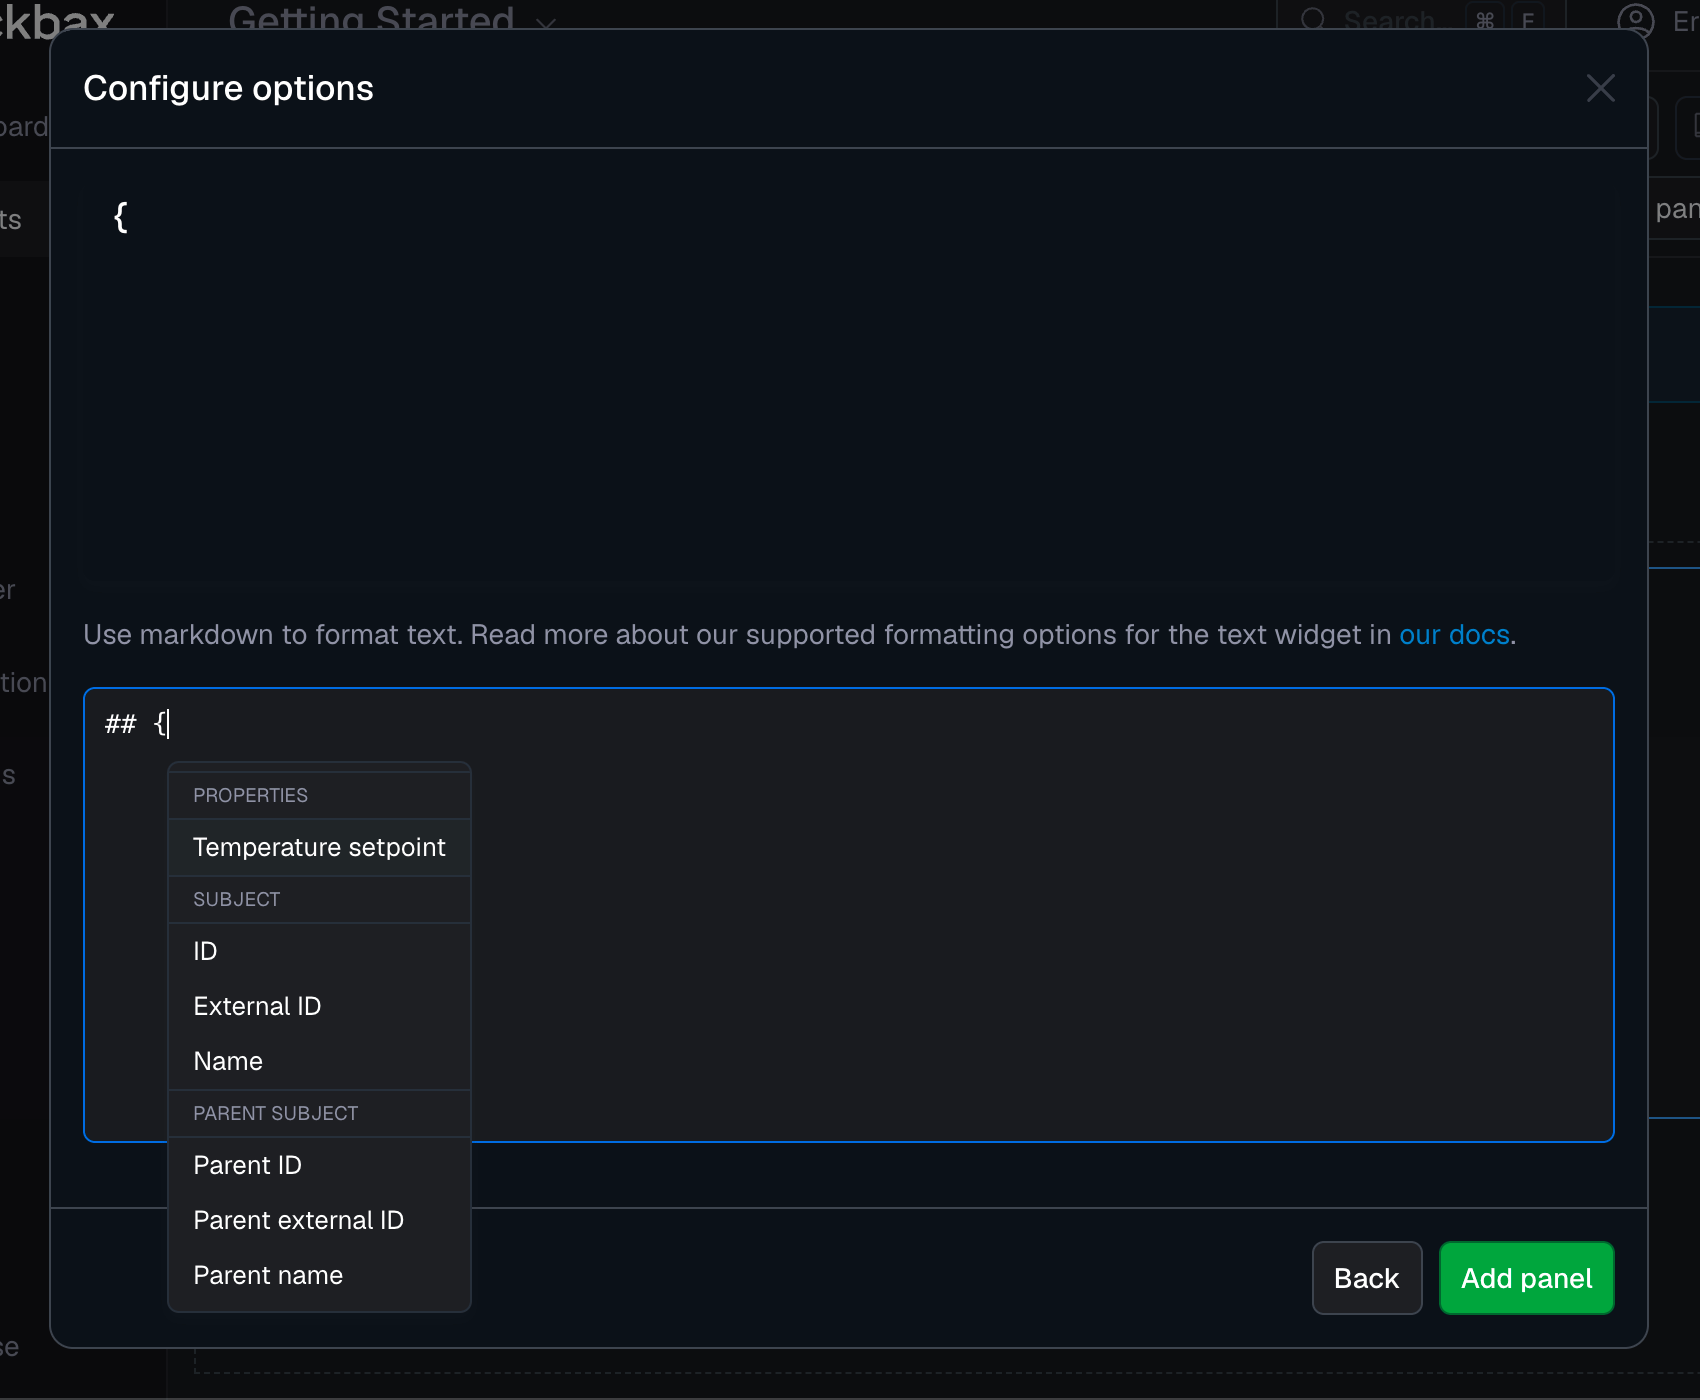
- Type “##” to set the text to be formatted as header (H2). This can be followed by a “{” to add properties or metadata
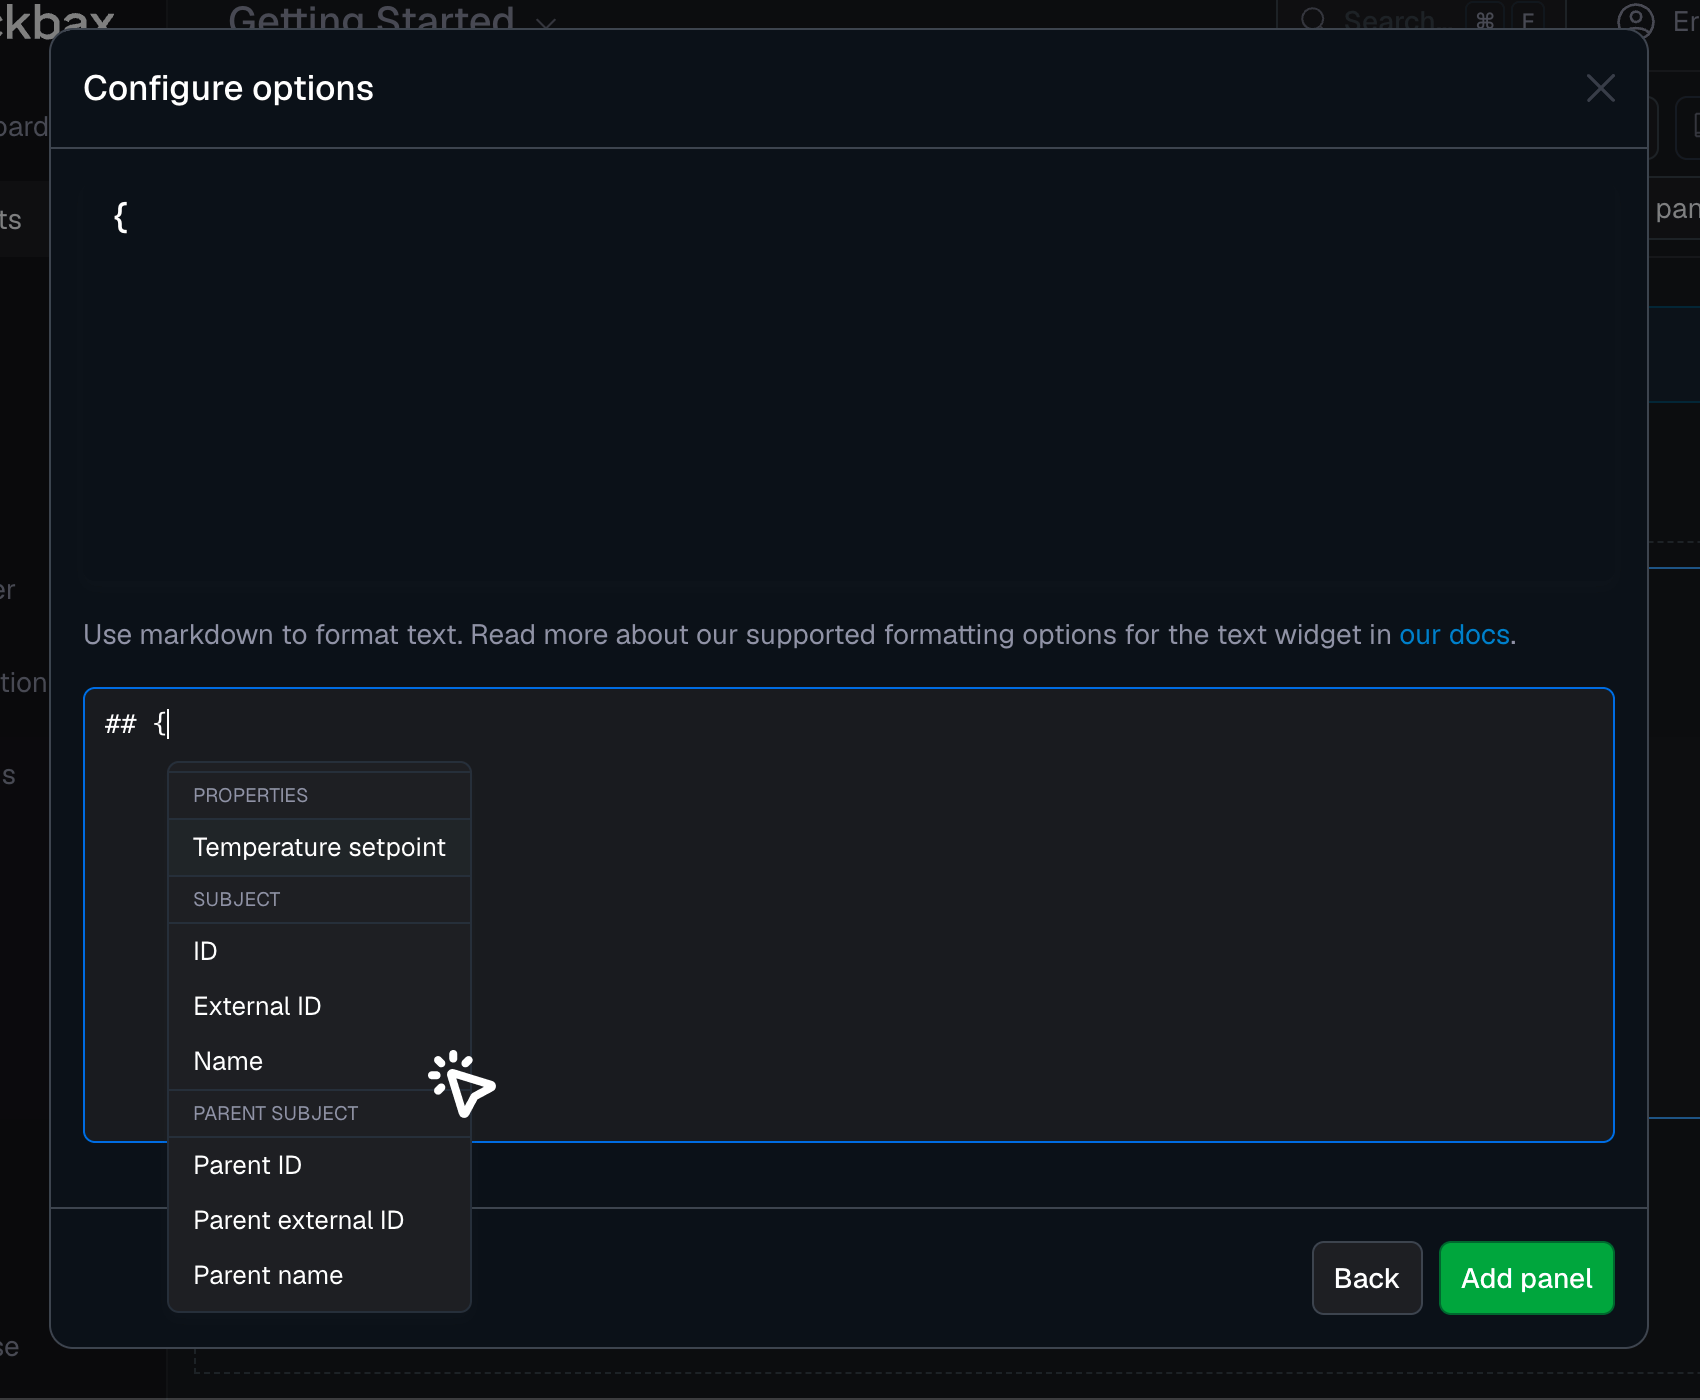
- Click “Name” to dynamically display the subject name
- Type the text you would like to display, in our case we wanted to show the Subject name followed by " Information " as well as some additional information in a table view.
| |
If you would like to create a sample table, feel free to copy and paste the example above. Please note that you can replace the {ID} and {Parent name} with dynamic property or metadata value by removing the existing text, starting with ``{`` followed by a selection of your desired information to display.
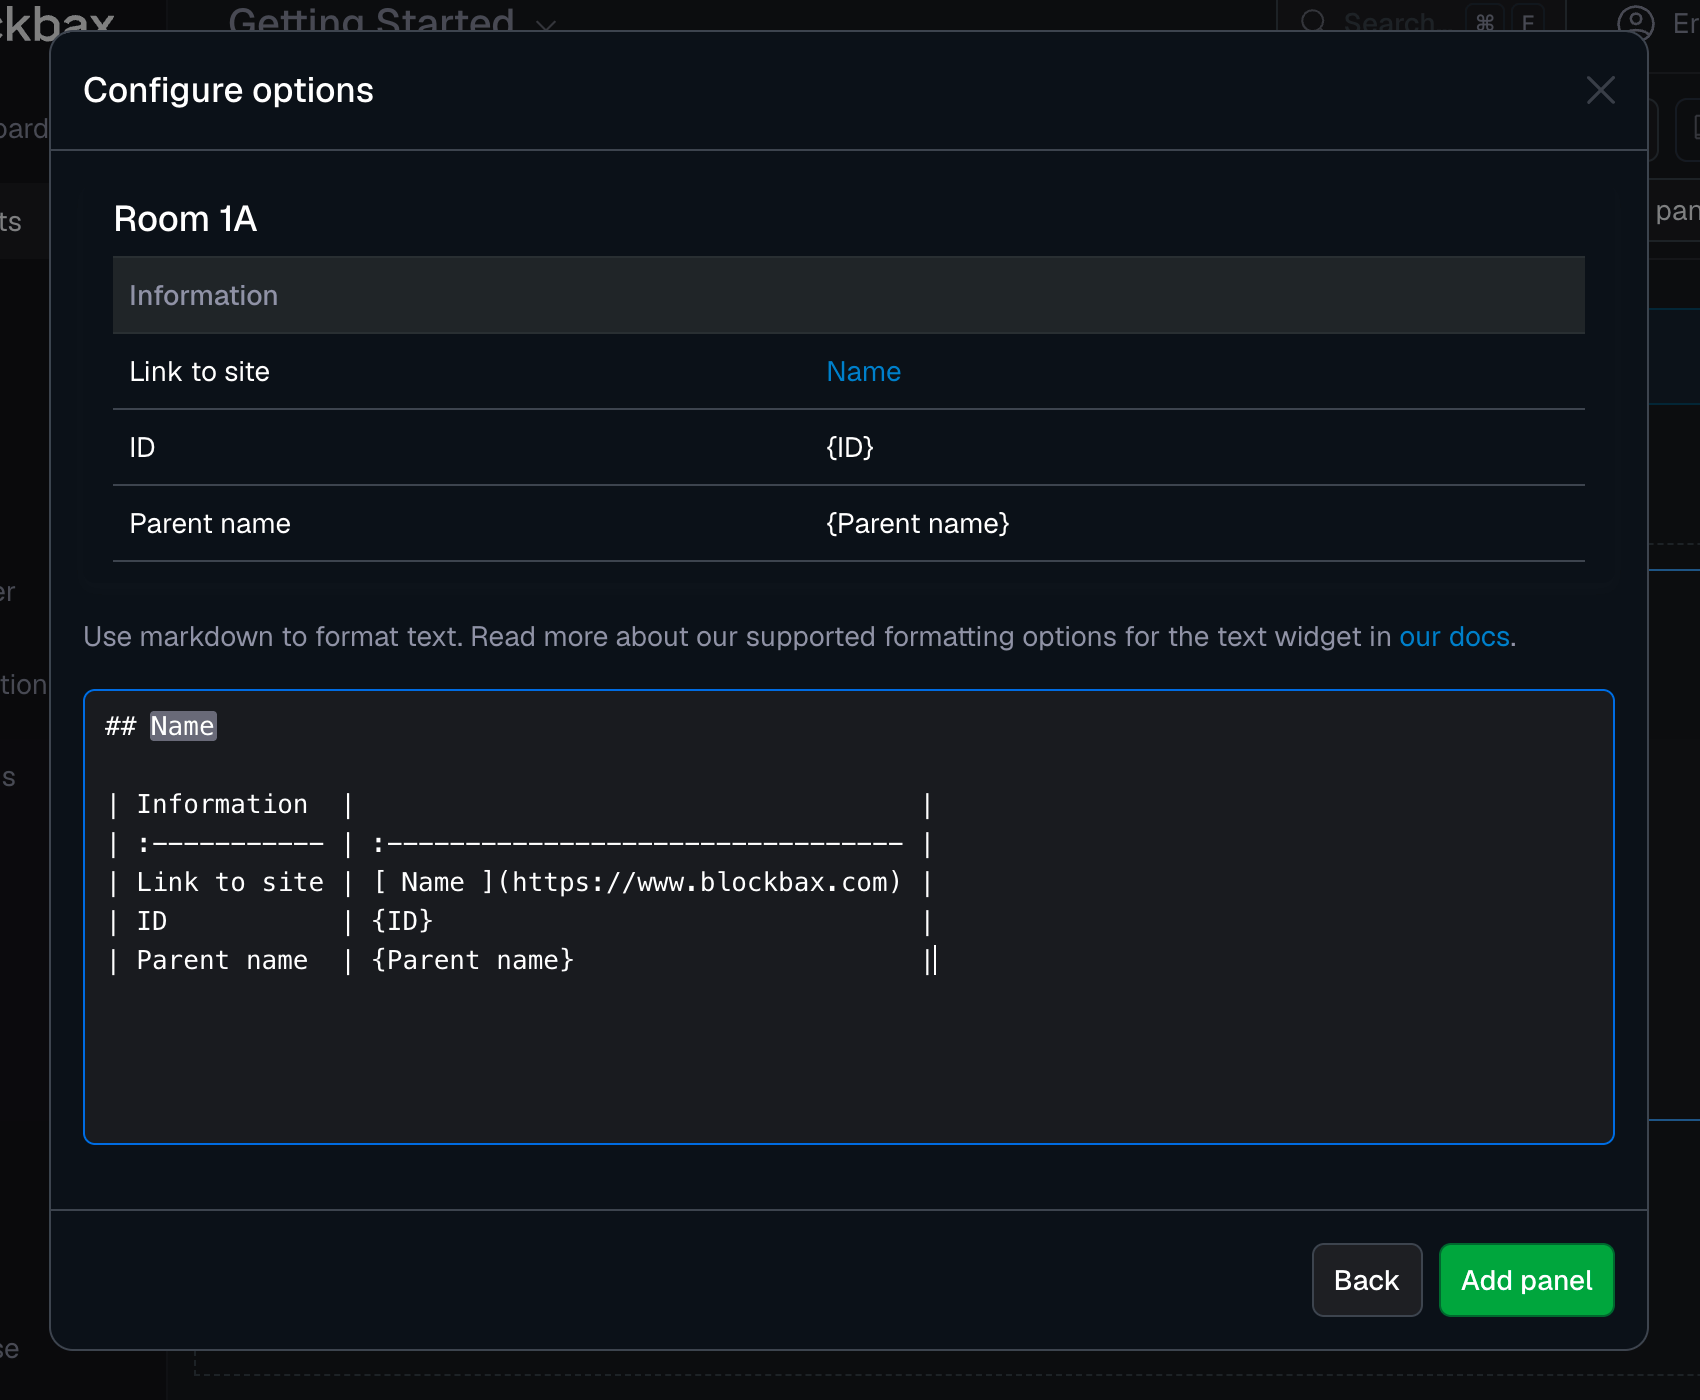
- Here you can see a basic example of the Text widget, a header followed by some additional information in a table form

Congratulations, you have just configured your first text widget, let your imagination go wild and add important information to your dashboards through the use of this widget.