Docs
Okta Single Sign-On
Okta Single Sign-On is a cloud-based identity and access management service.
Goal
The goal is to set up a Single Sign-On integration between Okta and Blockbax.
Prerequisites
- Blockbax organization (note SSO configuration is only enabled for Enterprise plans)
- Access as Blockbax organization administrator (please contact us if this is not set up yet)
- Access to an Okta account that can manage your organizations settings
Steps to connect Okta with Blockbax
Log in to Okta
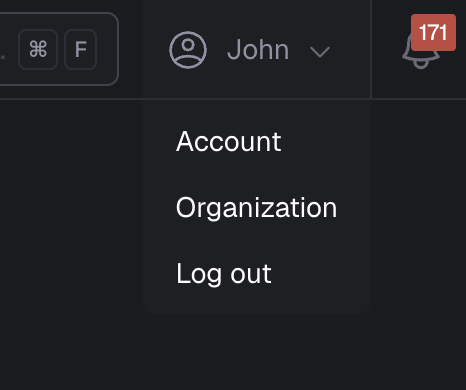
Login to your account and open you account panel on the top right
Click on ‘Your Org’
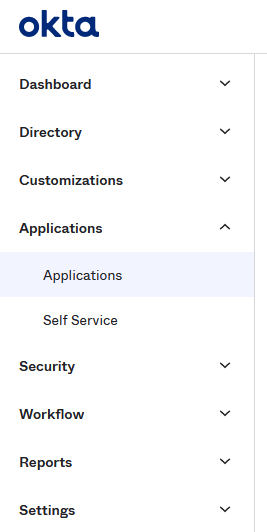
This will bring you to the Okta Dashboard. From here on the left sidebar click on Applications and press Applications
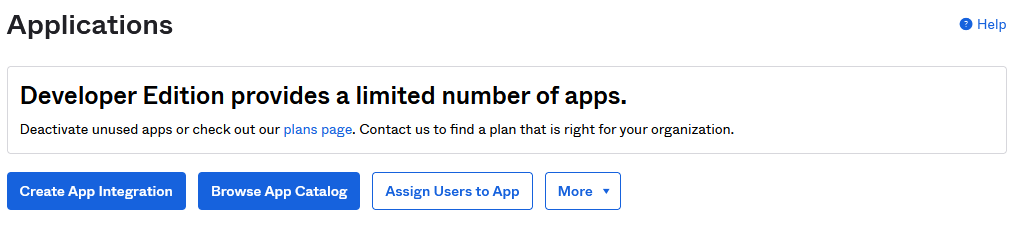
In the Applications menu, click on ‘Create App Integration’ (the blue box)
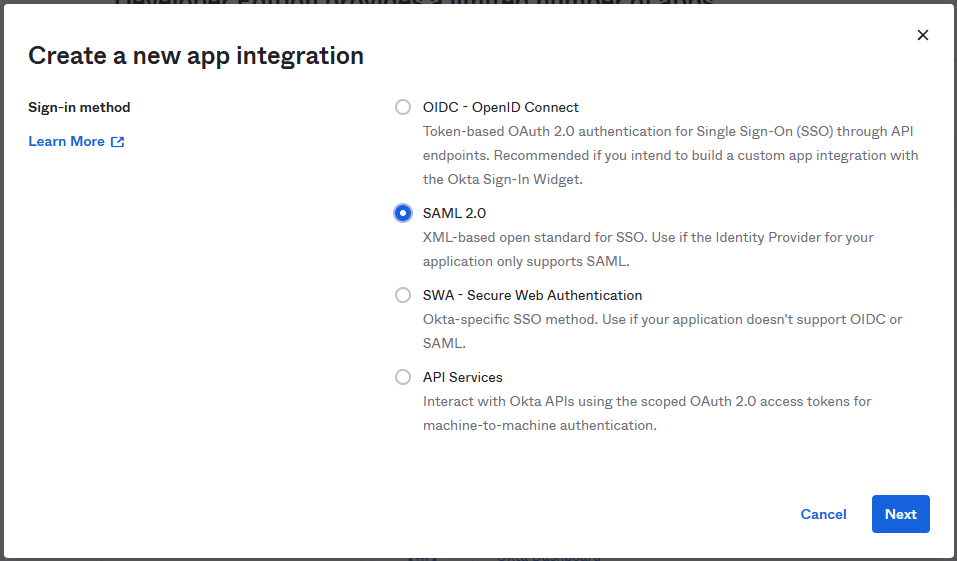
Select ‘SAML 2.0’ and press ‘Next’
On a separate tab, go to the Blockbax Web App and login
Go to your organization from the dropdown in the top right corner
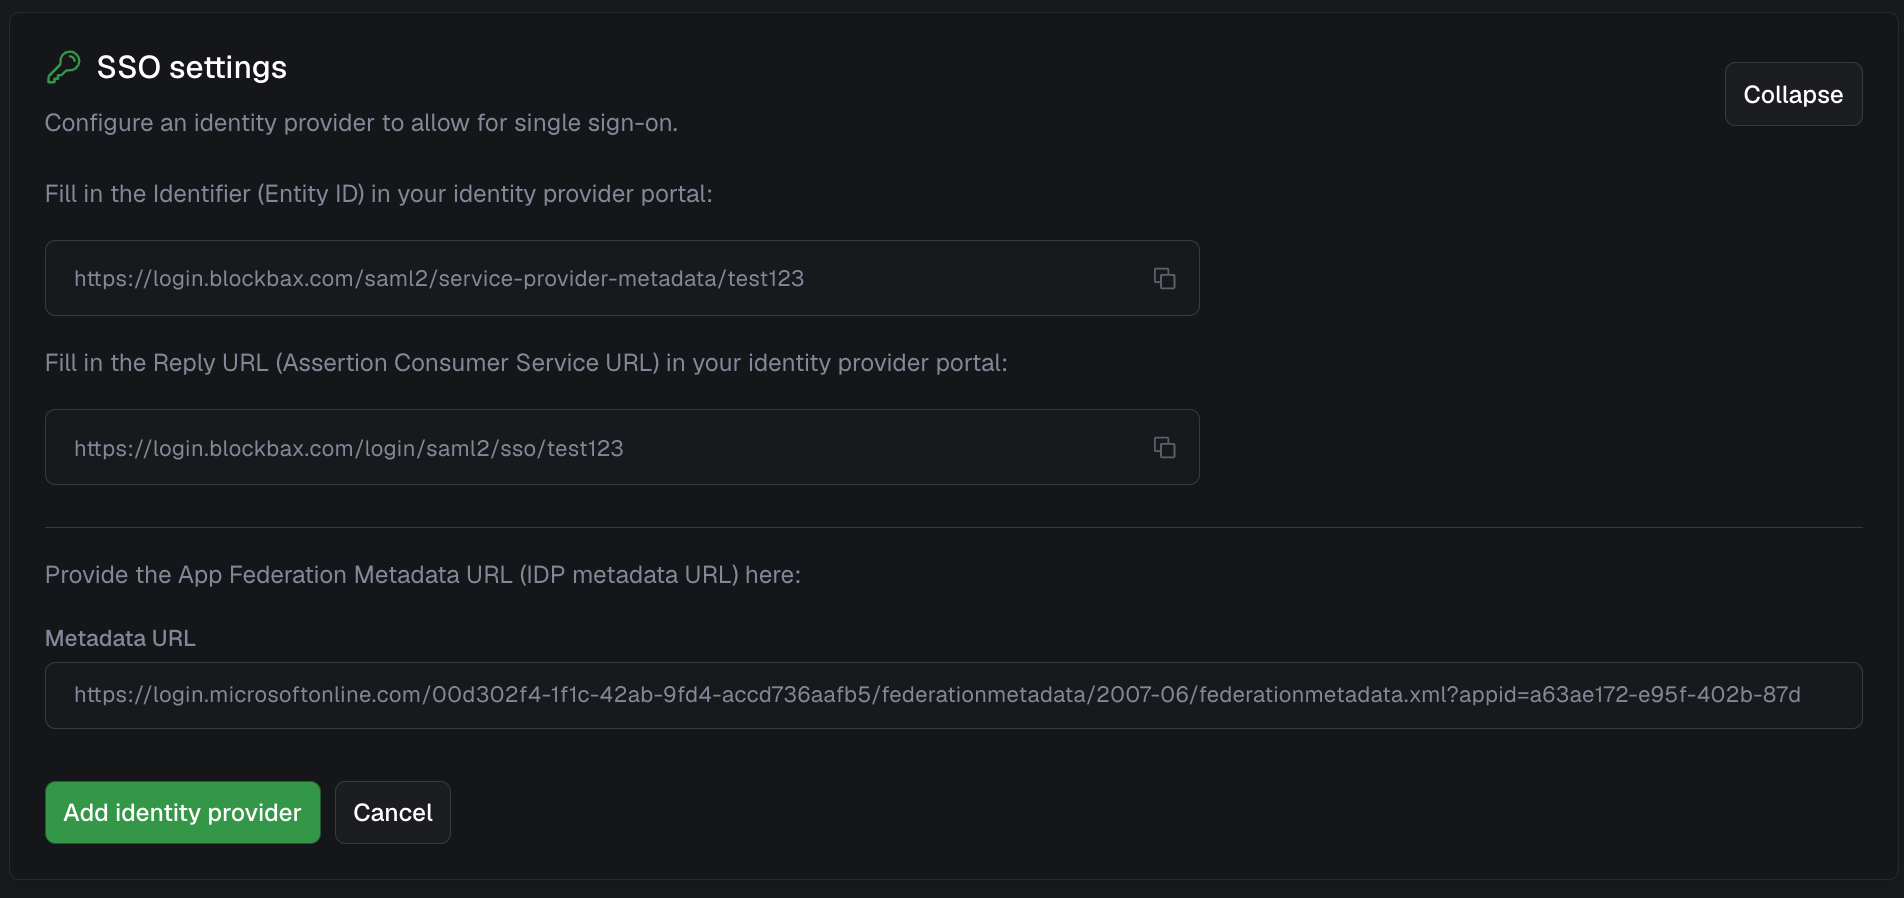
Navigate to the organization’s Settings and open the ‘SSO settings’ section
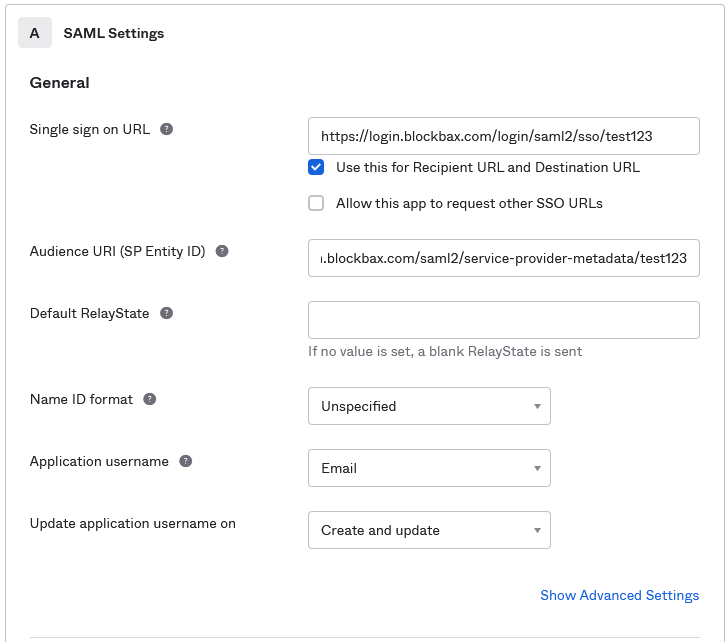
The top url needs to be pasted in second box on Okta and the second url needs to be pasted in the top box on Okta. Also set the Application username to email
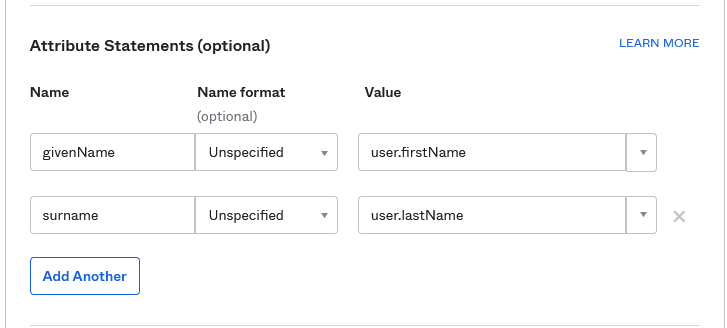
Scroll further down to the ‘Attribute Statements (optional)’ section. Here add the attribute ‘givenName’ and assign it to ‘user.firstName’, also add an attribute called ‘surname’ and assign it to user.lastName. Make sure the Name format is ‘Unspecified’
Scroll further down and press ‘Next’
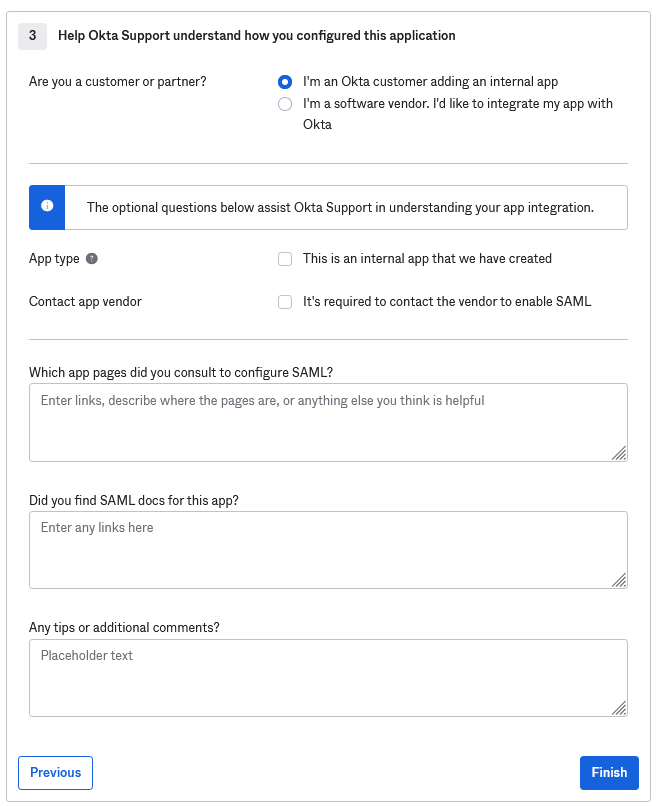
Select the top radio button ‘I'm an Okta customer adding an internal app’. If you want you can give Okta extra feedback, however this is not needed. Press ‘Finish’
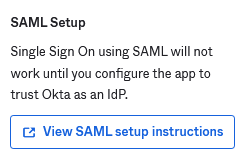
Once finished you should be redirected to the Sign On tab of the Application you just created, here you scroll down and select the ‘Select SAML Setup instructions’ on the right of the web page
A page should open in a new tab. From this tab you need to extract 2 things: your okta account name and your app id. This can be extracted from the top url which should look something like this:
https://<okta_org_url>.okta.com/app/<org_name>_<app_name>_[n]/<app_id/sso/samlFor example:https://dev-1234567.okta.com/app/dev-1234567_blockbaxsso_1/exk1dzxfwegssVro697/sso/samlWould result in:okta_org_url org_name app_name app_id dev-1234567 dev-1234567 blockbaxsso exk1dzxfwegssVro69 Go back to the Blockbax organization page and paste the following URL:
https://<okta_org_url>.okta.com/app/<app_id>/sso/saml/metadataIn case of the example this would result in the following URL:https://dev-1234567.okta.com/app/exk1dzxfwegssVro69/sso/saml/metadataPaste this url in the ‘Metadata URL’ field.Your SSO is now ready to be used, however you first need to add people to your okta application. This can be done by going to the just created application and selecting the tab ‘assignments’, here press ‘Assign’
In the pop-up screen, assign the people that need to be able to use the SSO
Now everything is set up, and you can use the SSO by using the embed link in the ‘General’ tab