Docs
Node-RED SDK
Node-RED is an open-source visual programming tool for wiring together various protocols. A large range of community build nodes (i.e. plugins) are available for various protocols (including Modbus, OPC UA/DA, BACnet, CAN bus and M-Bus). We provide a set of Blockbax nodes to easily interact with our platform via Node-RED. Nodes can be deployed to its runtime with a single-click.
This built-in integration documentation starts with an explanation on how to use the Blockbax nodes for Node-RED. Next up, we will provide tutorials on how to use certain protocols in combination standard Node-RED nodes and the Blockbax nodes to speed up your integration work.
Blockbax nodes
This first part will tell you how to download Blockbax nodes for Node-RED so you can parse, aggregate and send data to the Blockbax Platform or subscribe to properties changes.
Installing Blockbax nodes
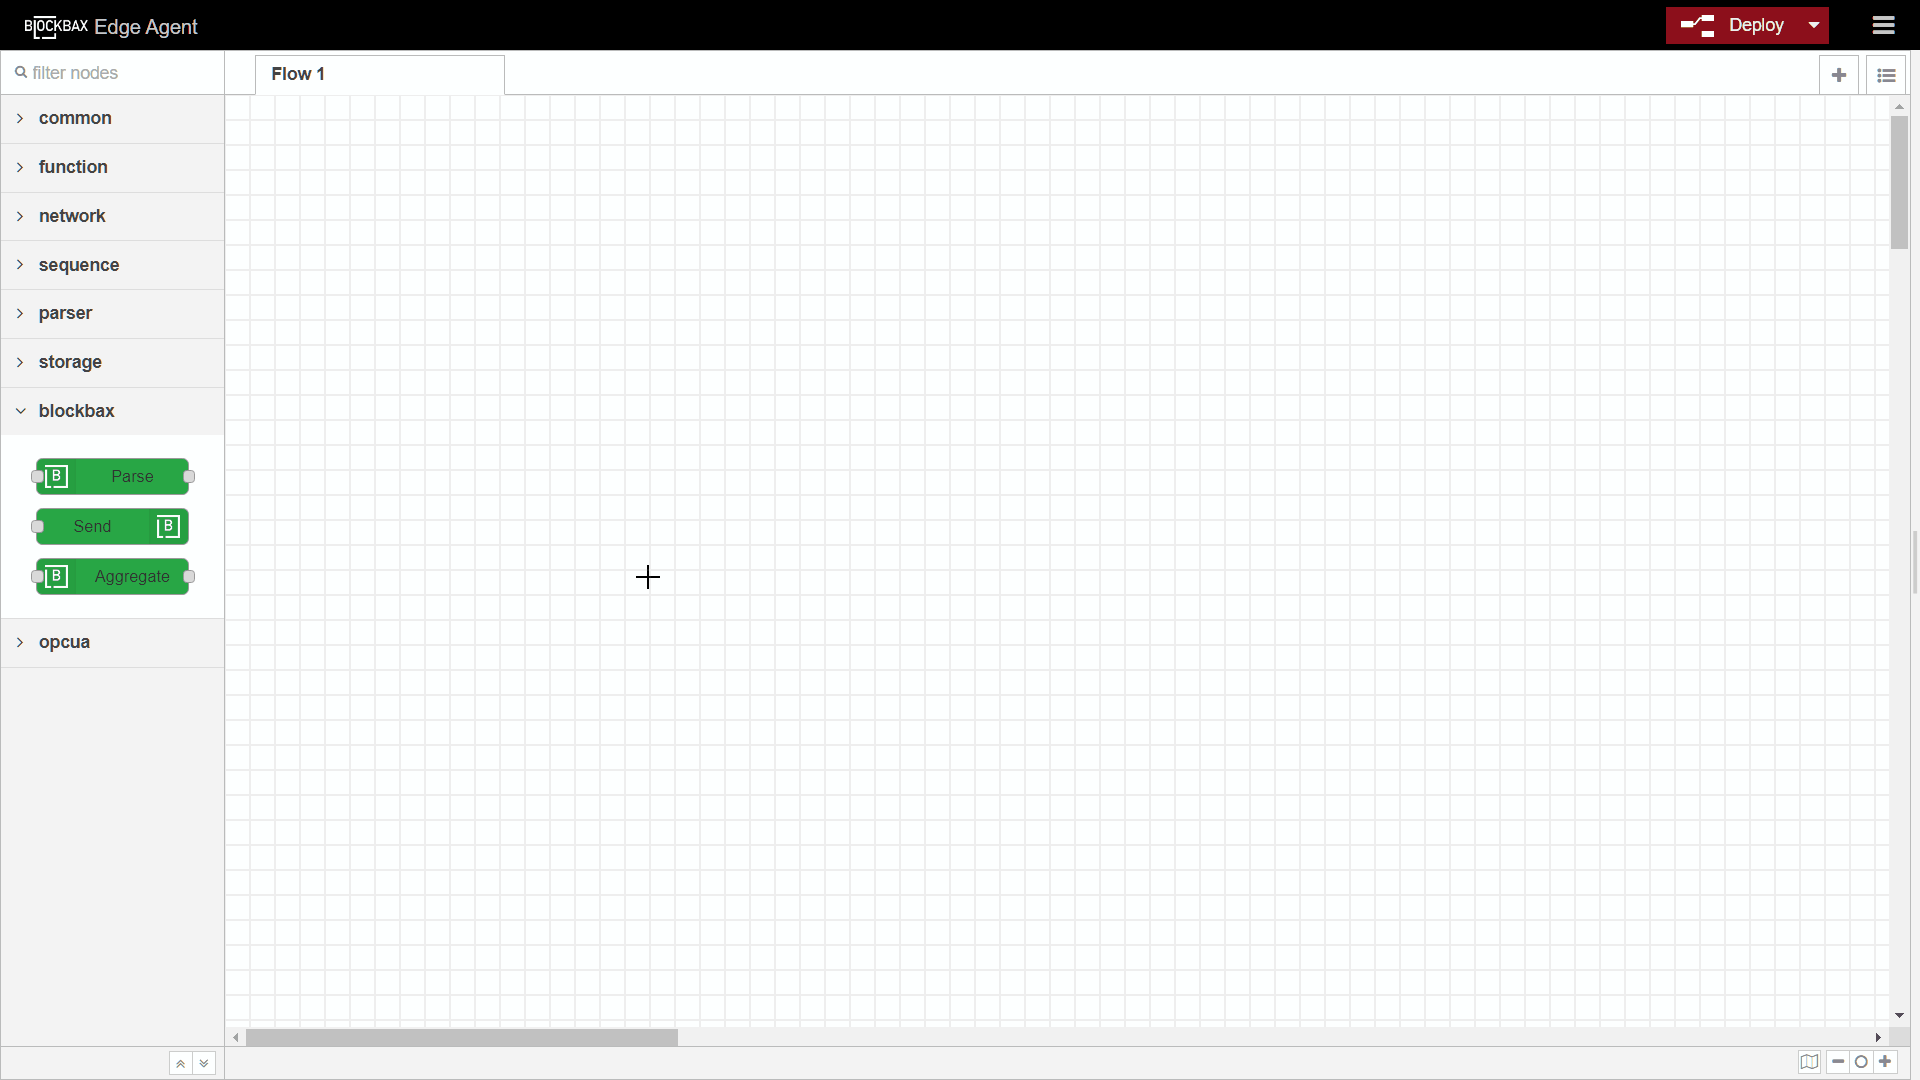
After you have installed Node-RED the Blockbax nodes can be easily installed using the palette manager or with the node-red-admin command-line tool. More information, e.g. about how to install manually, can be found in the library documentation. Here you see how to install the nodes:
Nodes
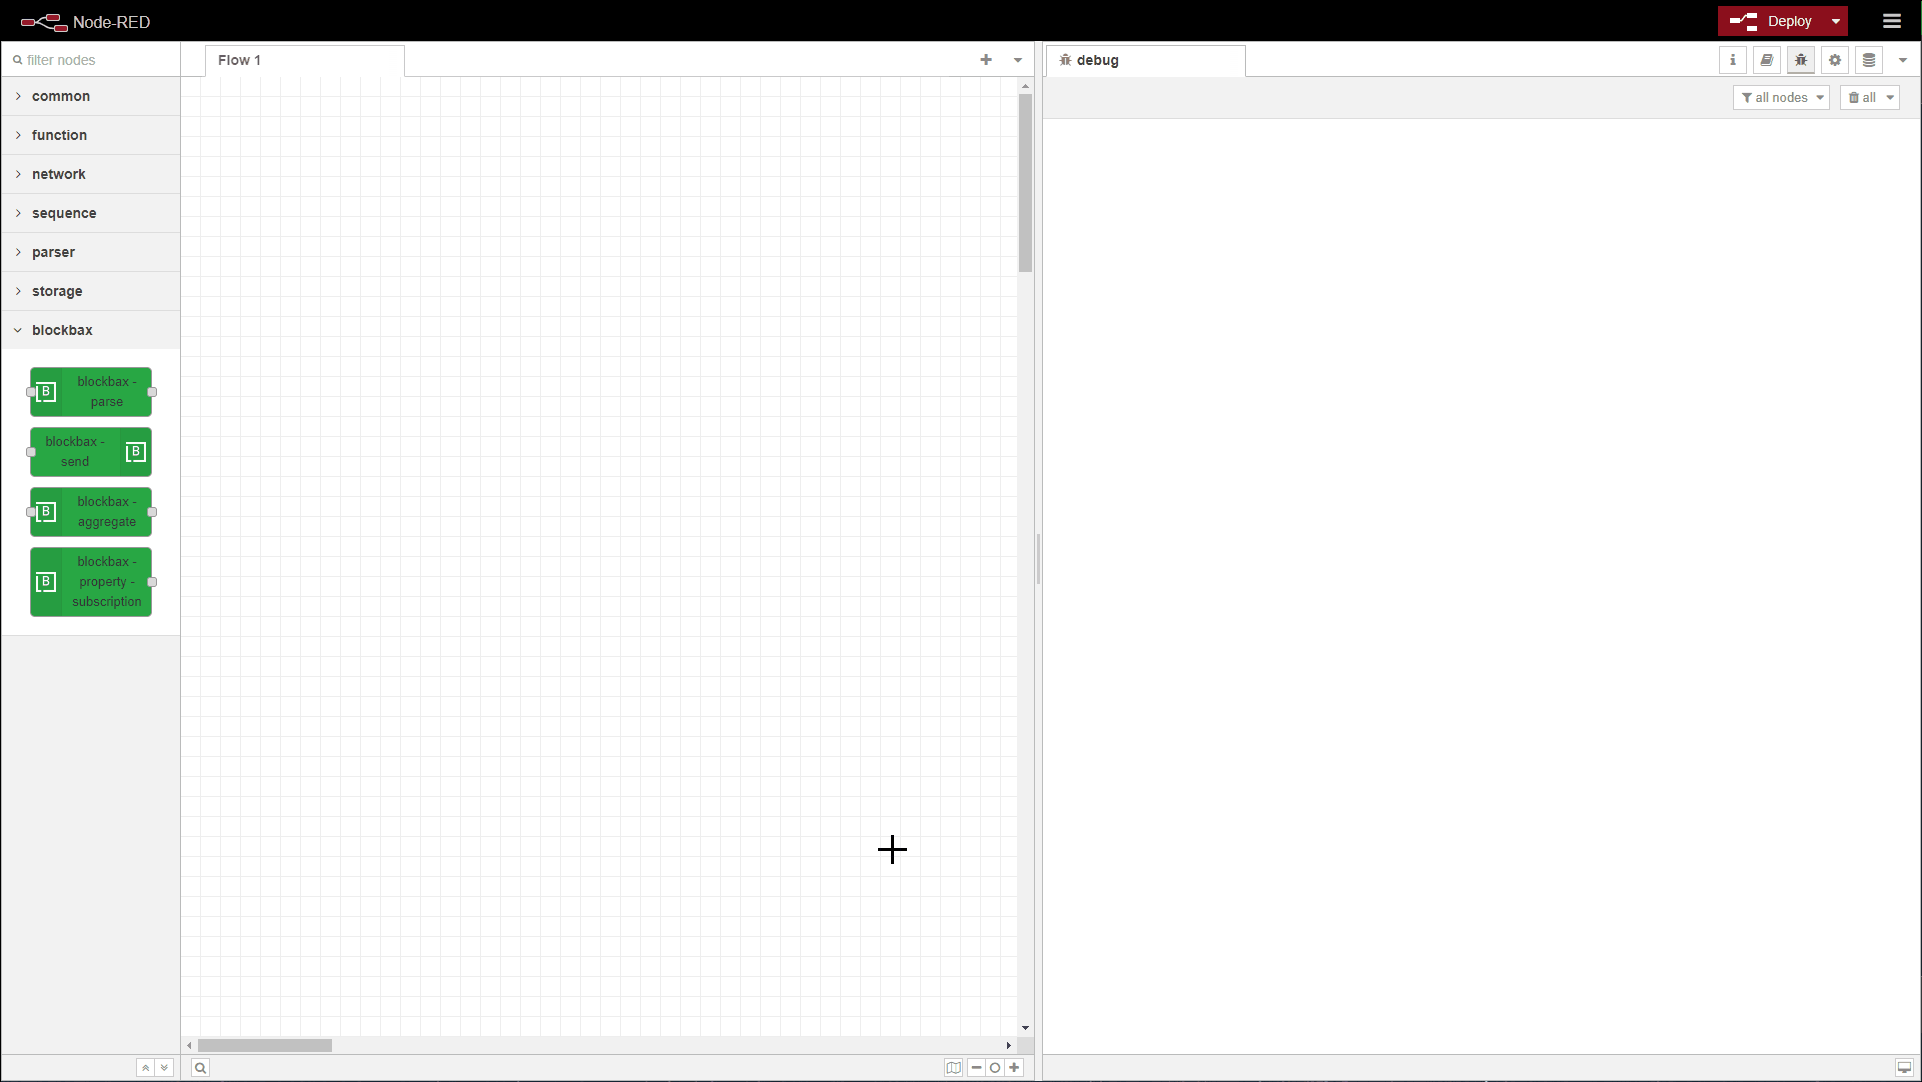
There are a number of different nodes available. The first node can be used to parse measurement data to a common format which can be used by the other nodes. Once this is done, you can use nodes to aggregate the resulting measurements and the last node is to send this data to our platform.
Parse
The Parse node can take a msg from another node and create a new object that can be used by the other Blockbax nodes. You can configure what message properties represent the date, the value and the ingestion ID. There is also an option to generate a timestamp on input if the message has no timestamp property. The Parse node adds a series property to the message and sends it on input.
Here is how to setup a Parse node:
The Parse node has four configurable properties.
- Use ingestion ID: Can be unchecked to use Subject external ID & Metric external ID.
- Ingestion ID: Can either be a static Ingestion ID or a dynamic Ingestion ID by changing the type to
msg. - Date: Can either be a
msgproperty or it can be set to use the current date. - Value: Measurement value. Usually values are stored in the
msg.payloadproperty. - Data type: Data type. Choose either
Number,LocationorText. Can be dynamically set by changing the type tomsg.
When unchecking the Use ingestion ID checkbox the ingestion ID is replaced by two other properties: Subject external ID and Metric external ID. These two properties will together make a Ingestion ID in the form of <SUBJECT_EXTERNAL_ID>$<METRIC_EXTERNAL_ID>
- Subject external ID: Can either be a static Subject external ID or a dynamic Subject external ID by changing the type to
msg. - Metric external ID: Can either be a static Metric external ID or a dynamic Metric external ID by changing the type to
msg.
parse message
when the configured Parse node receives a msg object it then parses that message and sends out an series object to the next node. A msg from a Parse node looks like this:
| |
Aggregate
The Aggregate node applies an aggregate function over a specified time period. The available functions are:
- maximum
- minimum
- sum
- average
- downsample (using the Ramer–Douglas–Peucker algorithm)
Here is how to setup an Aggregate node.

The Aggregate node has two configurable properties.
- Function : Aggregation function to apply.
- Period : Time period to aggregate over.
Aggregate message
After each period the aggregated measurements are then send in the msg object the same way as the parse message with aggregated values.
Additionally the Aggregate node returns the aggregation details inside the msg object, for example:
| |
The series object inside the aggregationDetails are the raw series used for this aggregation. The type is the type of aggregation used, this can either be: AVG,MAX,MIN,SUM orDWN.
Project
The Project configuration node is a globally defined node inside Node-RED. It is used to store the project ID and access key. You can also check the ‘Use environment variables’ checkbox to use the environment variables PROJECT_ID, ACCESS_TOKEN_PUBLIC_ID and ACCESS_TOKEN_SECRET instead.
Send
The Send node can either be used to batch and send measurements to the HTTP and MQTT endpoints or send data to a Inbound Connector. When used to send to an Inbound Connector messages are directly send to the Inbound Connector without batching. otherwise this node will sends batches of measurements upon a specified time interval. The minimal frequency at which data can be sent is 1 second. The available send options are:
- HTTP: Recommended if irregular batches of data are being collected.
- MQTT: Recommended if the incoming data is a frequent and regular stream of data points.
Here is how to setup a Send node.
The Send node has the following configurable properties.
- Project: A Project configuration node
There are two ways to configure the Send node, either with or without using an Inbound Connector.
When Use inbound connector is unchecked:
- Auto create subjects: Checked to false by default, check to auto create subjects.
- Type: Type of connection used. choose from:
HTTPorMQTT. - Batch period: Period for which measurements are batched before they are being send.
When Use inbound connector is checked:
- Endpoint / Topic: The endpoint / topic copied from the HTTP / MQTT inbound connector.
- Type: Type of connection configured in the Inbound Connector settings. choose from:
HTTPorMQTT. - Payload: Define which property of the msg should be used as the payload send to the Inbound Connector.
Subscribe
The Subscribe node is used to setup MQTT subscriptions. Currently you can only subscribe to properties. for more information about property update subscriptions see our documentation.
Here is how to set up a Subscribe node.
The Subscribe node has the following configurable properties.
- Project: A Project configuration node
- Subject external ID: Can either be a subject external ID to subscribe to on one specific subject, it can be set dynamically by setting the
msgproperty or set to subscribe to all subjects by changing the type toSubscribe to all. - Property type external ID: Can either be a property type external ID to subscribe to on one specific property, it can be set dynamically by setting the
msgproperty or set to subscribe to all properties by changing the type toSubscribe to all.
When the either the Subject external ID or Property type external ID is set to receive it from a msg object, the Subscribe node will wait for a msg to subscribe to a topic. It can also be used to setup multiple subscriptions with only one Subscribe node.
Subscribe message
When the configured Subscribe node receives an MQTT message it then sends a msg object to the next node. A msg from a Subscribe node looks like this:
| |
Tutorial OPC-UA
OPC-UA is a protocol commonly used in automation and other industrial settings. It’s often used in communication between PLCs, RTUs and SCADA systems. It’s a client/server protocol that has the capabilities to communicate with a publish/subscribe or request/response pattern. The standard OPC-UA Node-RED nodes make it possible to easily read and write data.
Goal
The goal of this tutorial is to show you how you can setup a OPC-UA client in Node-RED and connect the OPC-UA nodes to the Blockbax nodes and send data the Blockbax Platform.
Prerequisites
For this tutorial you will need:
- A Blockbax project
- Node-RED installed
- OPC-UA nodes installed within Node-RED
- Blockbax nodes installed within Node-RED
Do you want a example of the flow you are going to build? You can find it here.
Steps
- Make sure you are able to connect to the OPC-UA server and open Node-RED in a browser
- Create an inject node and check the “Inject once after x seconds” checkbox
- When you want to use the OPC UA Client with a READ action set the inject node to Repeat with a certain interval
- When you want to use the OPC UA Client with a READ action set a timestamp on the msg.date property because the client will not return data with a timestamp with this action
- To the inject node connect a OPC-UA item node and configure the node ID, corresponding data type and set the Name to the corresponding ingestion ID to later have it available in the
msg.browseNameproperty - To the OPC-UA item node connect a OPC-UA Client node and configure the Endpoint, Action (READ or SUBSCRIBE) and Certificate
- When using the Client with a SUBSCRIBE action configure an Interval
You should have something looking like this:

- Connect a Parse node to the OPC-UA Client node and configure these specific settings:
- Configure the Ingestion ID to
msg.browseName, this corresponds to the previously configured ingestion ID - Leave the Value on
msg.payload - Leave the Value on
msg.dateWhen using the OPC-UA Client with a READ action or set tomsg.sourceTimestampWhen using the OPC-UA Client with a SUBSCRIBE action
- Configure the Ingestion ID to
- Optional: Connect a Blockbax Aggregate node to the Parse node
- Connect the previous node to the Blockbax Send node
Now your flow should look something like this:

Great job! You can test the flow by opening Blockbax and see if the data is coming in.
OPC-UA pre-configured flow
We’ve created an example, so you have a pre-configured flow to double-check your own configuration. The example can be found here and you can easily import the example within your own Node-RED project. Go to the OPC-UA contribution page for more information about the nodes.
Here is a short video of an example of how Node-RED can be used to setup a OPC-UA client and connect incoming data to Blockbax.
Tutorial Modbus
Modbus is a very popular industrial protocol for reading and writing data. It’s often used for communication between PLC’s, RTU’s and SCADA systems. There are two types of Modbus protocols, serial Modbus protocols like Modbus RTU or Modbus ASCII and Modbus TCP/IP. The main difference between them is that Modbus RTU or Modbus ASCII is connected with a RS-232, RS-485 or other physical serial connection and Modbus TCP/IP uses Ethernet connections and communicates over a network. Modbus uses coils which can be read out or written to.
Goal
The goal of this tutorial is to show you how you can setup a Modbus RTU or TCP/IP client in Node-RED and connect the Modbus nodes to the Blockbax nodes and send data the Blockbax Platform.
Prerequisites
For this tutorial you will need:
- A Blockbax project
- Node-RED installed.
- Modbus nodes installed within Node-RED.
- Blockbax nodes installed within Node-RED.
Do you want a example of the flow you are going to build? You can find it here.
Steps
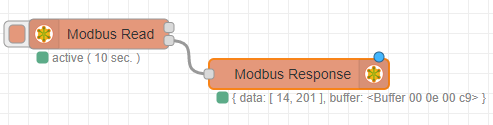
- Create a Modbus Read node
- Configure the Unit ID, Function (FC), Address, Quantity (count of register addresses) and Poll Rate
- Configure the Server which can either be your Modbus TCP/IP server or serial Modbus slave
- A Unit ID can be configured within the Modbus Read and the server configuration node. The Unit ID inside the Modbus Read node overwrites the Unit ID from the Modbus server.
- To better debug the Modbus Read node a Modbus Response node can be connected to the bottom connection on the Modbus Read node.
You should have something looking like this:
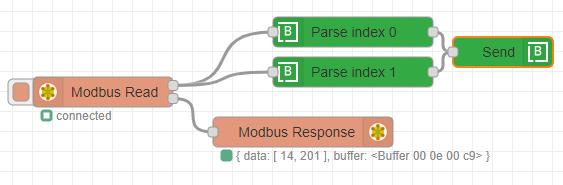
Parse data and send to Blockbax:
- Connect a Blockbax Parse node to the uppter connection of the Modbus Read node and configure the specific settings:
- Set the Ingestion ID to the corresponding ingestion ID
- Set the Value to
msg.payload[i], where i is the index of your data value - Set date to “Generating Timestamp”
- Optional: Connect a Blockbax Aggregate node to the Parse node
- Connect the previous node to the Blockbax Send node
- The value returned from the Modbus Read node is an array inside the msg.payload property. the length of this array depends on the Quantity set in the Modbus Read node. The 'i' inside msg.payload[i] shows how to configure the Parse node to access an index in this array
- Data in Modbus can be split up in multiple registers and could be split up in multiple indexes inside the payload array. A [function node](https://nodered.org/docs/user-guide/nodes#function) can be used in between the Modbus Read node and Parse node to further parse and combine multiple indexes.
Now your flow should look something like this:
Great job! You can test the flow by opening Blockbax and see if the data is coming in.
Modbus pre-configured flow
We’ve created an example, so you have a pre-configured flow to double-check your own configuration. The example can be found here and you can easily import the example within your own Node-RED project. Go to the Modbus contribution page for more information about the nodes.