Docs
Get started with Subject composition
In this guide we will dive into Subject composition. Subject composition can be extremely useful in the Blockbax platform because it can help define a hierarchy. A hierarchy is defined by selecting the parent types for a subject type, and then populating the relevant parent for a subject. Have a look at our subject type documentation, here you will see a more in-depth explanation of the implications of subject composition with a visual example. Our example will cover the following composition:
graph TD
B[
Floor
] --> D[Room
Parent type: Floor] --> F[Temperature Sensor
Parent type: Room]graph TD
B(Floor 1)
B --> D[Room 1A]
D --> F[Temperature Sensor 1A]
Let’s have a look at the steps:
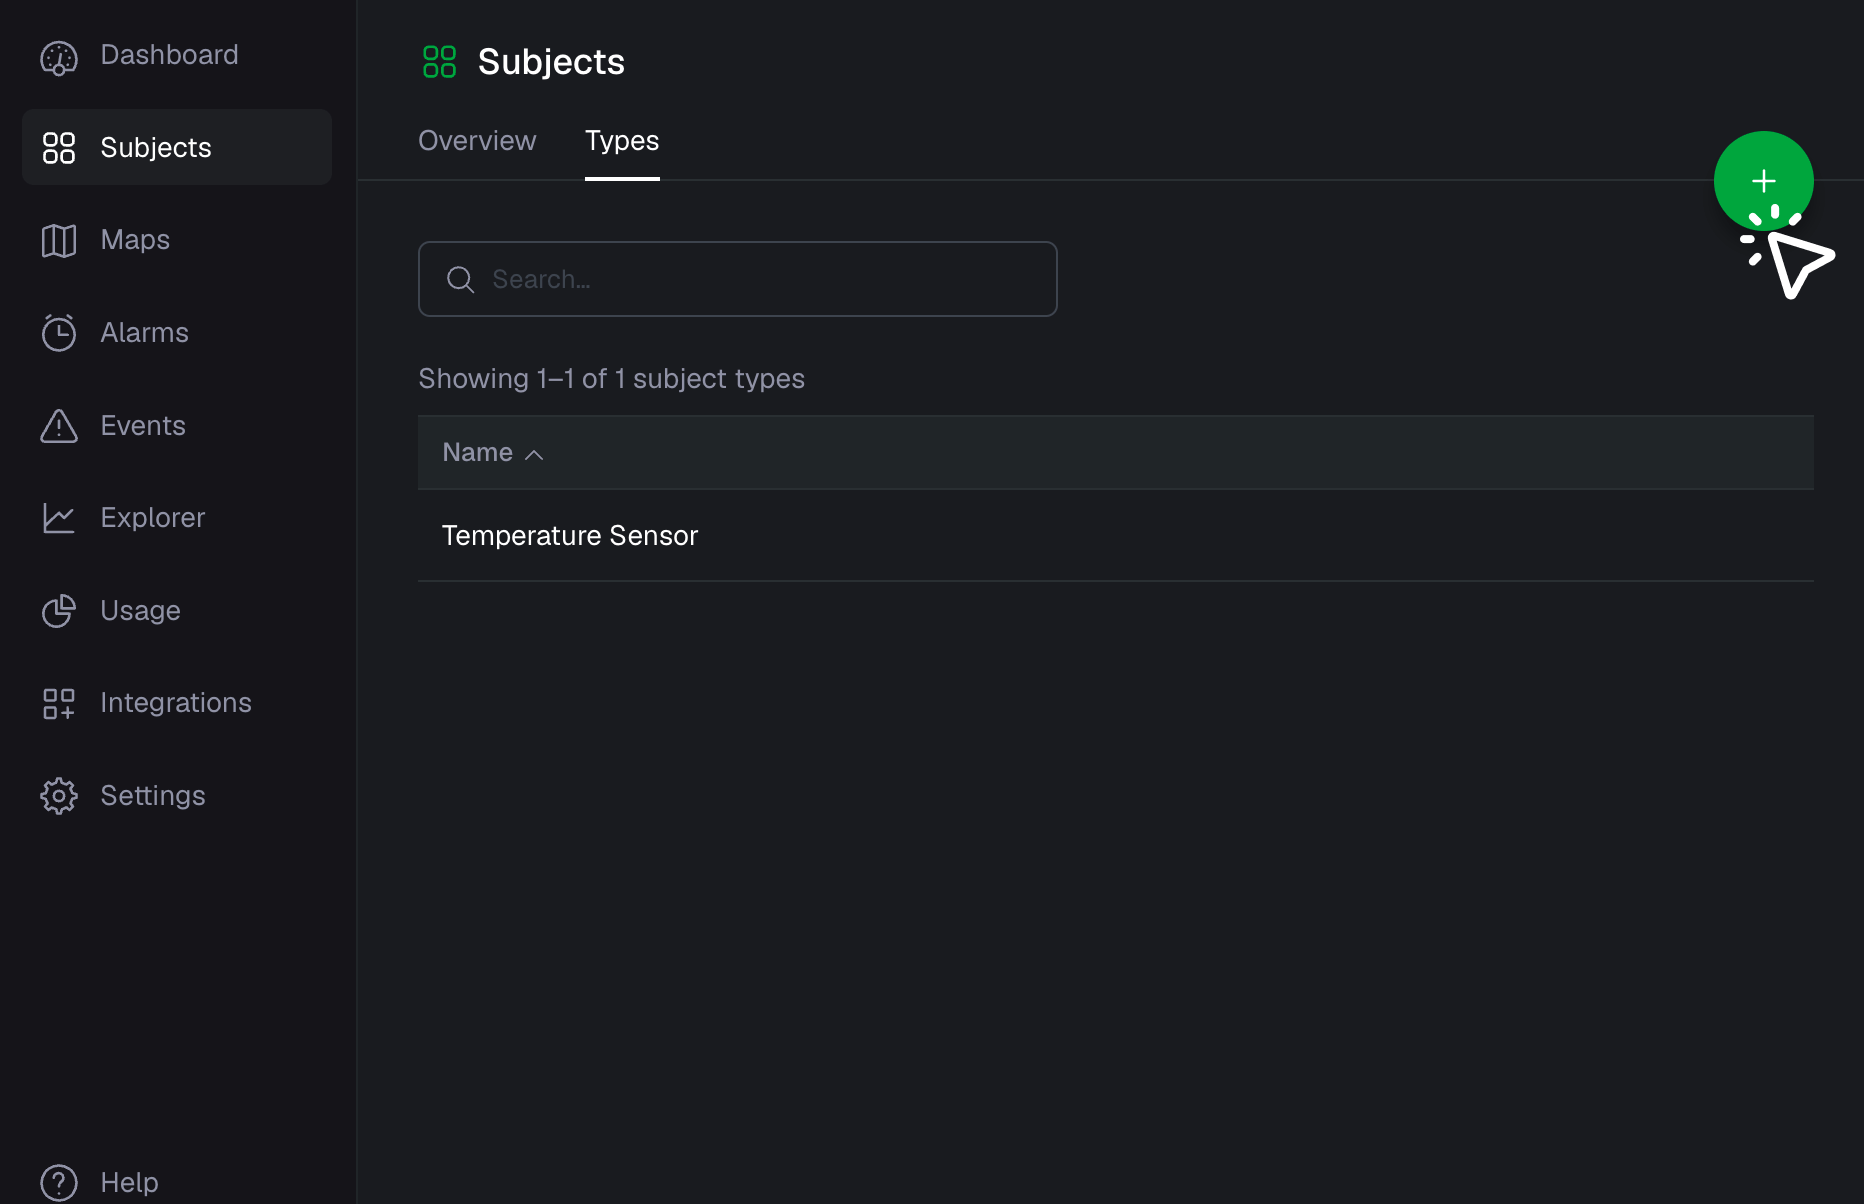
- Navigate to your Subject Types overview and create a new subject type
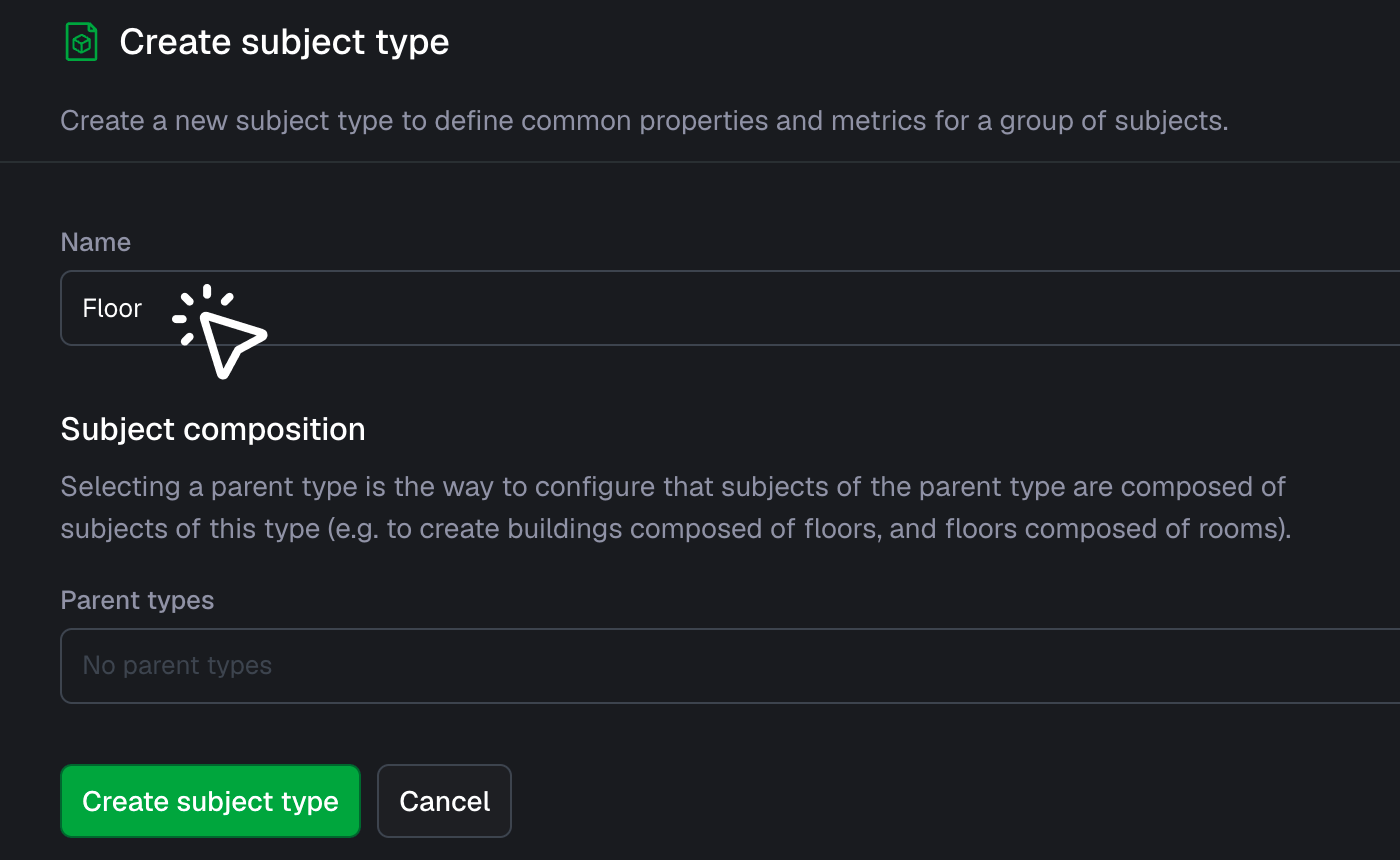
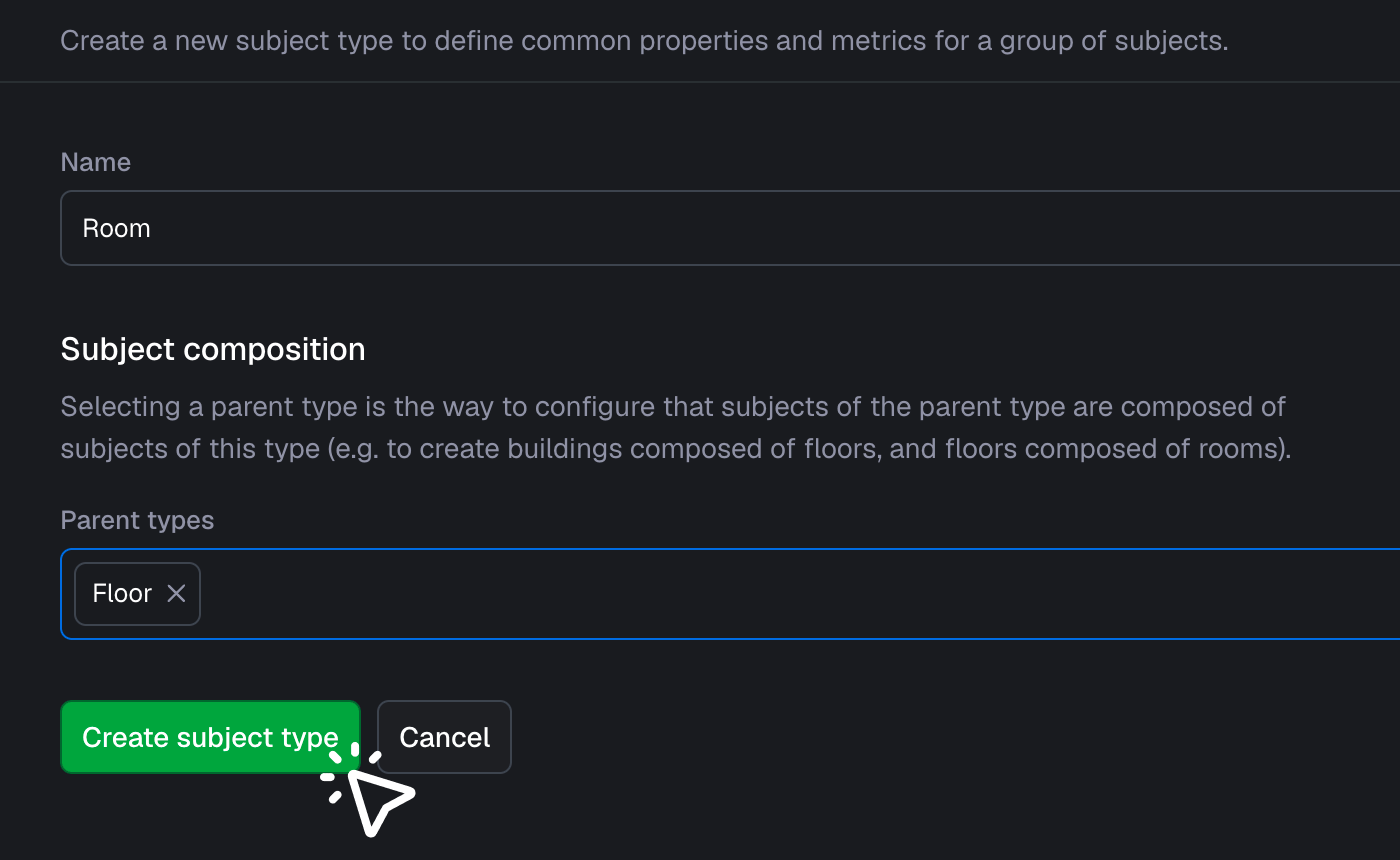
- Name the newly created Subject type "Floor" and click on "Create subject type"
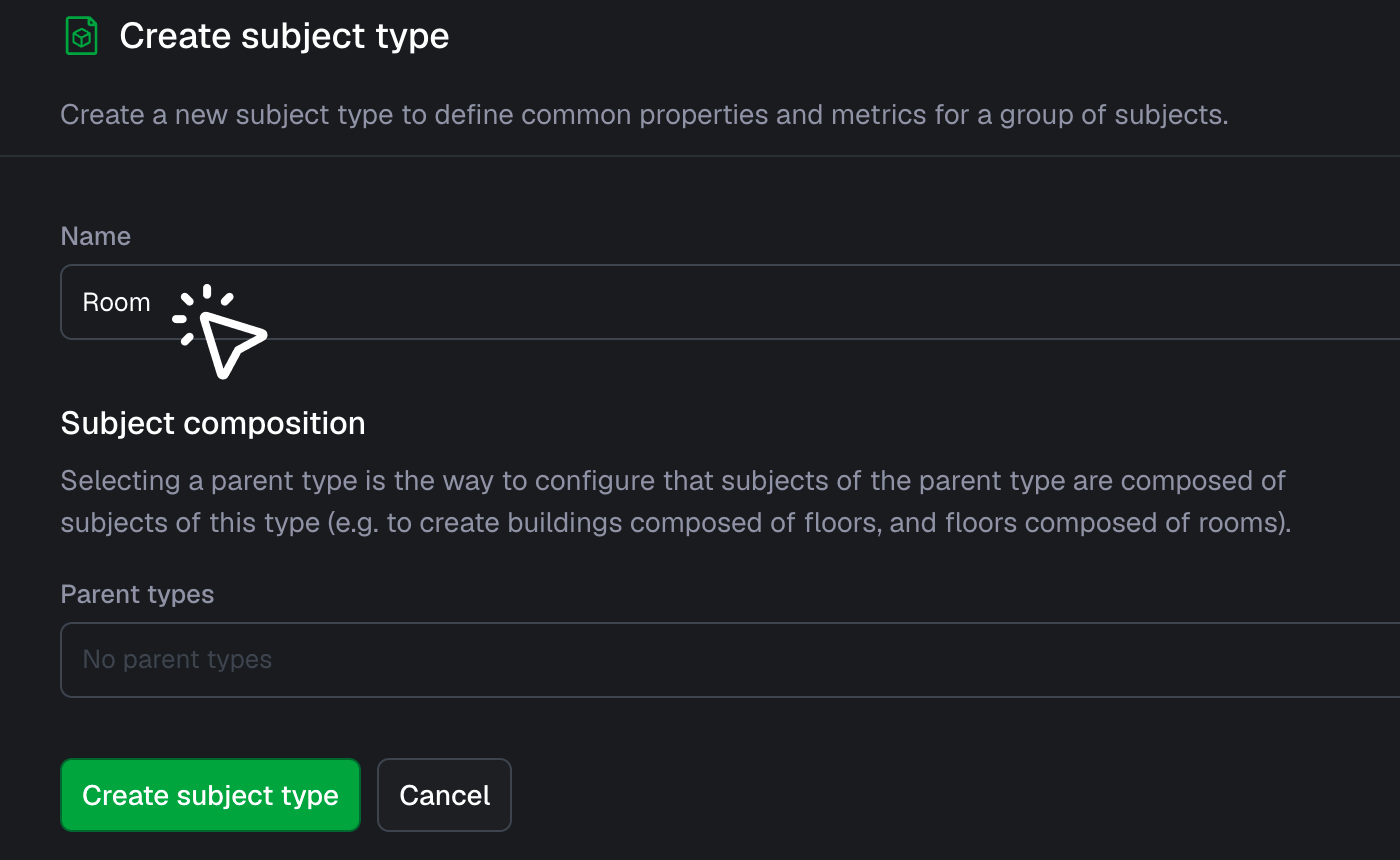
- Create another Subject type "Room"
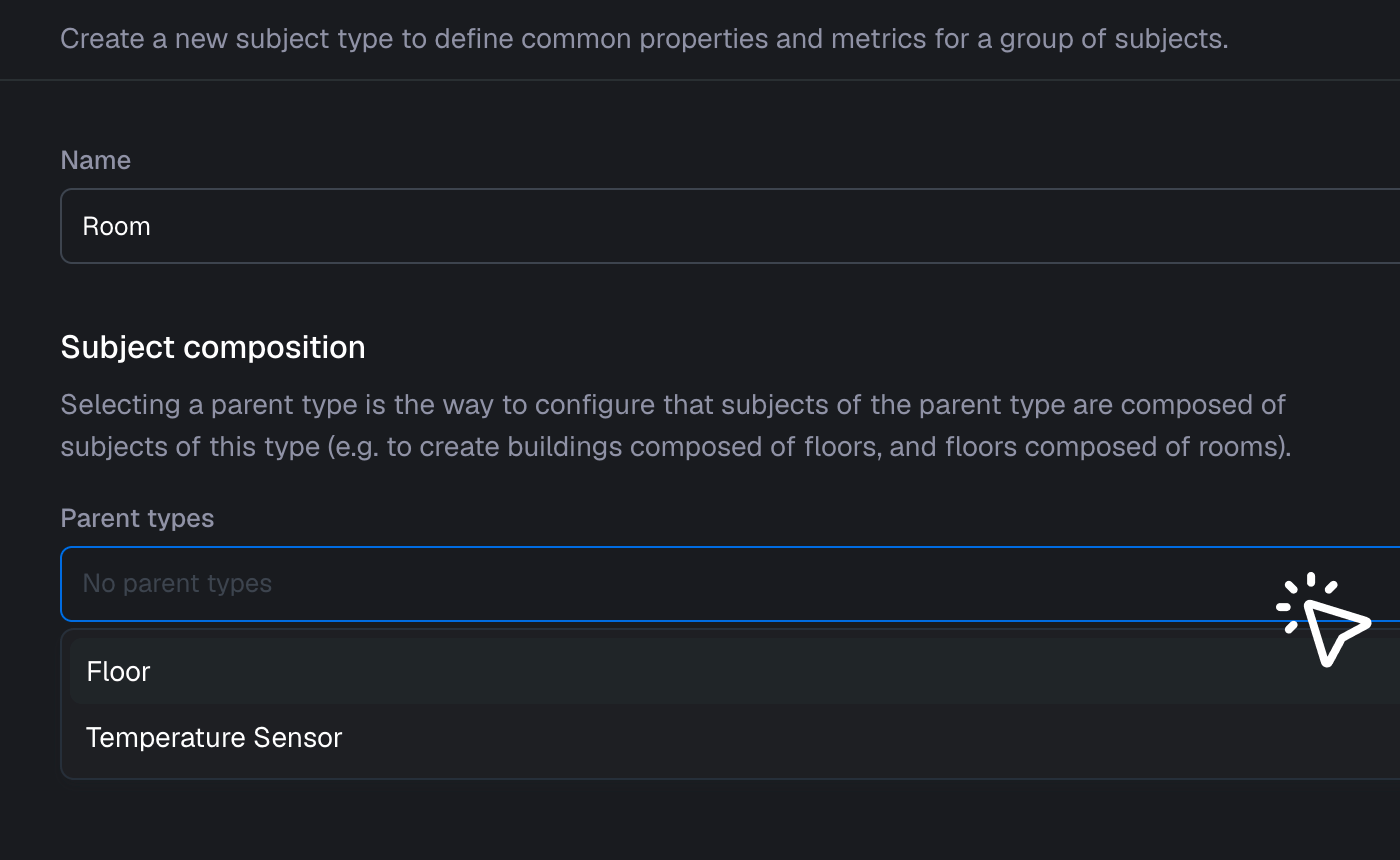
- Select "Floor" as the parent type
- Create your subject type
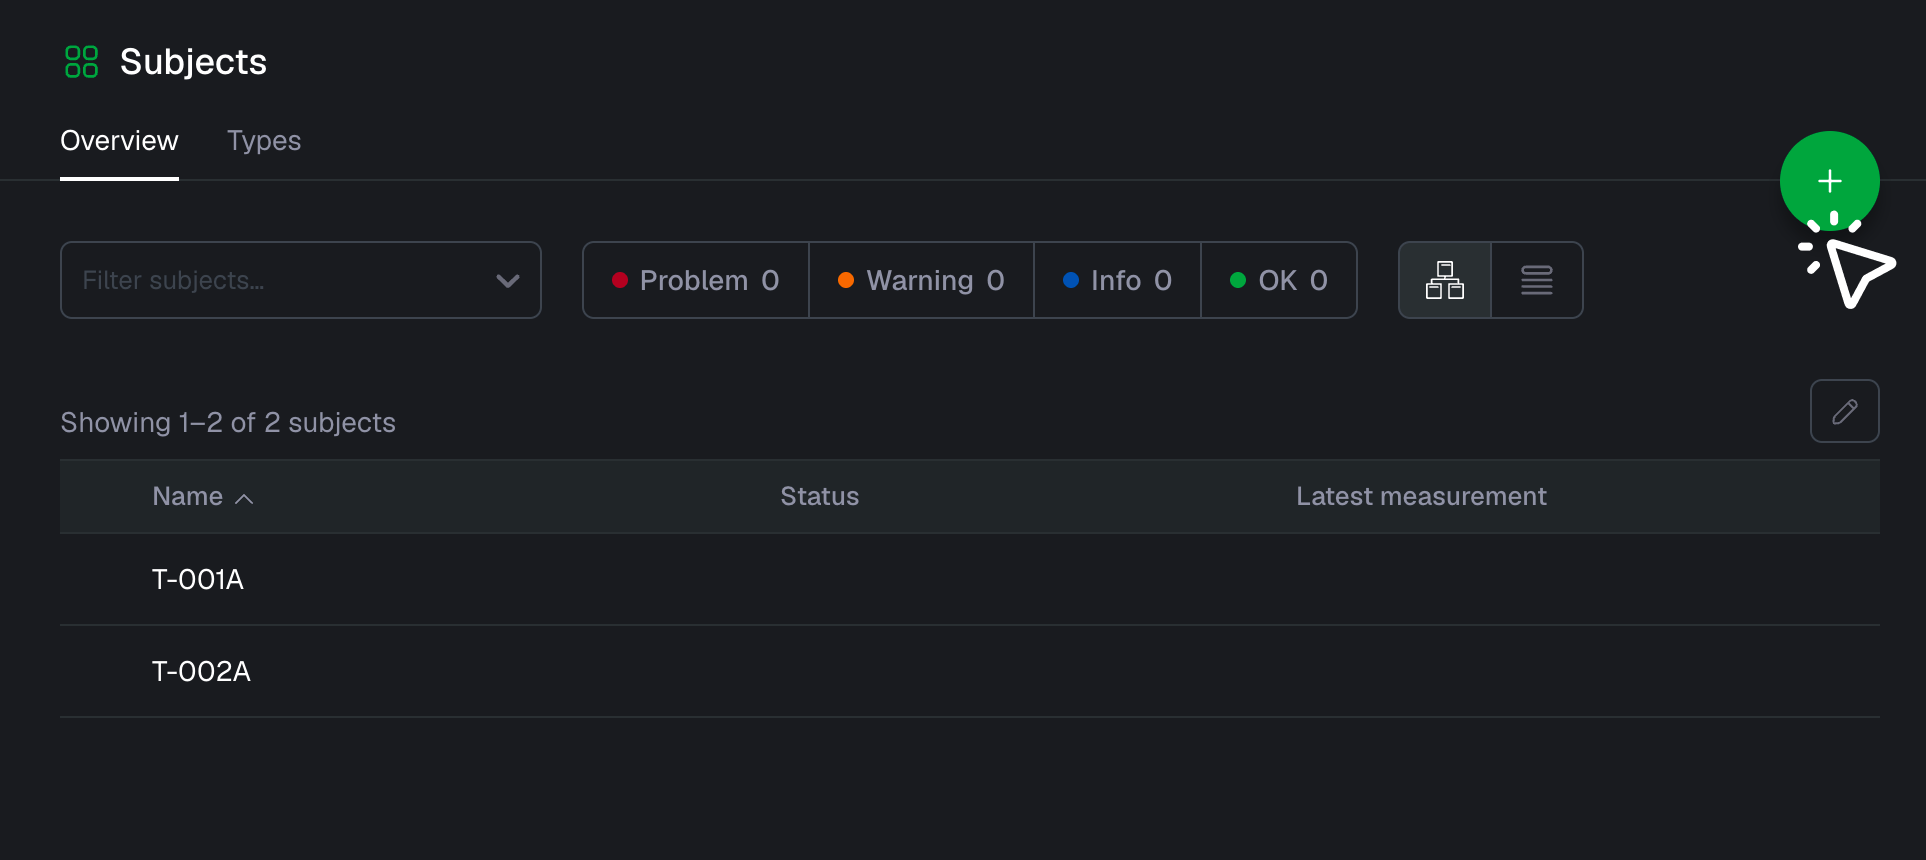
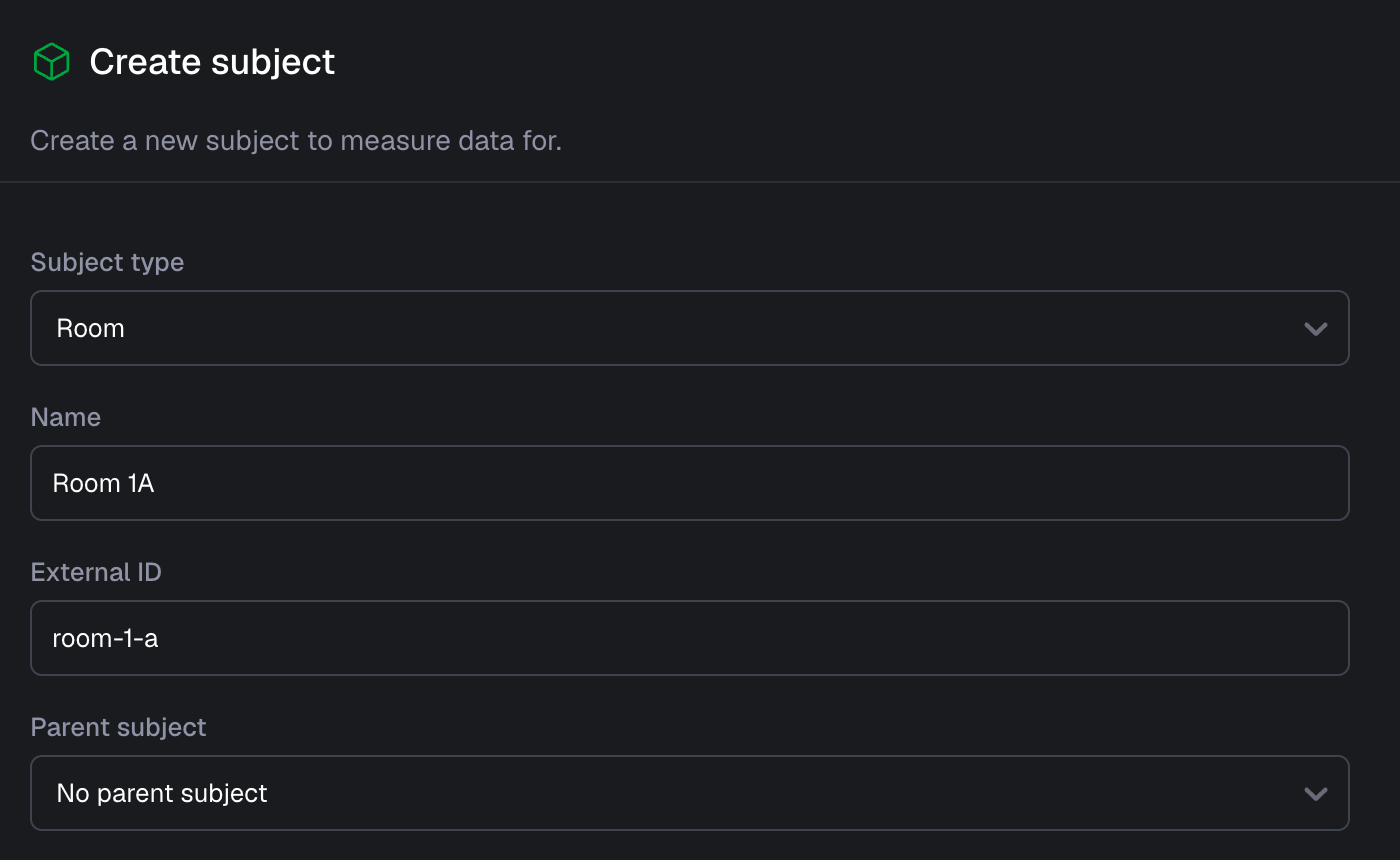
- Navigate back to your Subject overview and create a new subject. Note: Please make sure you create a subject here, and not a subject type
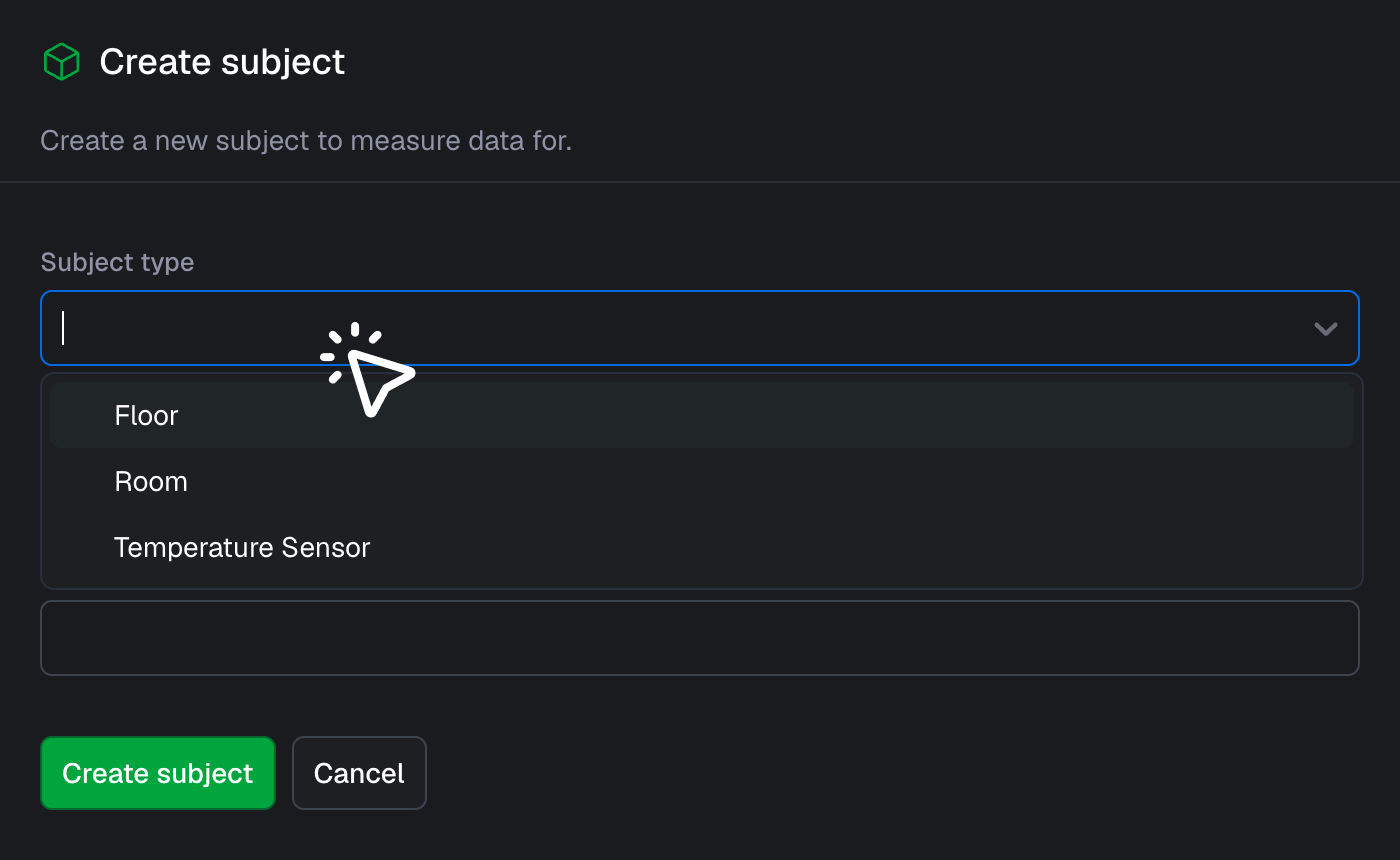
- Select "Floor" as the subject type
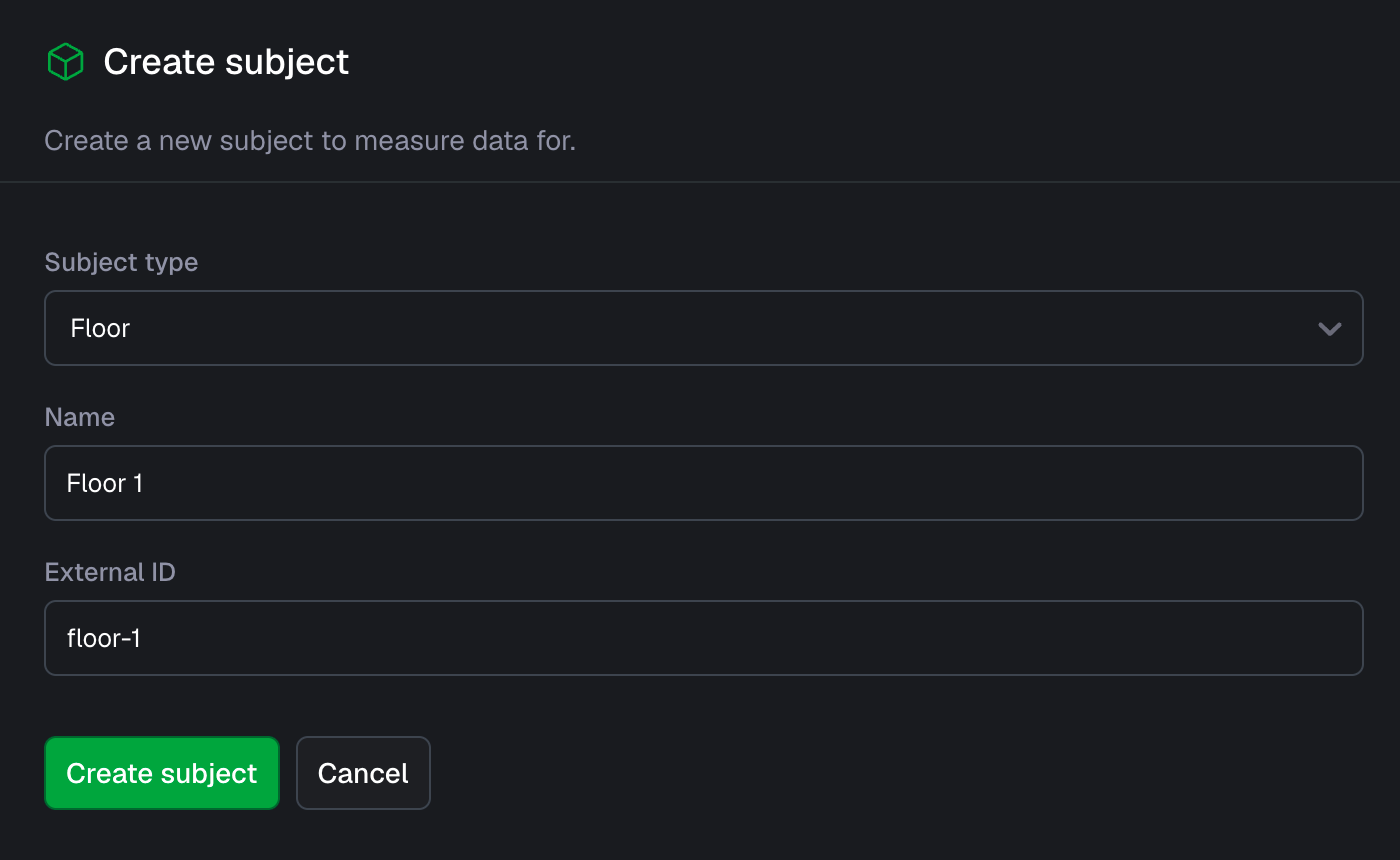
- Name the newly created floor "Floor 1" and click on "Create subject"
- Create another new subject and select "Room" as subject type. Name the newly created room "Room 1A"
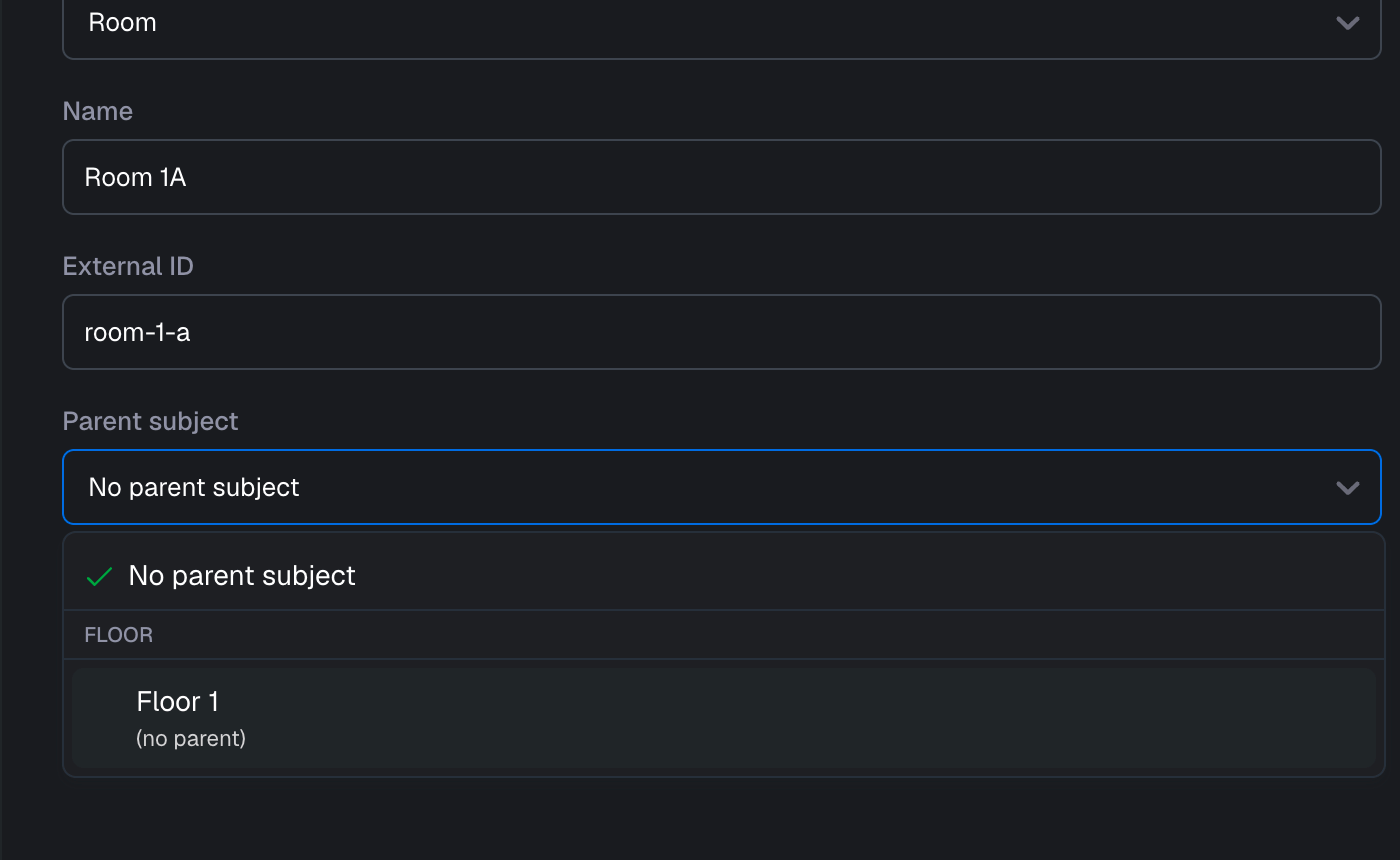
- Set the parent of the newly created room to "Floor 1" and press "Create subject"
- Congratulations, you’ve just configured the subject composition between 2 new subject types. These newly created subject types don’t have any ingested metrics, but you can of course take it a step further and add another layer of subject composition. Below we’ll repeat the process for an existing subject type in this project namely the "Temperature Sensor".
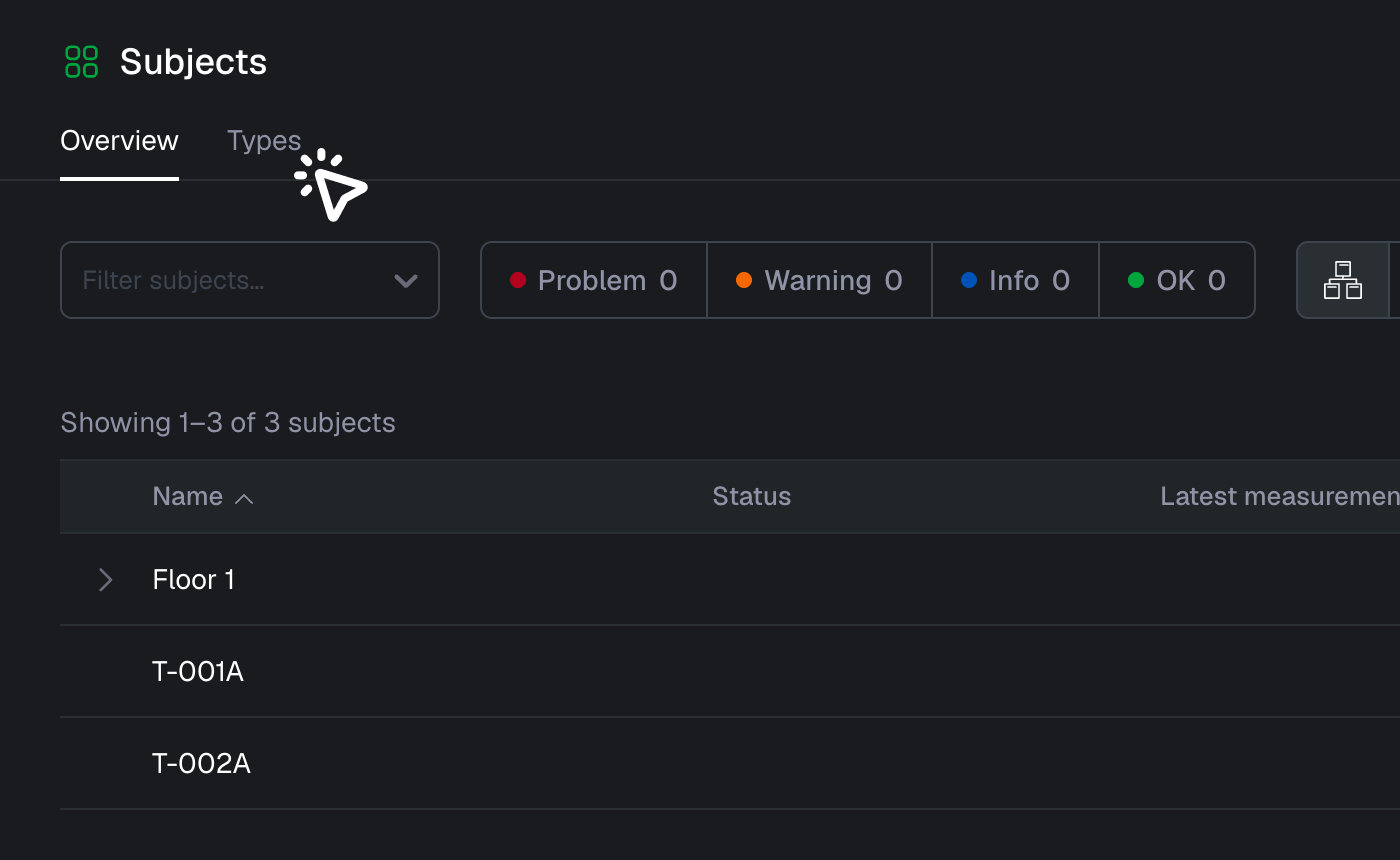
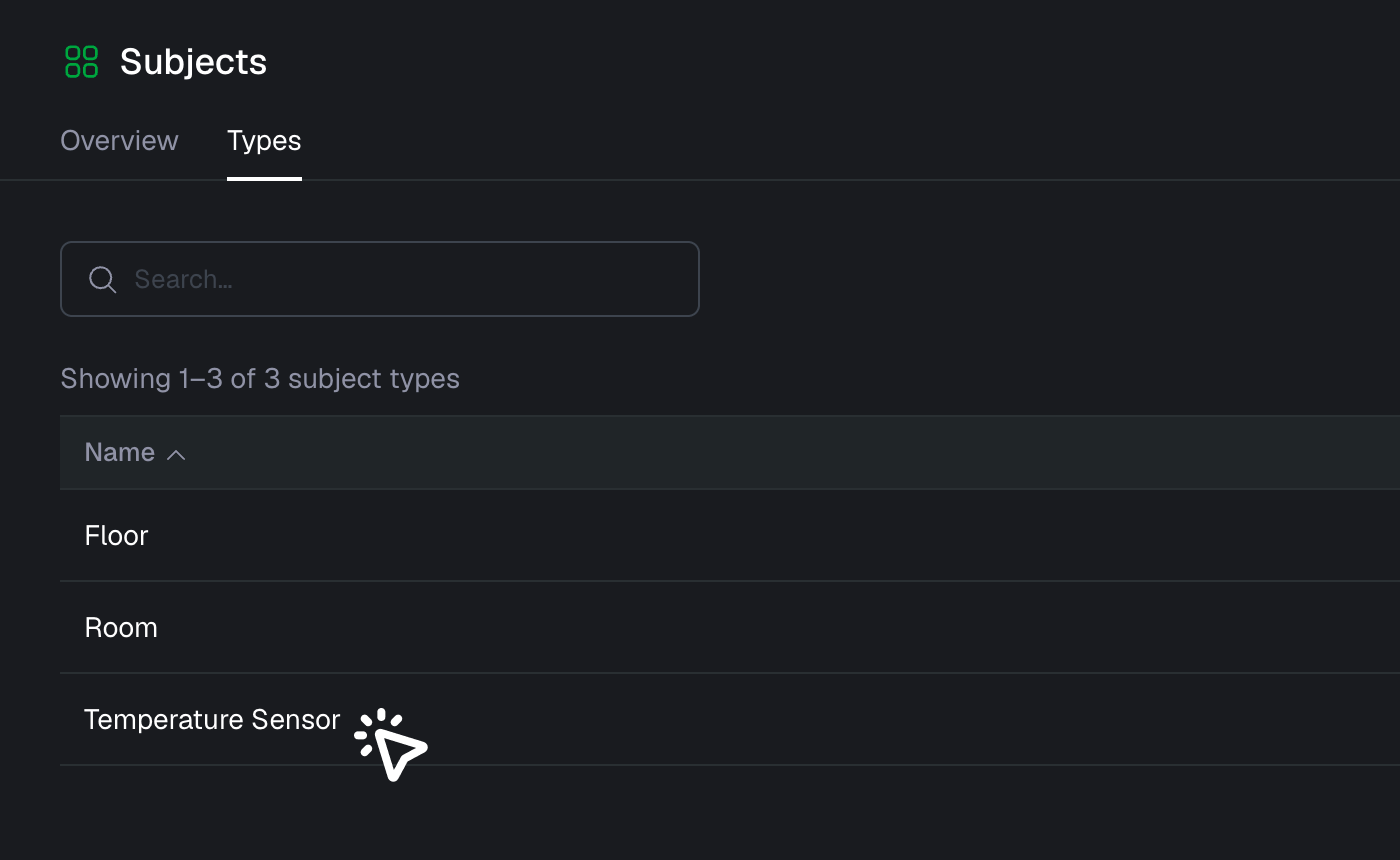
- Let’s go to Subject "Types"
- Open "Temperature Sensor"
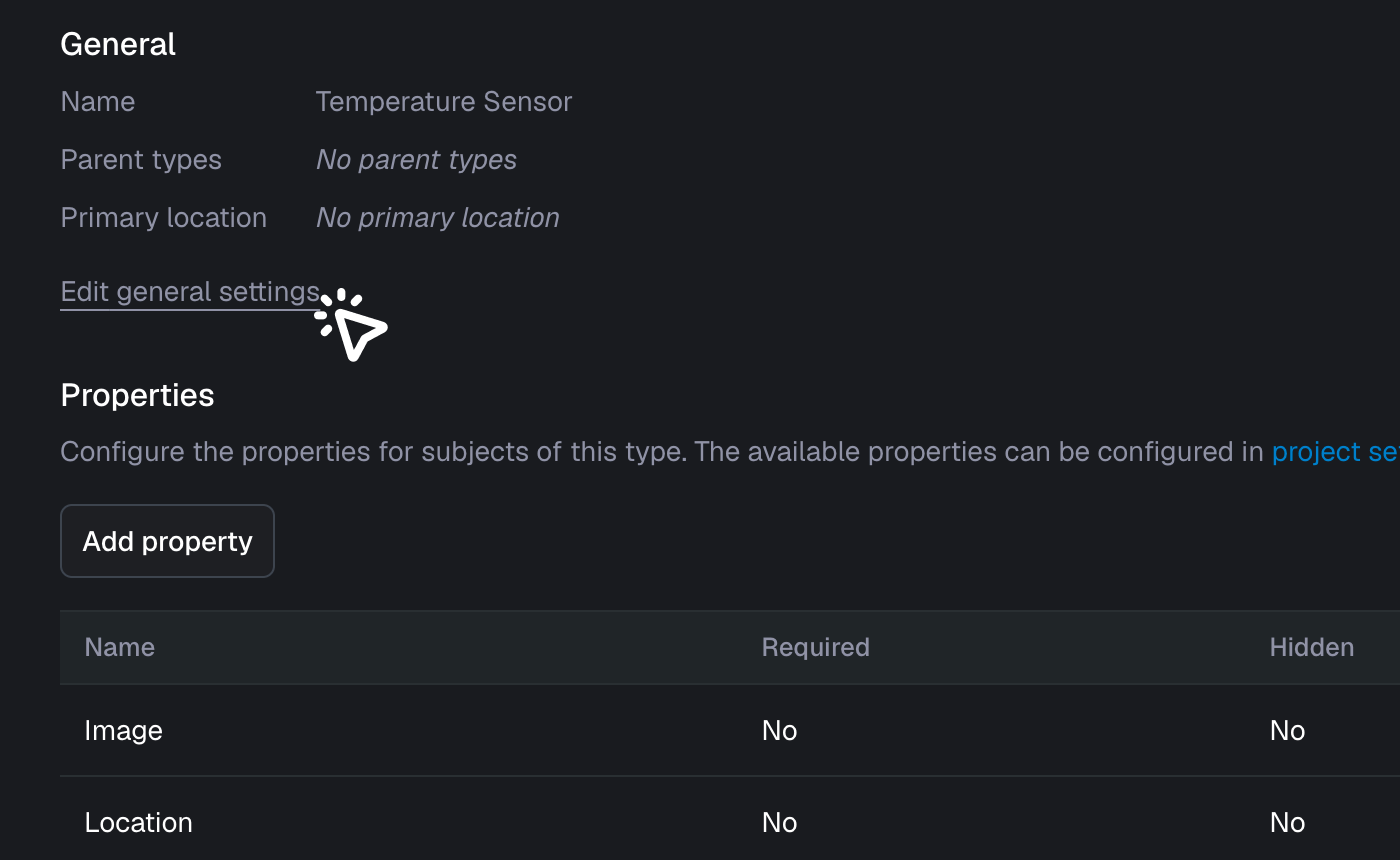
- Click "Edit general settings"
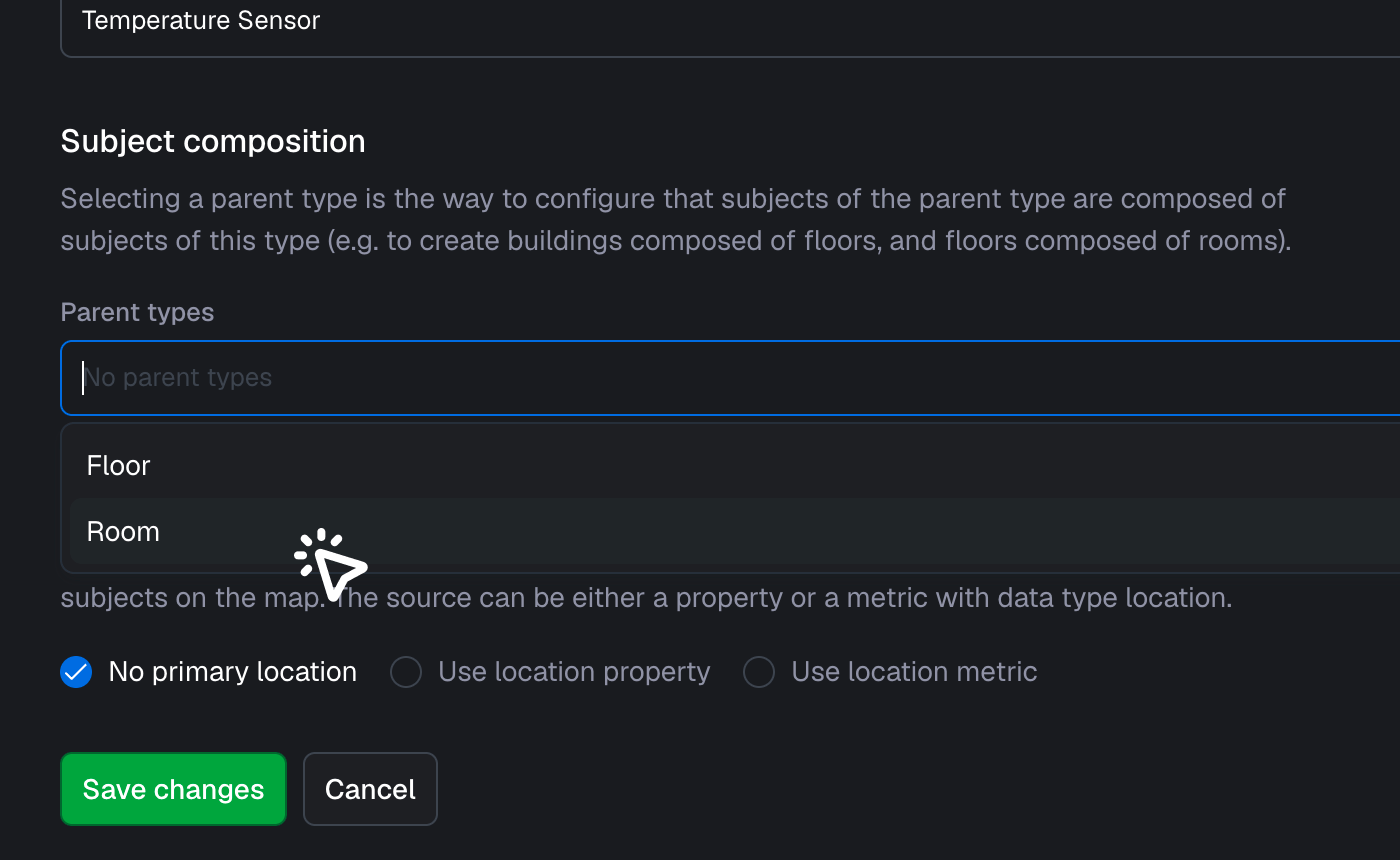
- Select "Room" as the parent type and save your changes
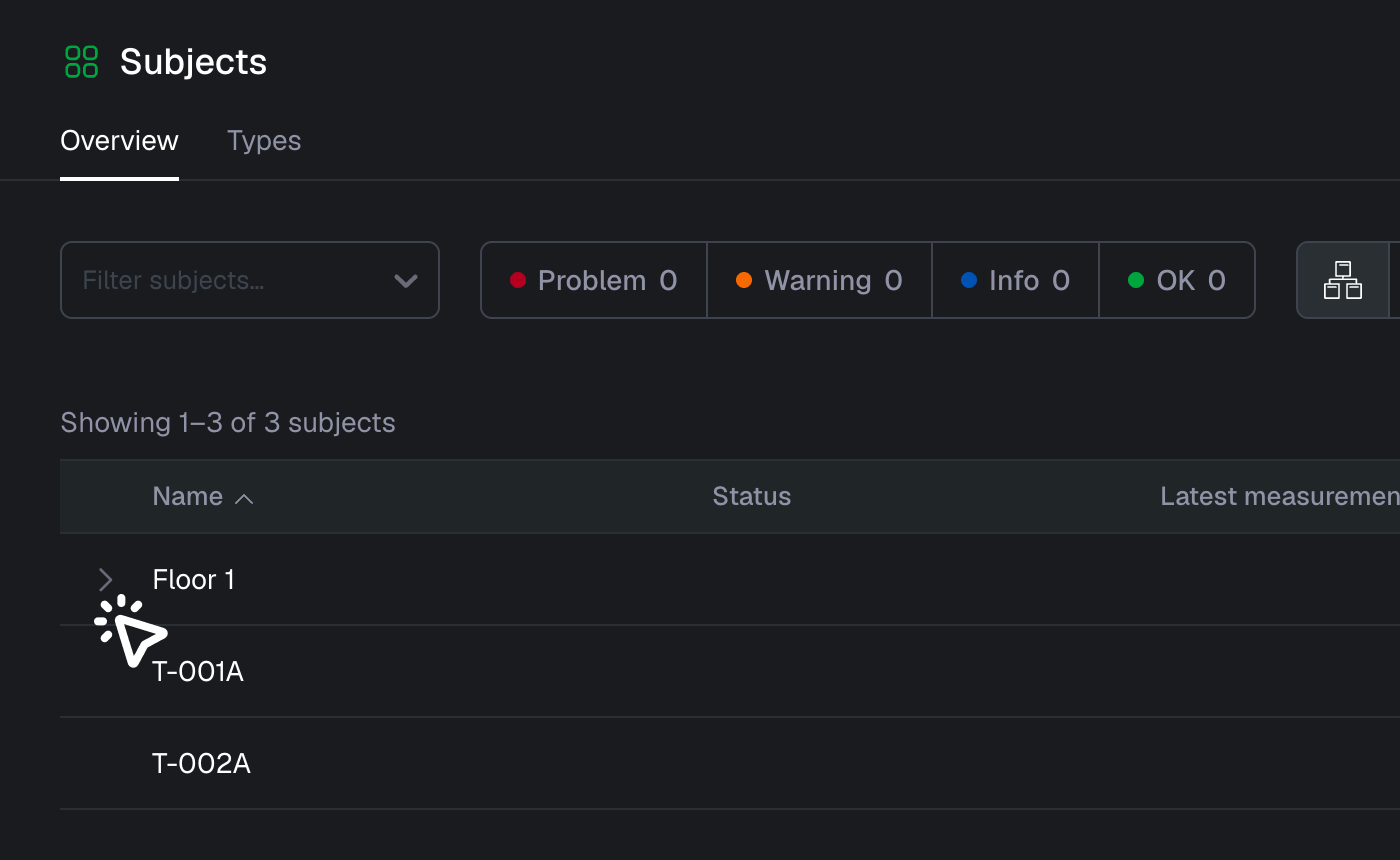
- Go back to our "Subjects" overview

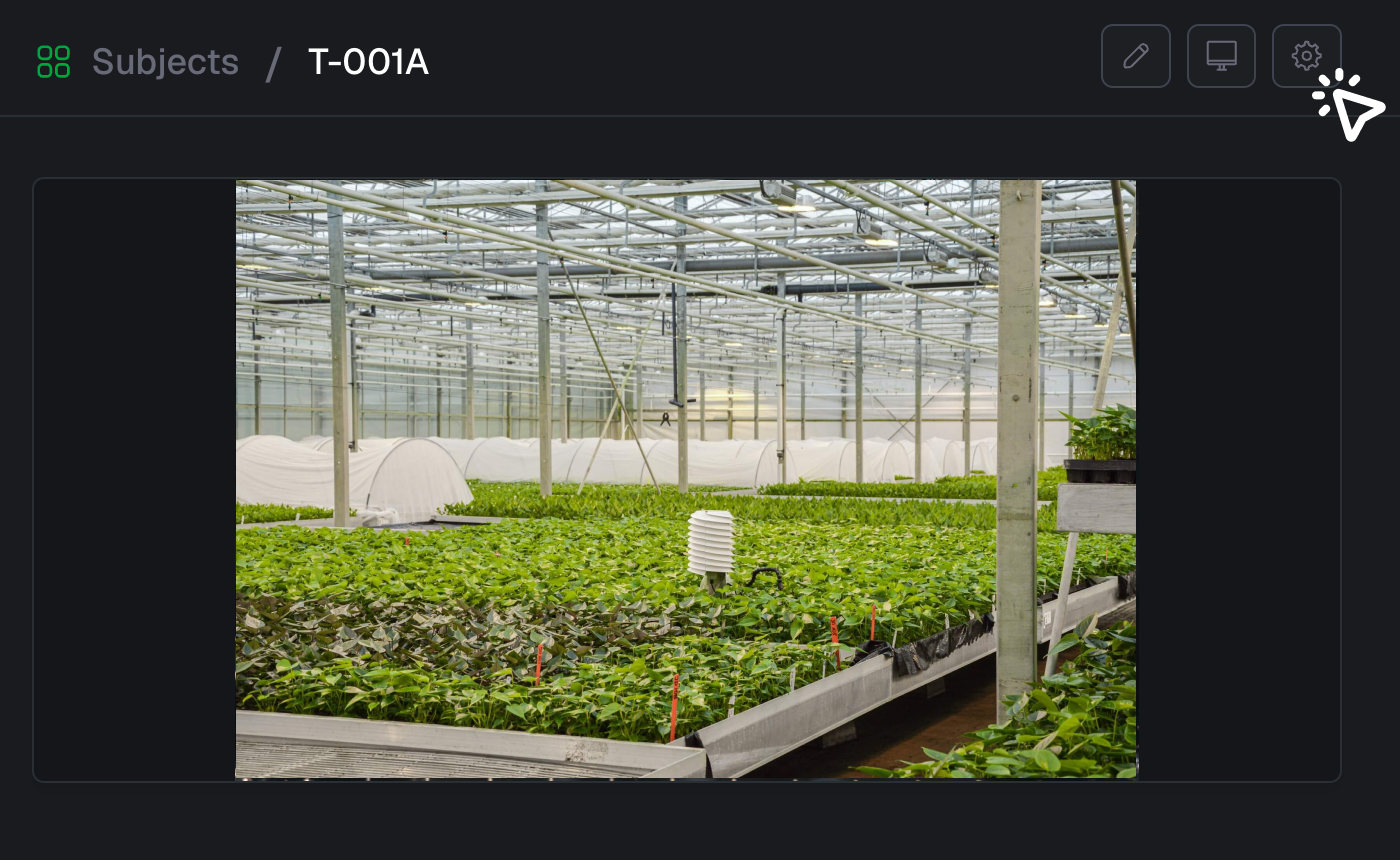
- Select one of the temperature sensor subjects
- Click here to edit the subject
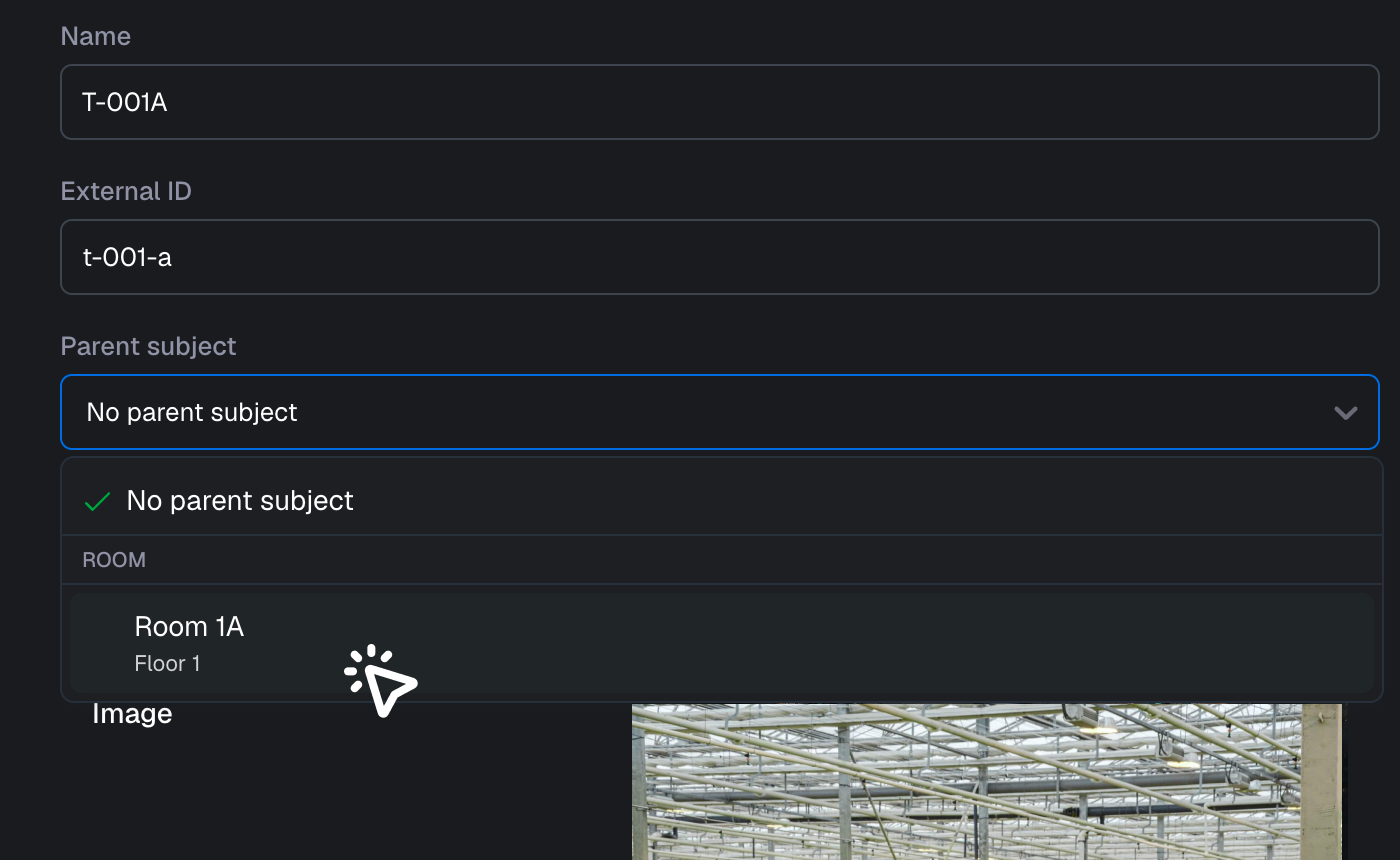
- Set the parent of this temperature sensor to "Room 1A" and save your changes
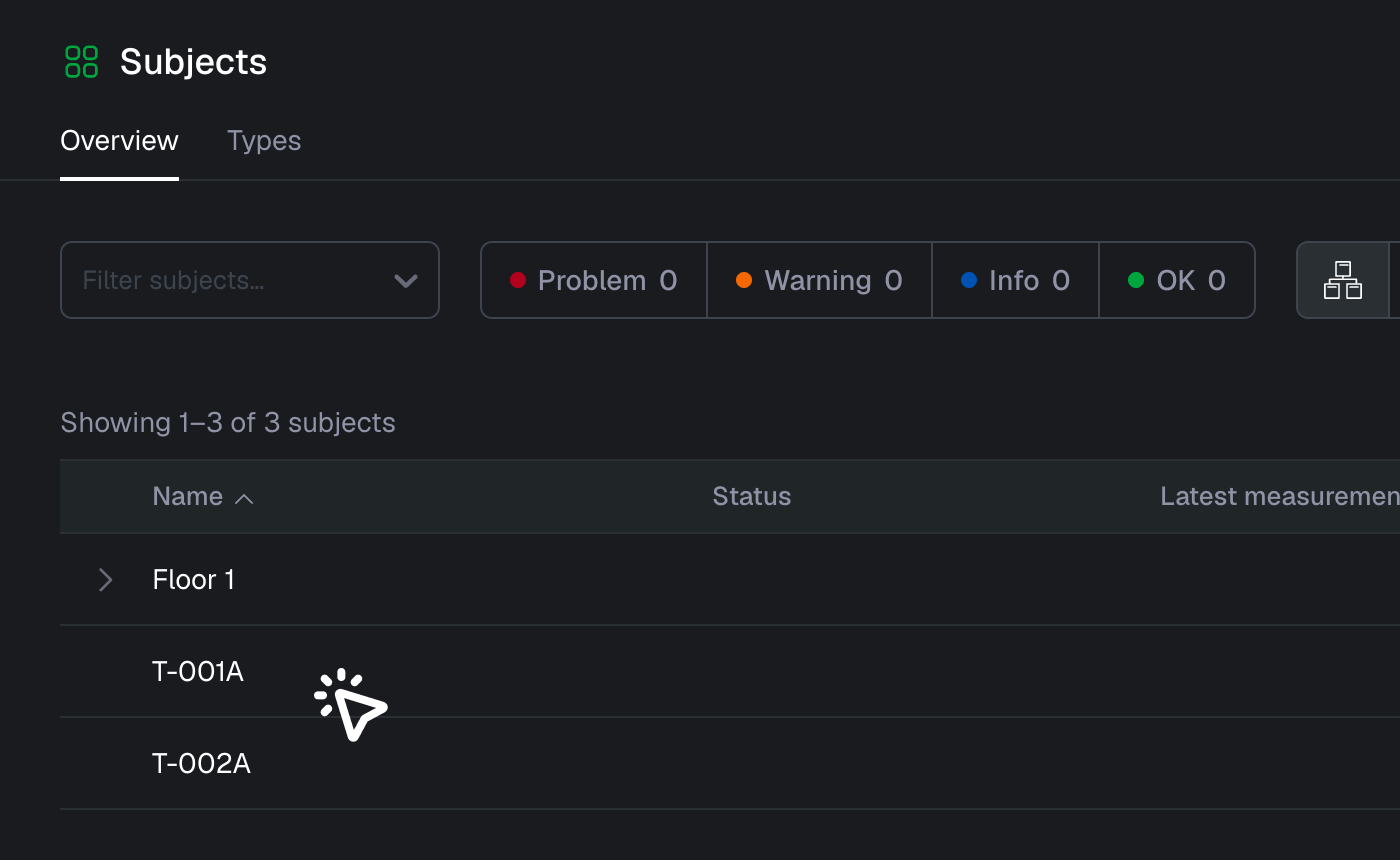
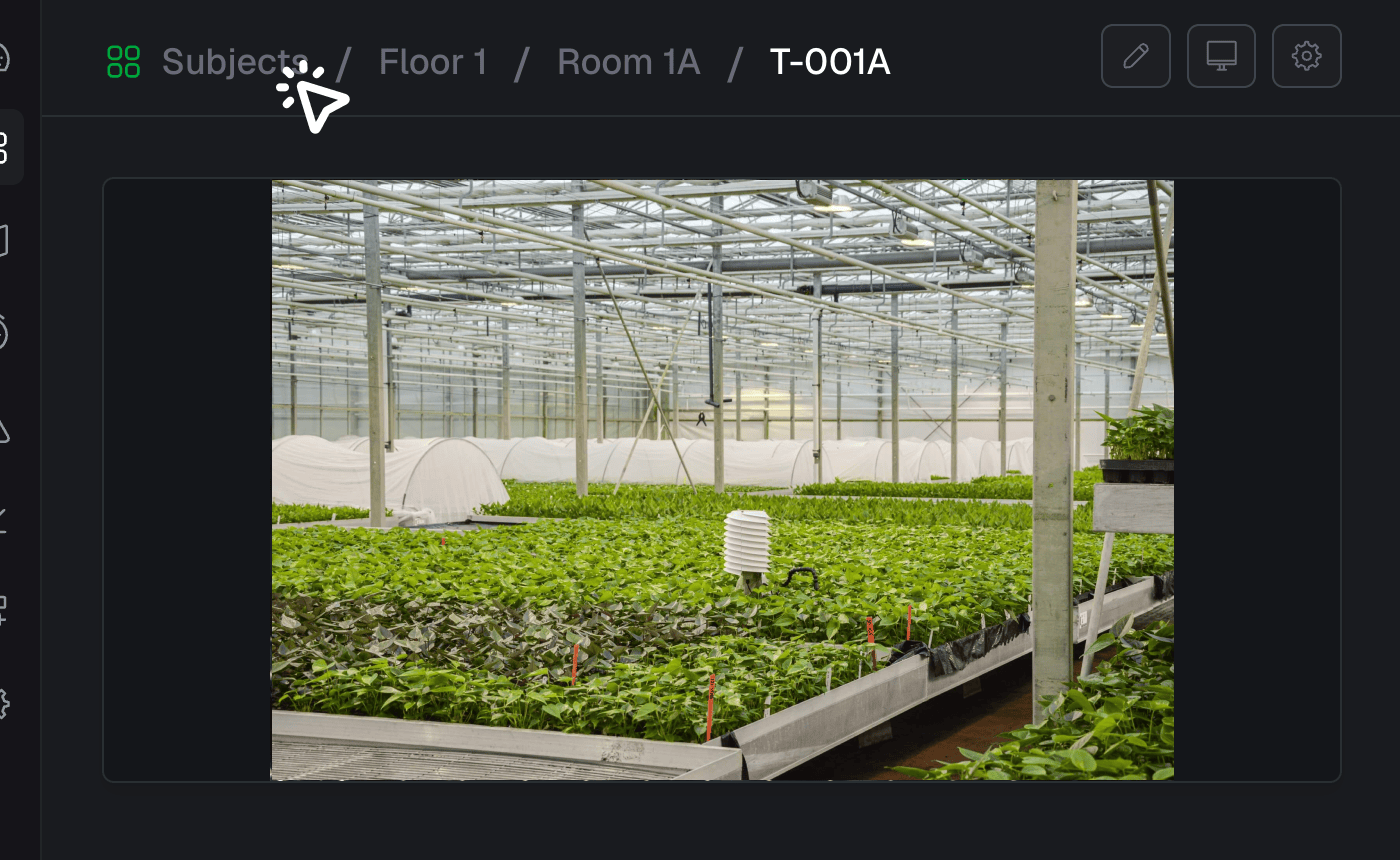
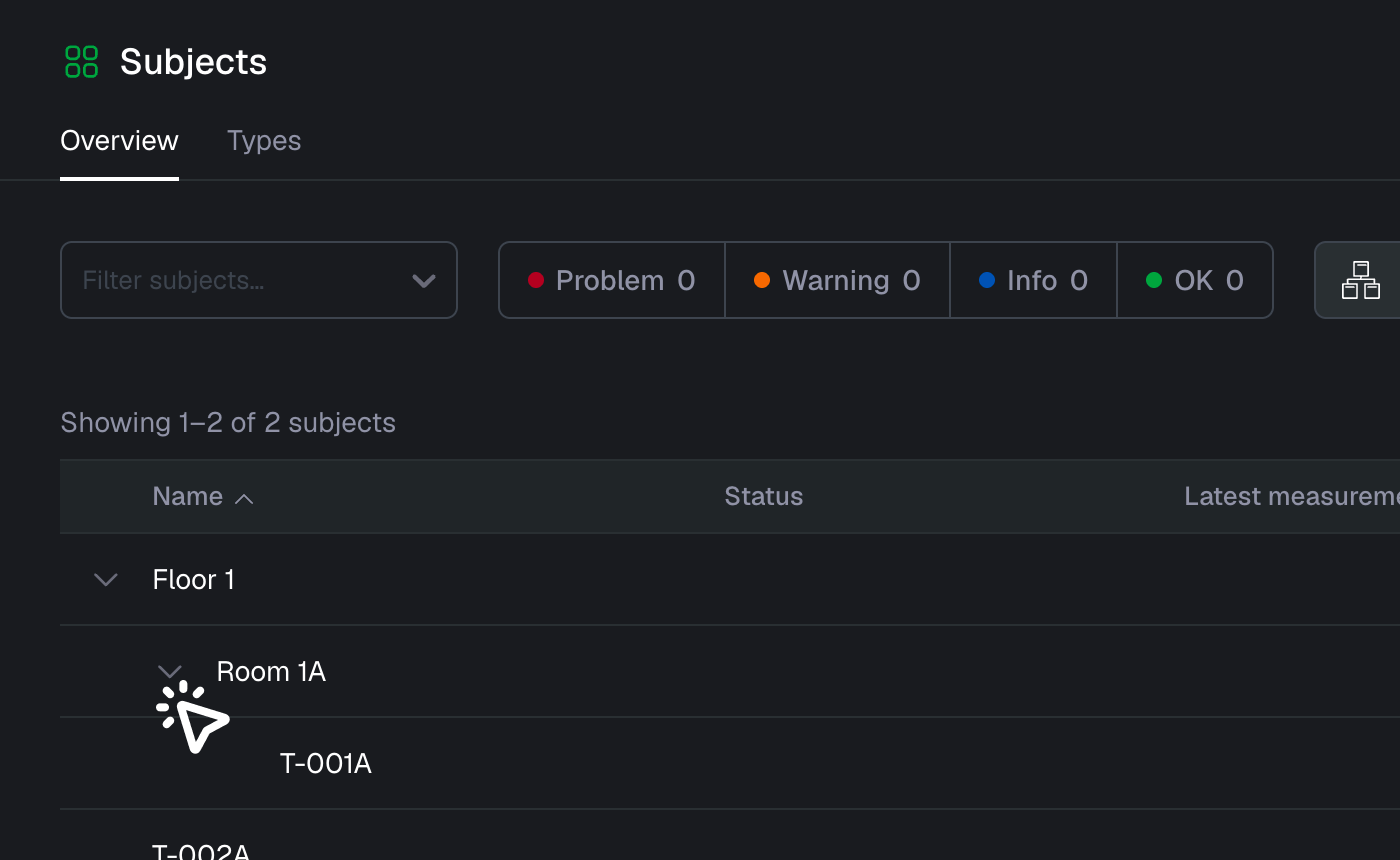
- Let’s go back to our Subjects overview to see the change in the list
- Well done! Now we’ve added another layer to our Subject composition.
Congratulations, you have just configured your first subject composition!