Docs
Creating an Inbound connector
In this guide we are going to explore how to create an Inbound connector. Inbound connectors are the integrations to ingest measurements into the Blockbax Platform. Read all about them in our documentation.
Inbound connectors can be configured to your liking, ranging from various types of protocols that either push the data, or allows Blockbax to subscribe or pull the data. For this specific use-case, we will aim to create the following:
- HTTP Endpoint to allow data to be pushed to.
- SenML parsing in the payload converter.
- Log the payload to uncover the ingestion Ids.
- Automatically create new subjects
1. Click "Settings"

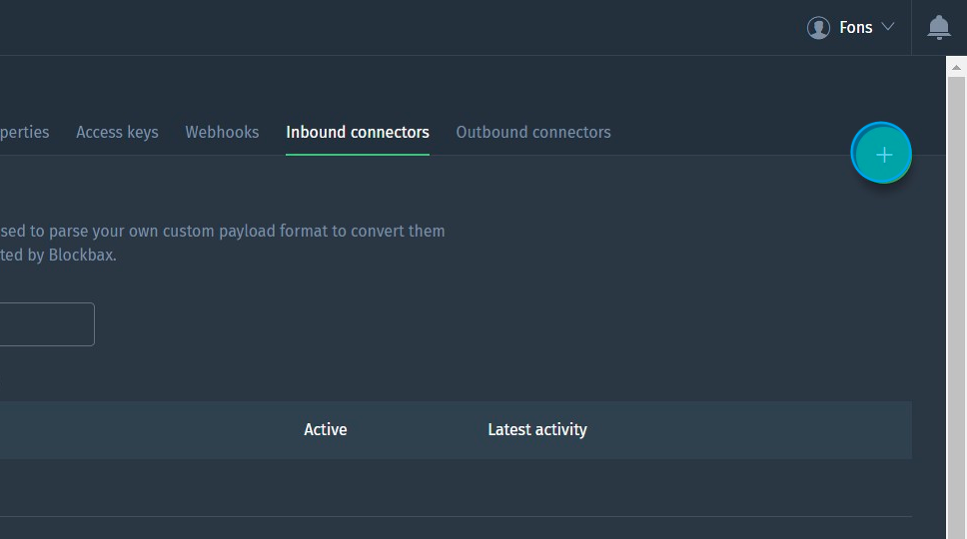
2. Click "Inbound connectors"

3. Create a new Inbound connector
4. Name your Inbound connector. In our case we will be creating a HTTP endpoint that accepts the SenML format to ingest measurements, therefore we will also use a preset.

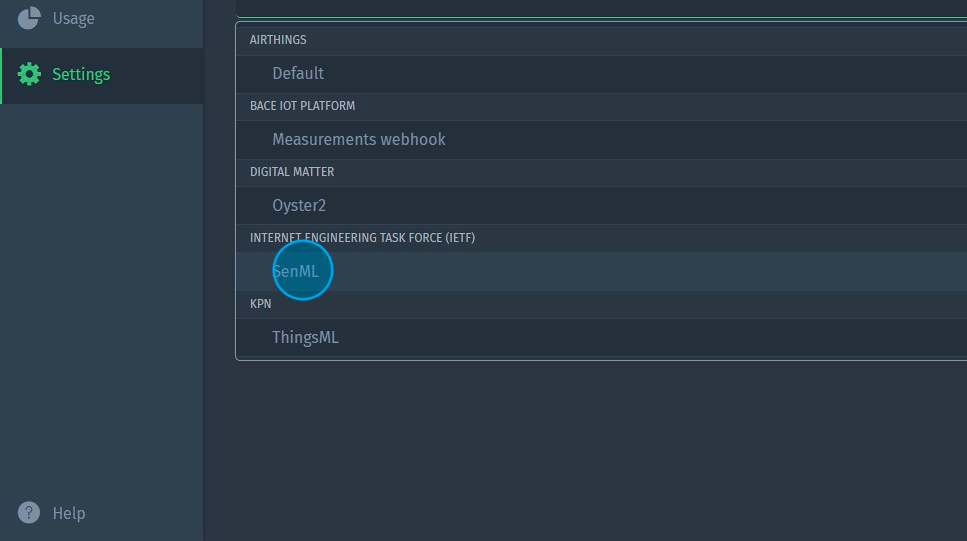
5. Select "SenML" from the list
6. Click "Show advanced settings". Here you can see the payload conversion script that has been filled for you.

7. For our case, we want to temporary log the payload that we will be receiving so we will convert it to a custom conversion.

8. Add a line of code to log the payload.
//Temporarily log the payloadcontext.logInfo(JSON.stringify(payload,0,4))
This stringify will also format the payload for you. The defined code in the payload conversion will process measurements from the received payload.

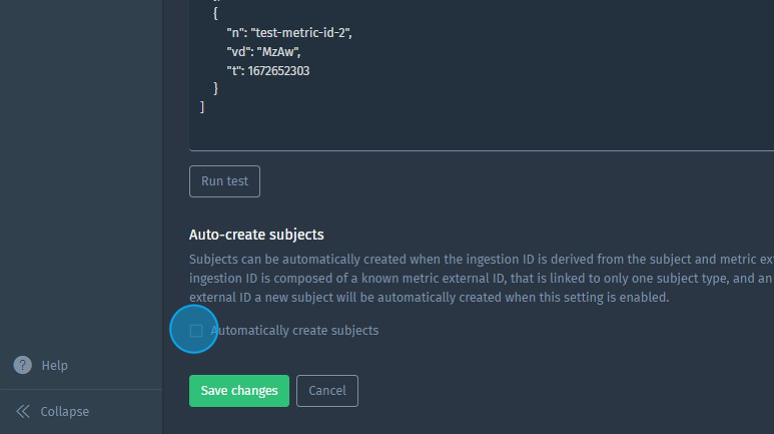
9. Run a test and scroll down to see the resulting test output.

10. Enable "Auto-create subjects". If the Inbound connector receives a payload from an unknown subject, this functionality will allow Blockbax to automatically create the subject in order to start processing measurements.
11. Click to save and create your connector.

12. Congratulations, you've now created your first HTTP Post Inbound connector on the Blockbax platform. With this knowledge, you can dive deeper into the various types of protocols and payloads to further help integrate with the platform.
