Docs
Creating a global map layer
In this guide we are going to define a global map layer. Map layers can be used to add extra layers of information to the map, for example floorplans or schematic diagrams. Global map layers will always be shown, regardless of the subject that is being displayed on the map.
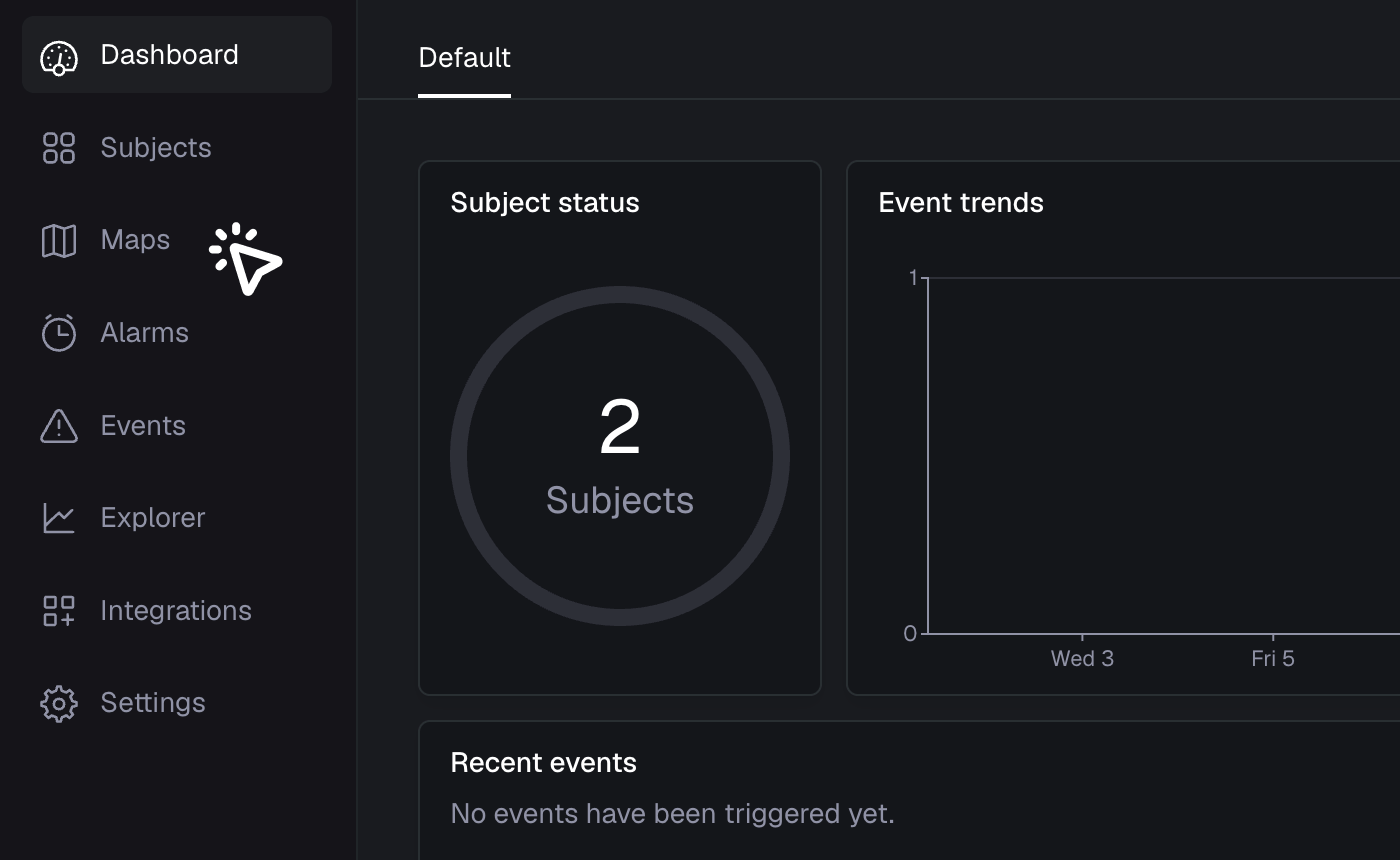
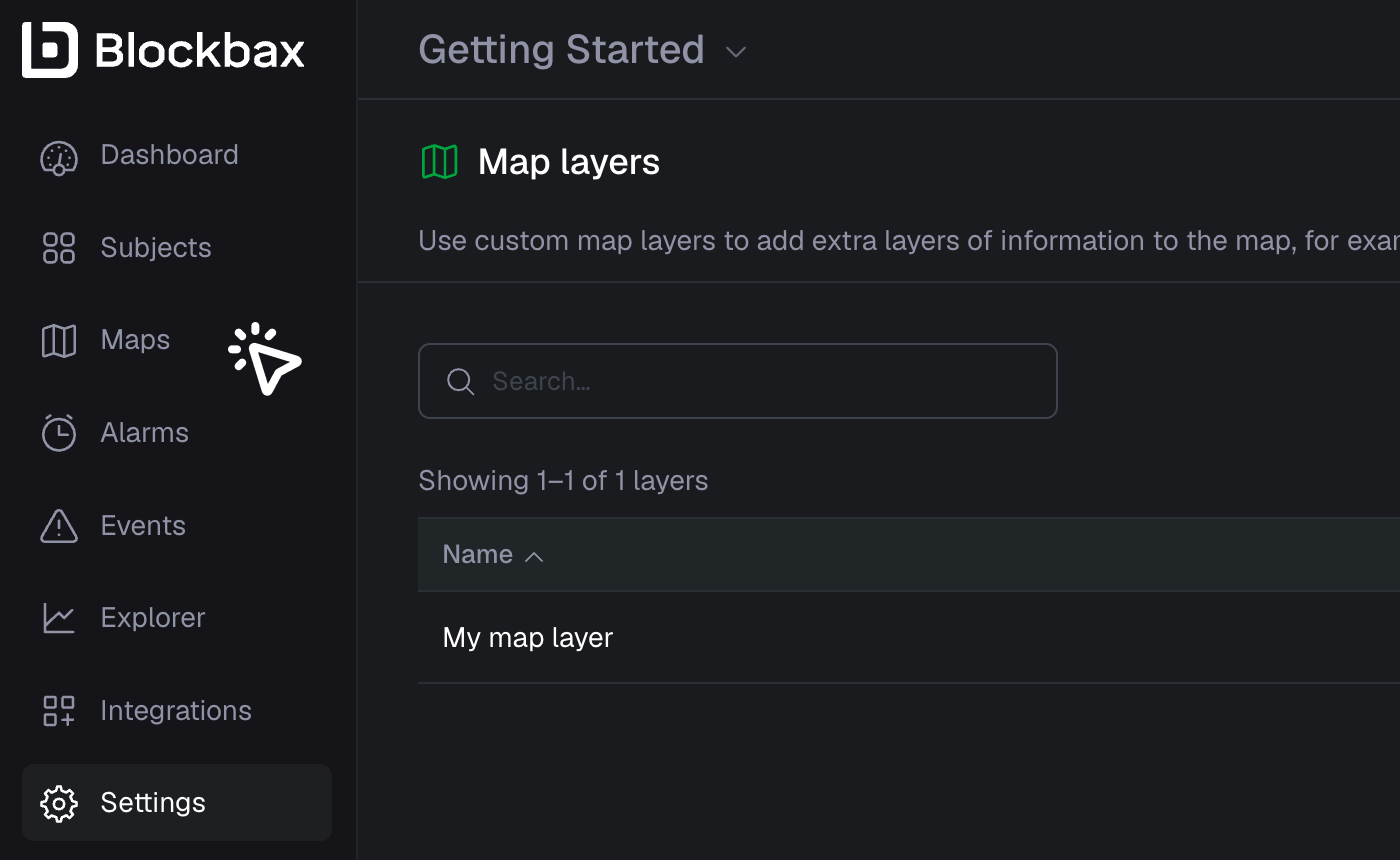
- Navigate to "Maps".
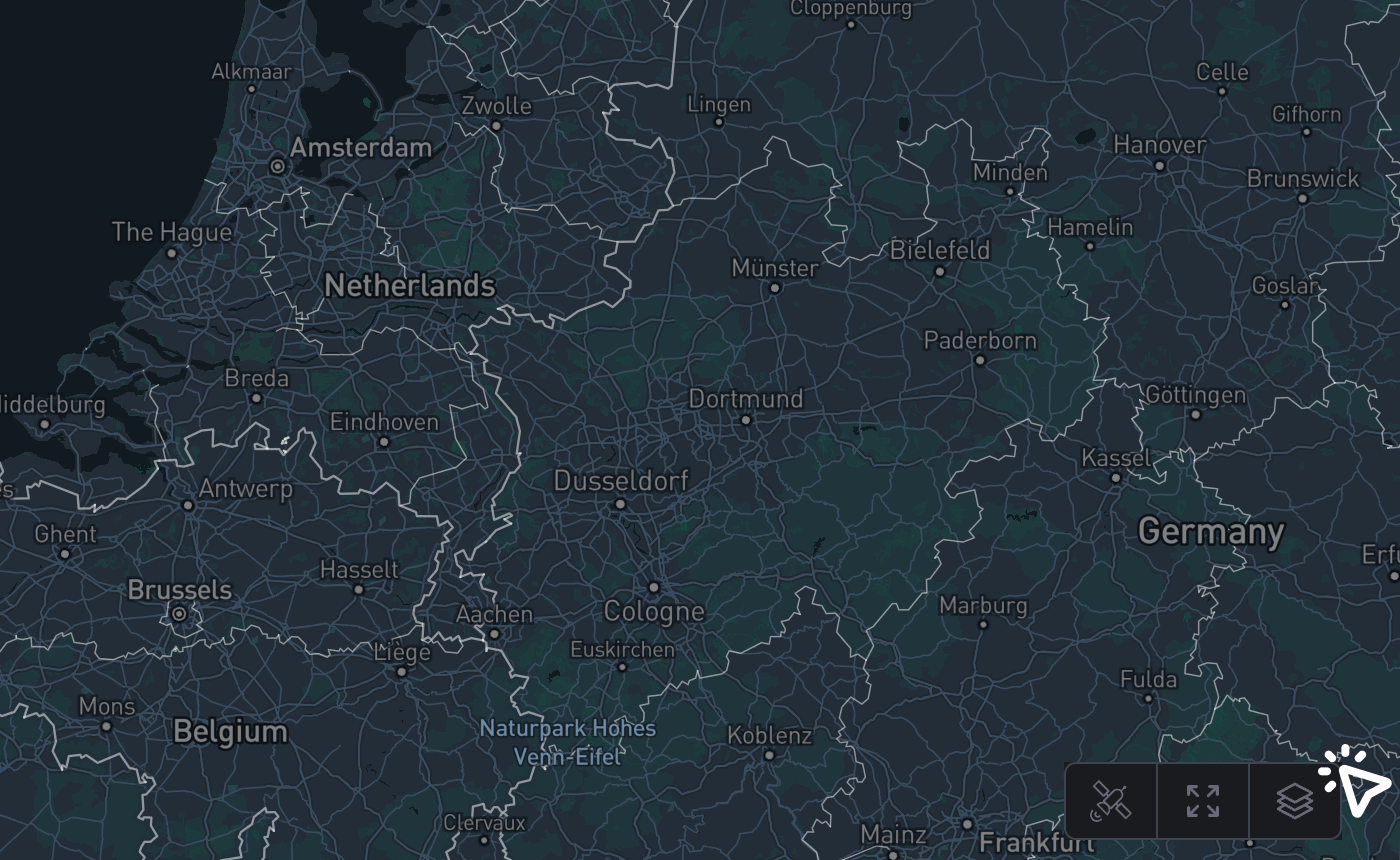
- Click on the bottom right button to navigate to the Global map layer configuration page.
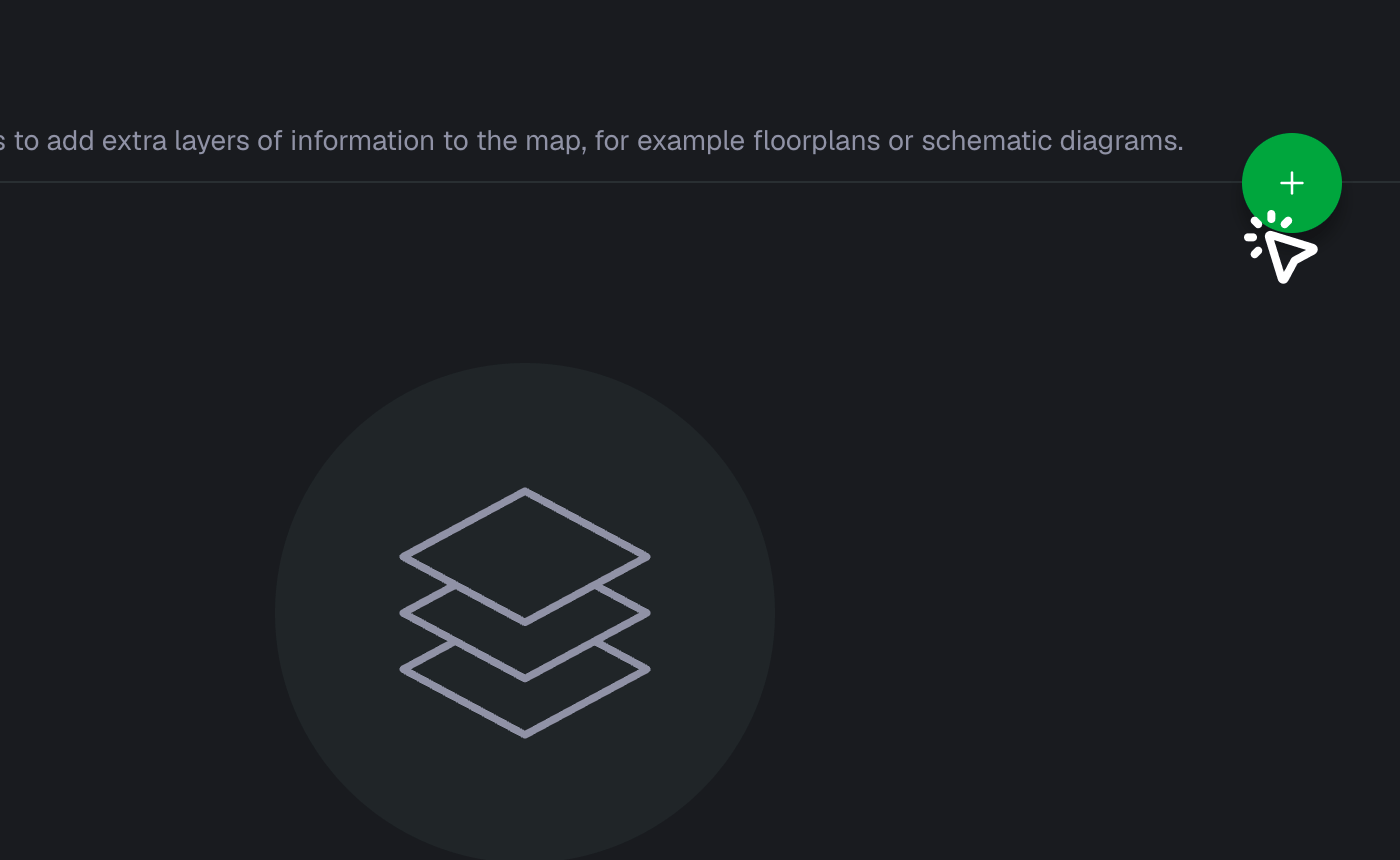
- Add a new map layer.
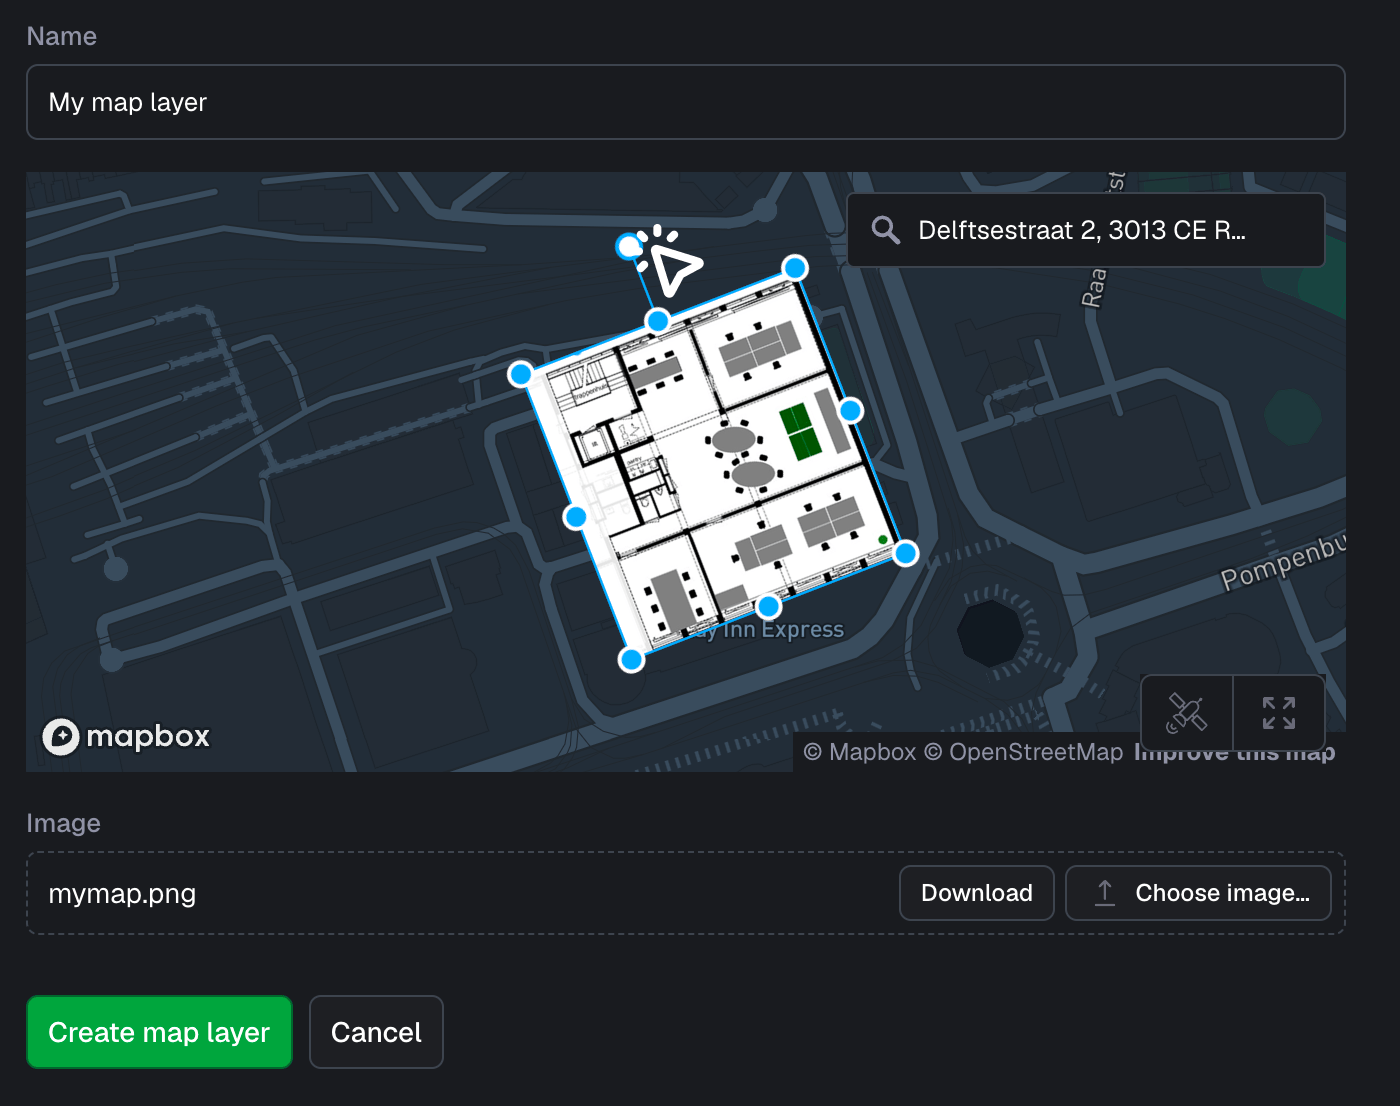
- Name your newly created map layer, choose an image, and upload it.
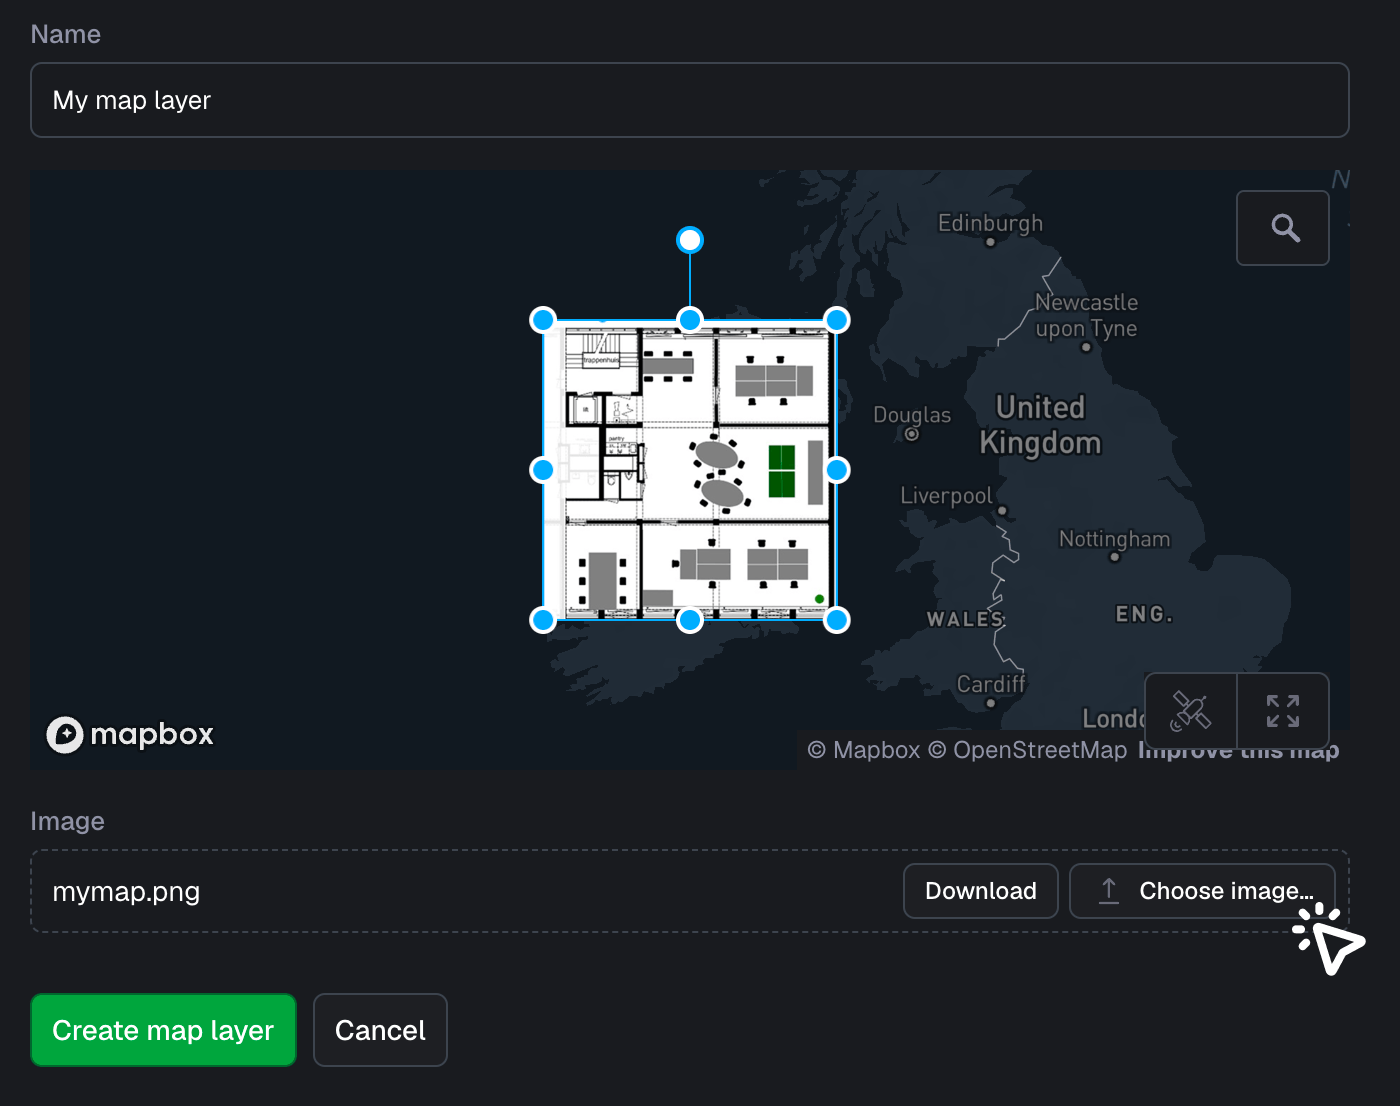
- Navigate or search in the map where you want to place the map layer. You can rotate the uploaded image. Simply click one of the handles, hold, and drag to rotate or resize.
- The circles will allow you to resize your map layer to the correct size.
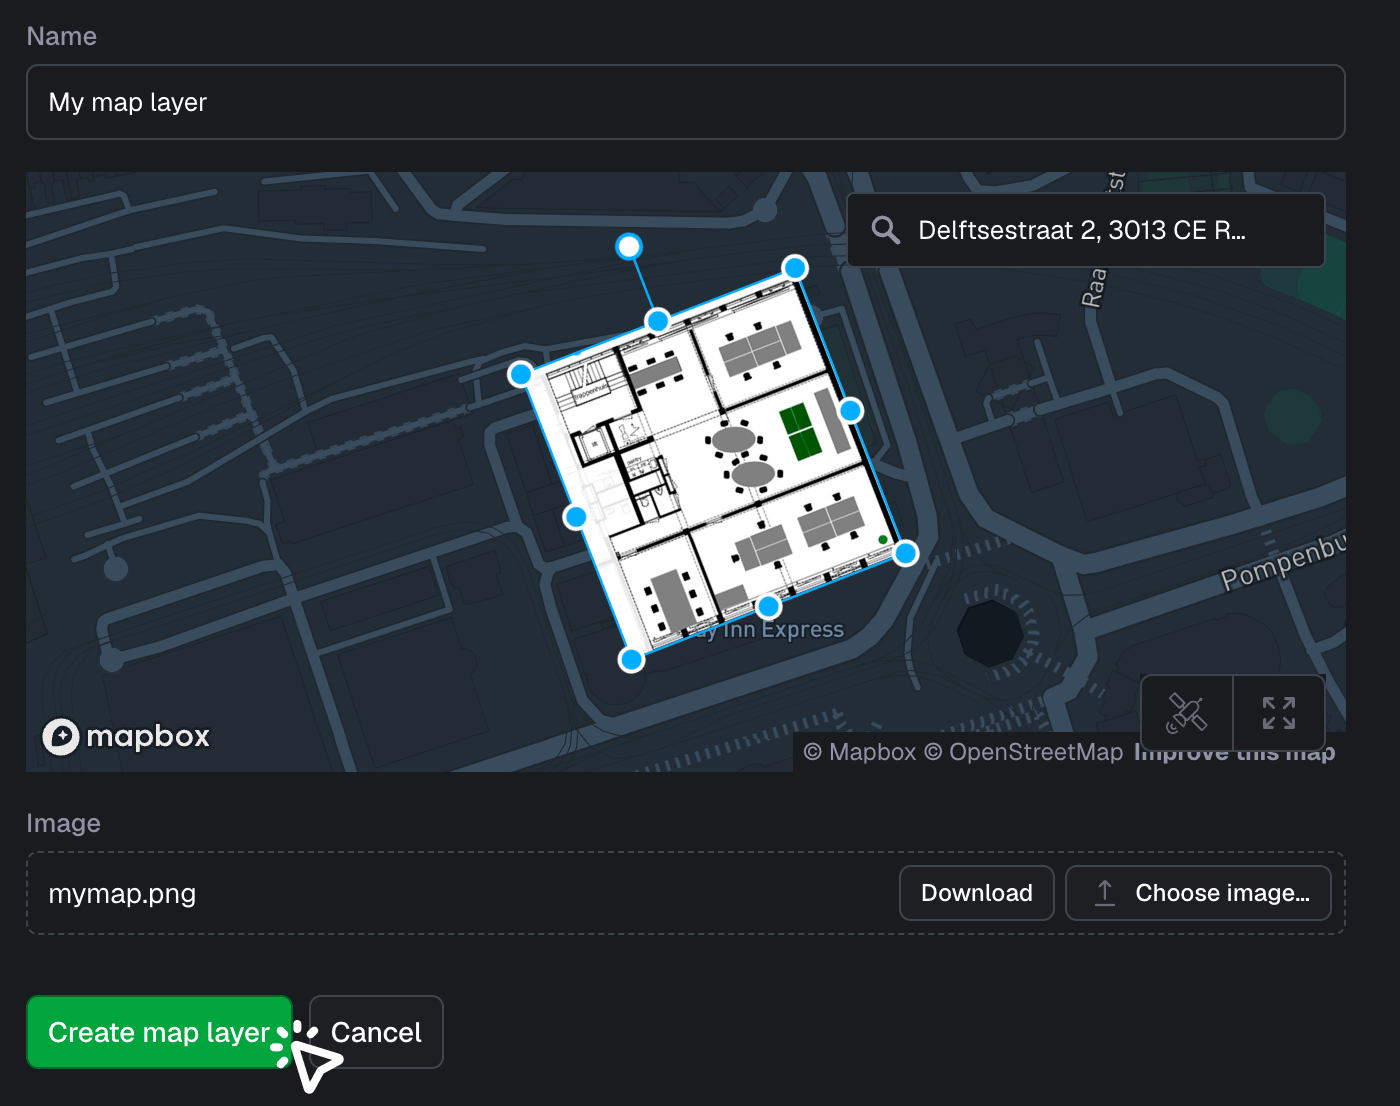
- When you’re done click "Create map layer" to finalize and save the uploaded image.
- Click "Maps" to see what the map layer looks like.
- Zoom into the location where you placed the map layer. This map layer will always be shown, both in the Maps view and on any map widget.
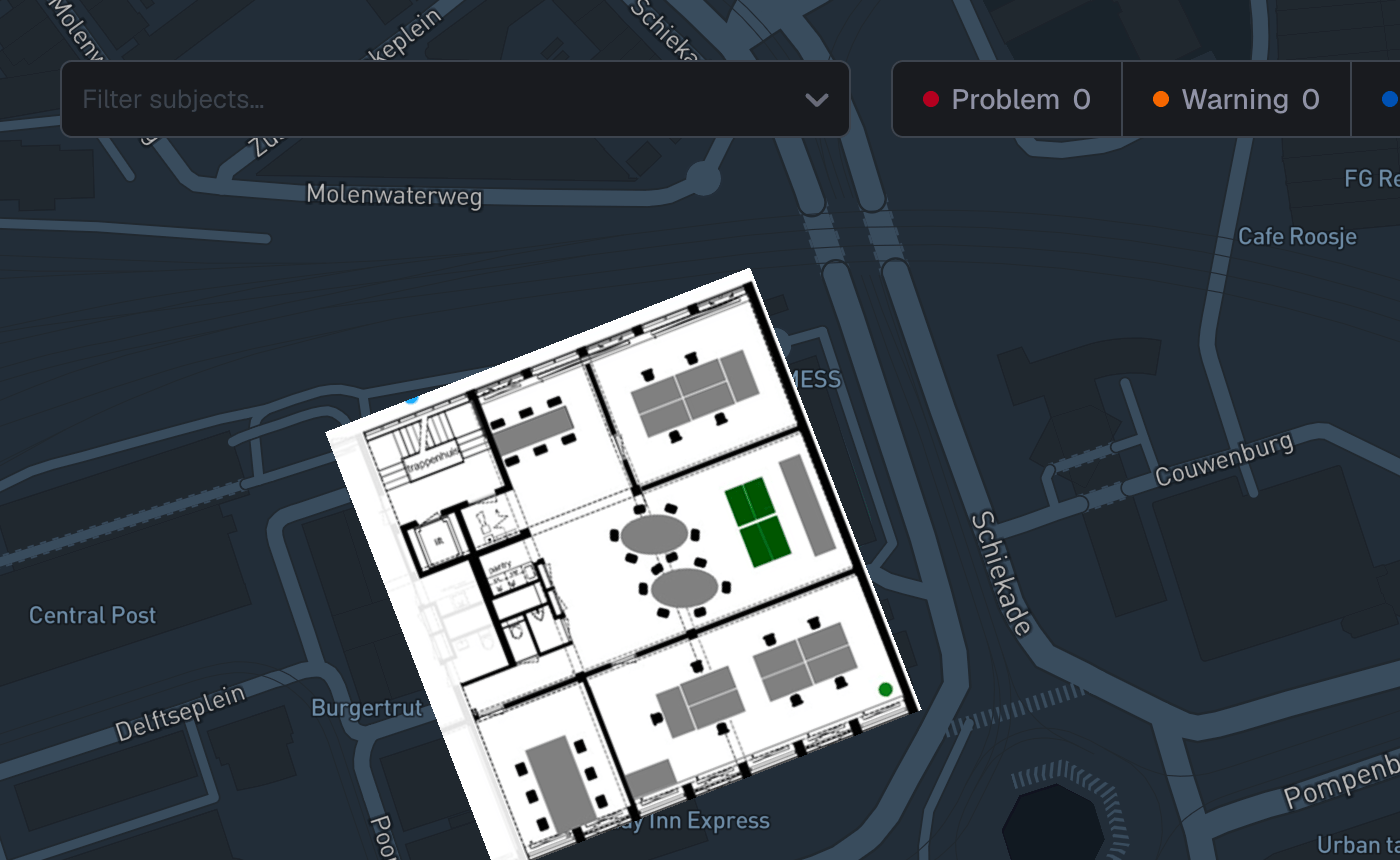
Congratulations, you have just uploaded your first map layer!