Docs
Adding an image to a dashboard
In this guide we are going to upload an image to a subject. In order to do this, we will follow these steps:
- Create a property
- Assign the property to a subject type
- Edit an existing subject
- Upload an image for the newly assigned property
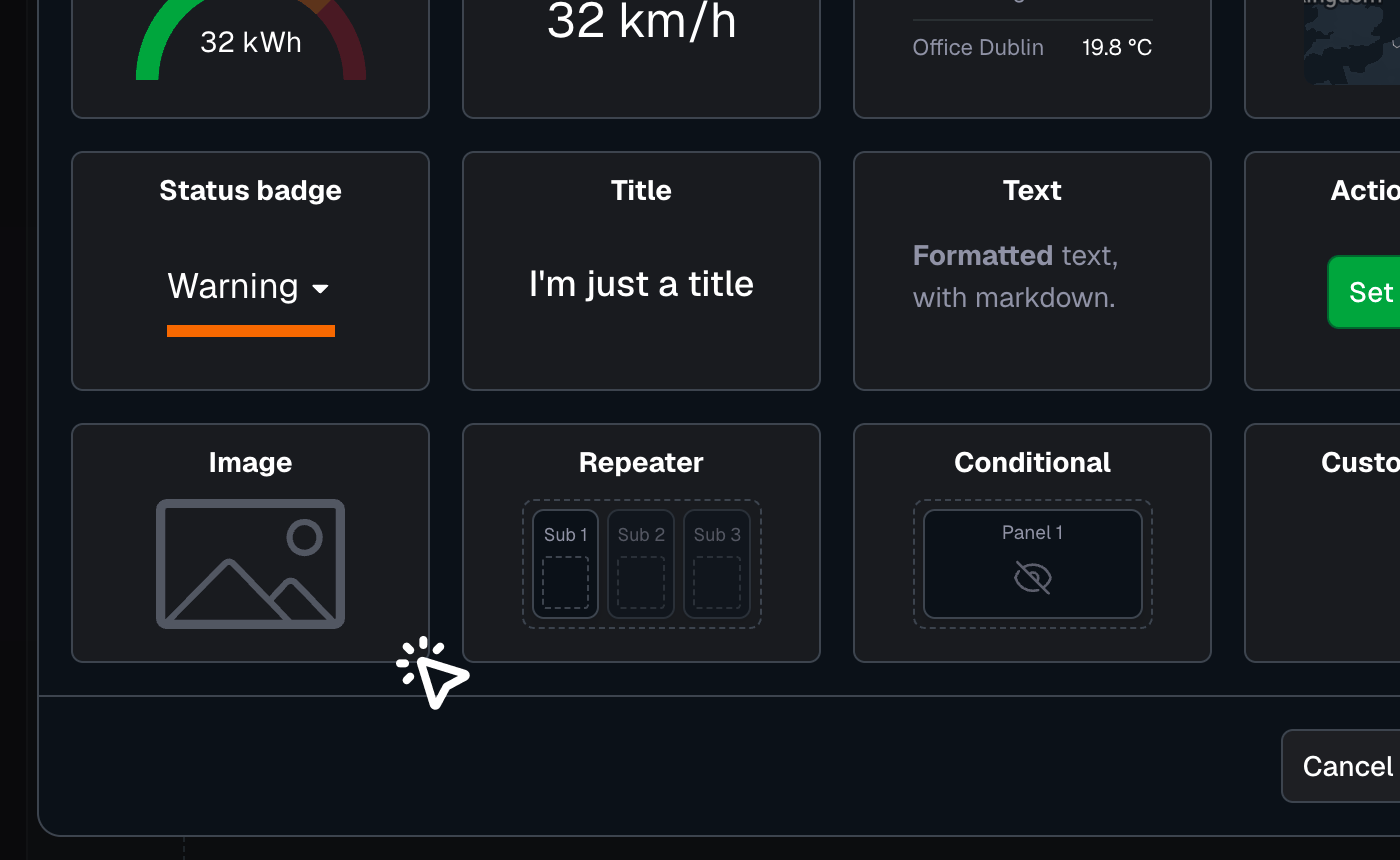
- Add an Image widget on a dashboard to display the uploaded image
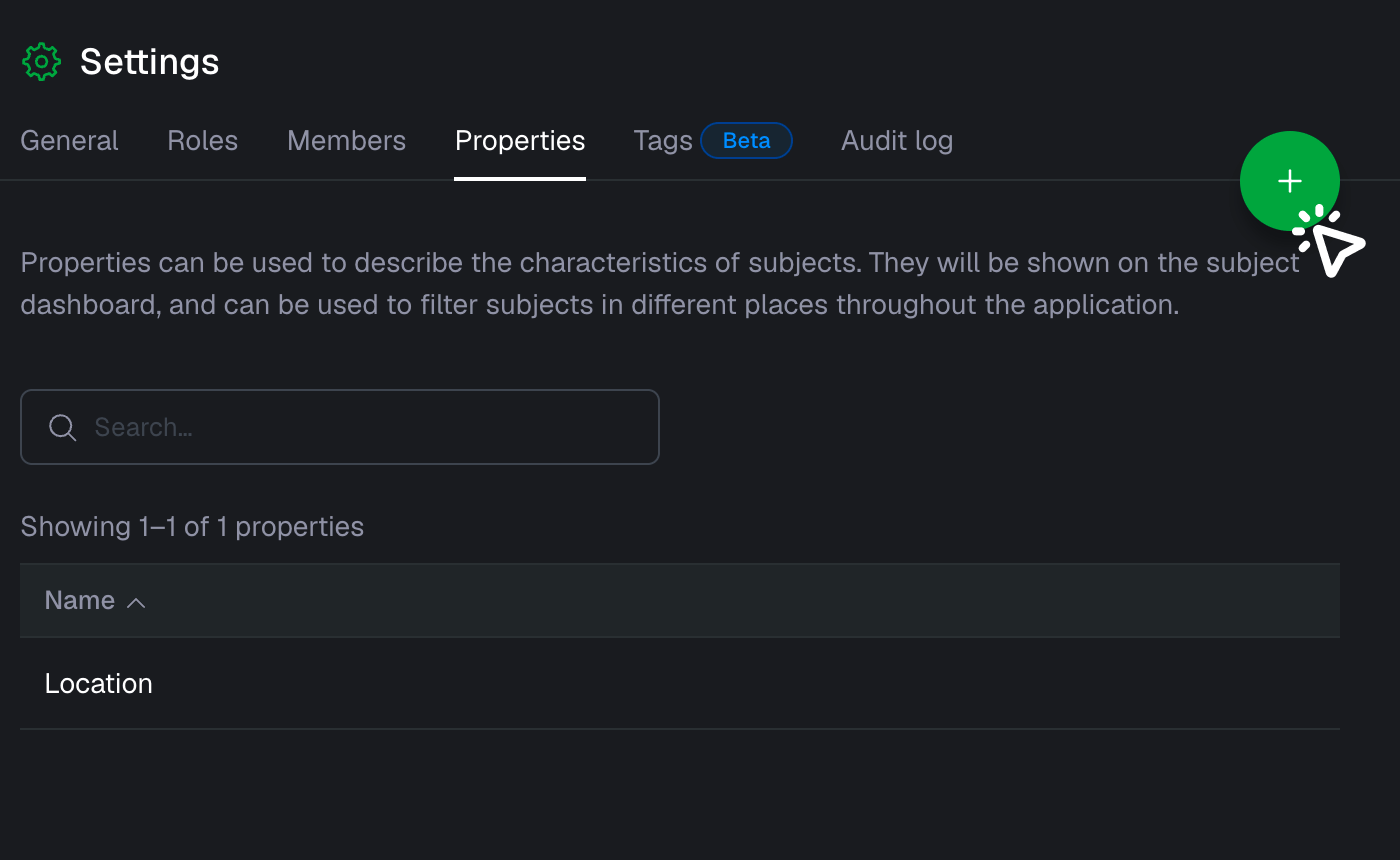
- In the project settings, click on "Properties"

- Click here to add a new property
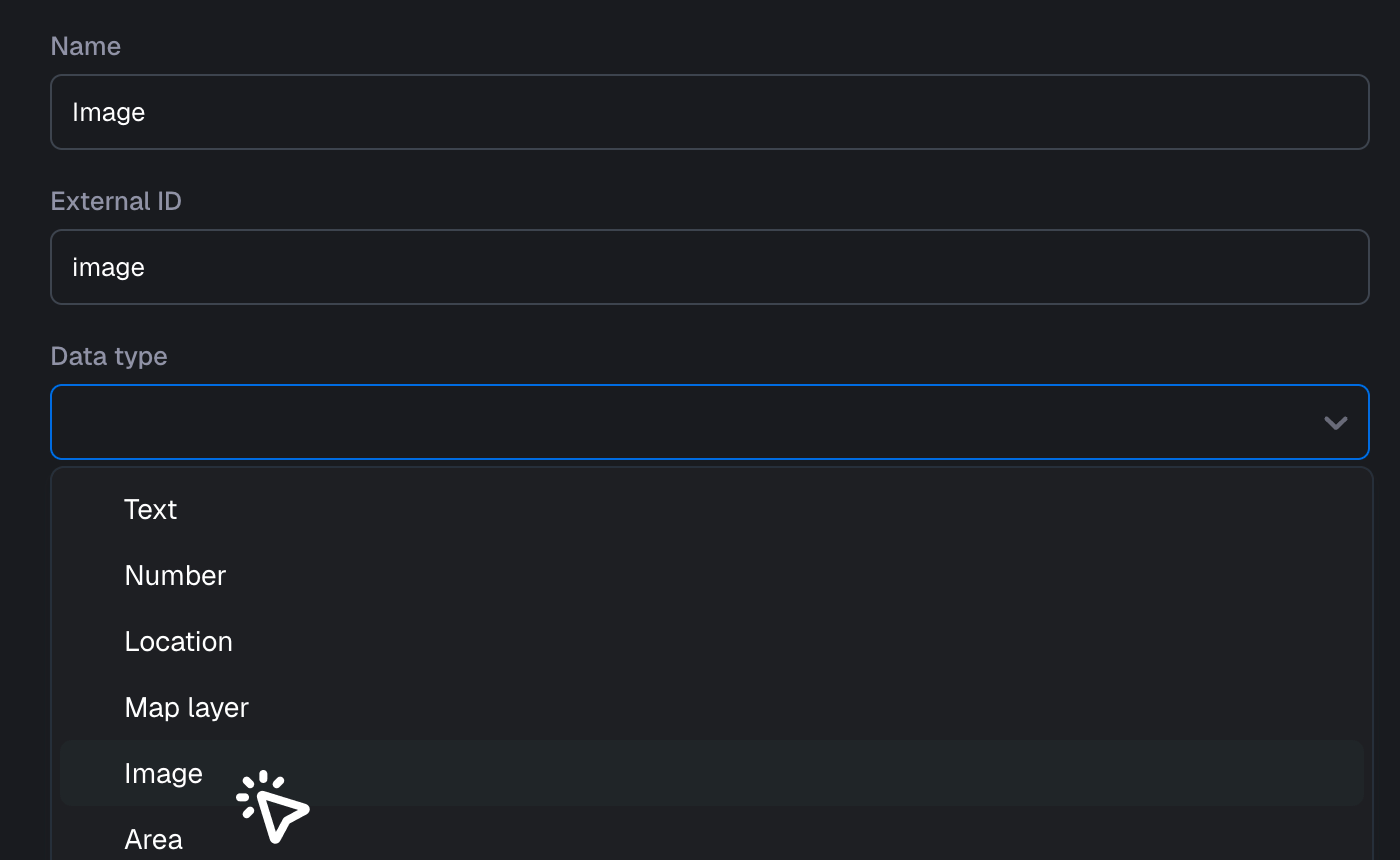
- Type "Image" and select Image for the data type
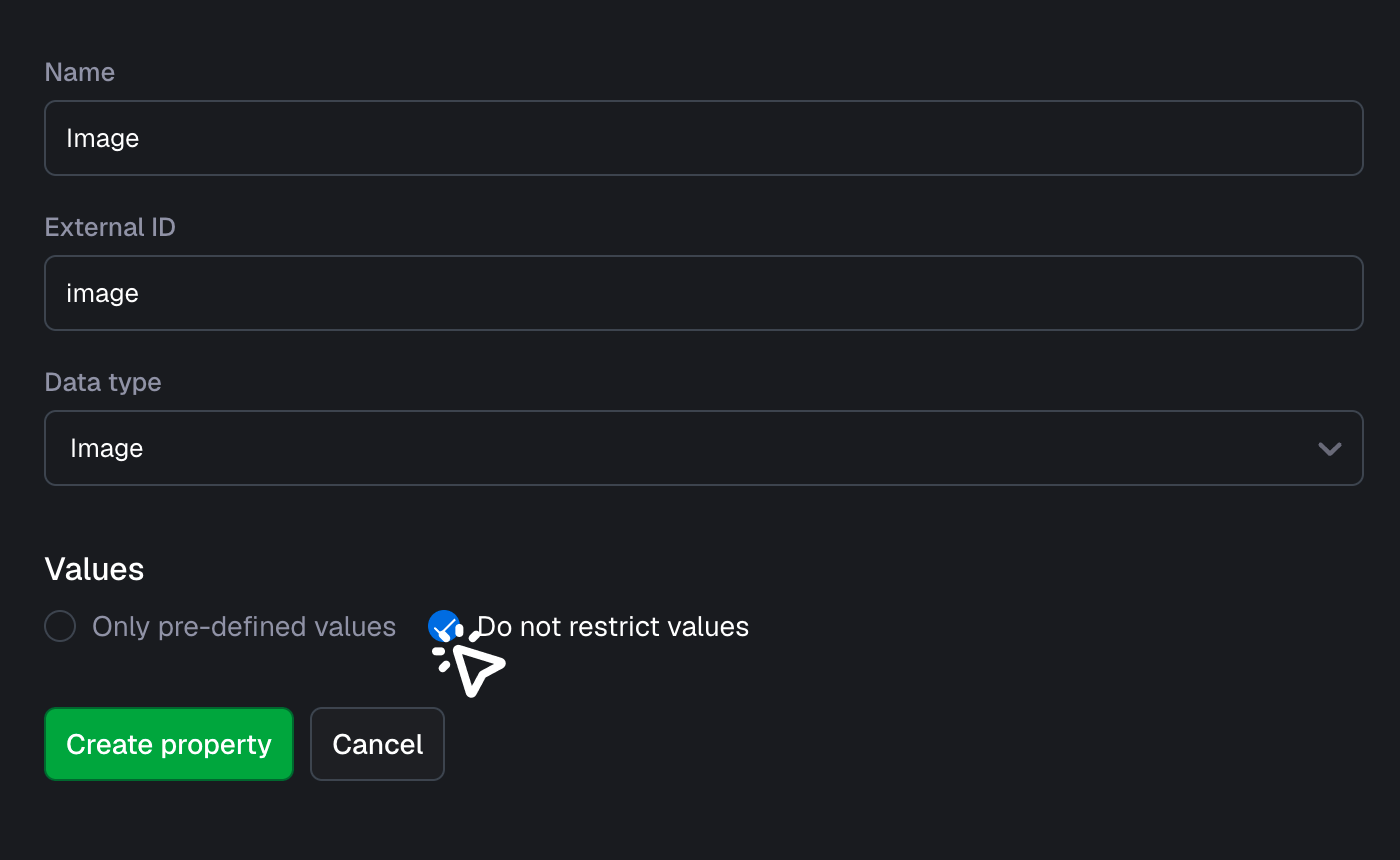
- To allow a free image upload, we will not restrict the values of the property. Select “Do no restrict values” and we can create the property
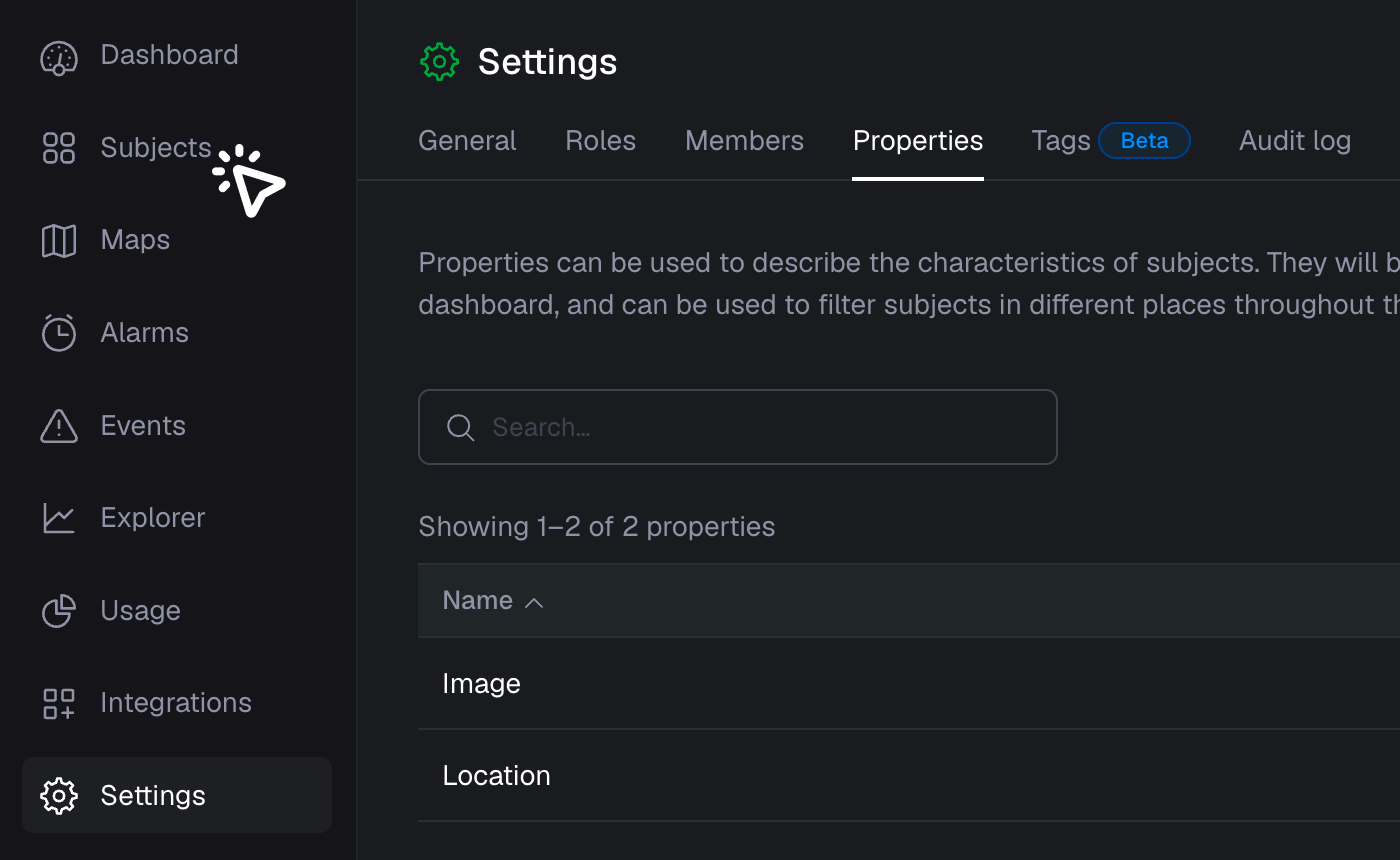
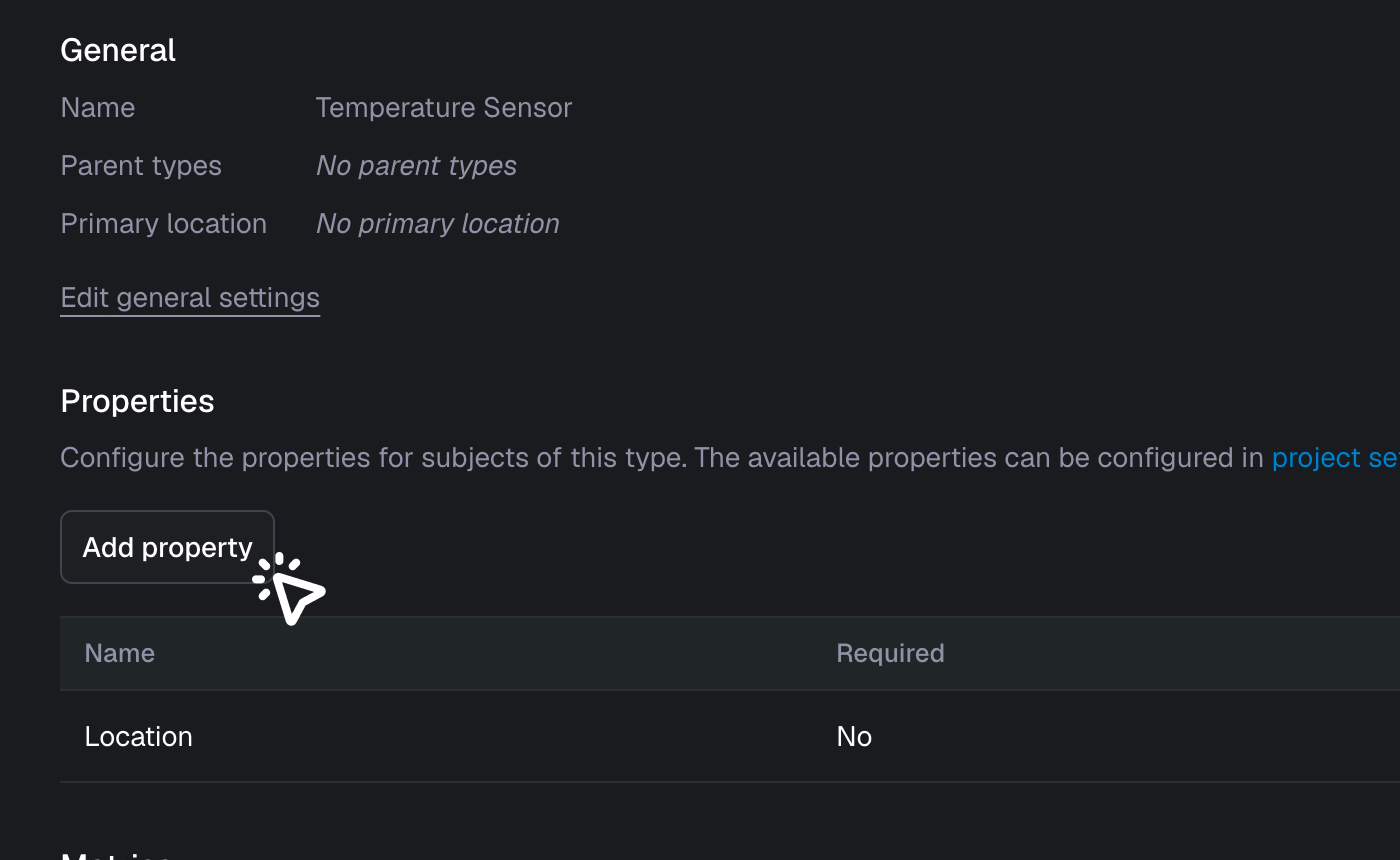
- Let’s go to "Subjects"
- In the "Types" overview, click on your subject type you would like to assign the newly created property to

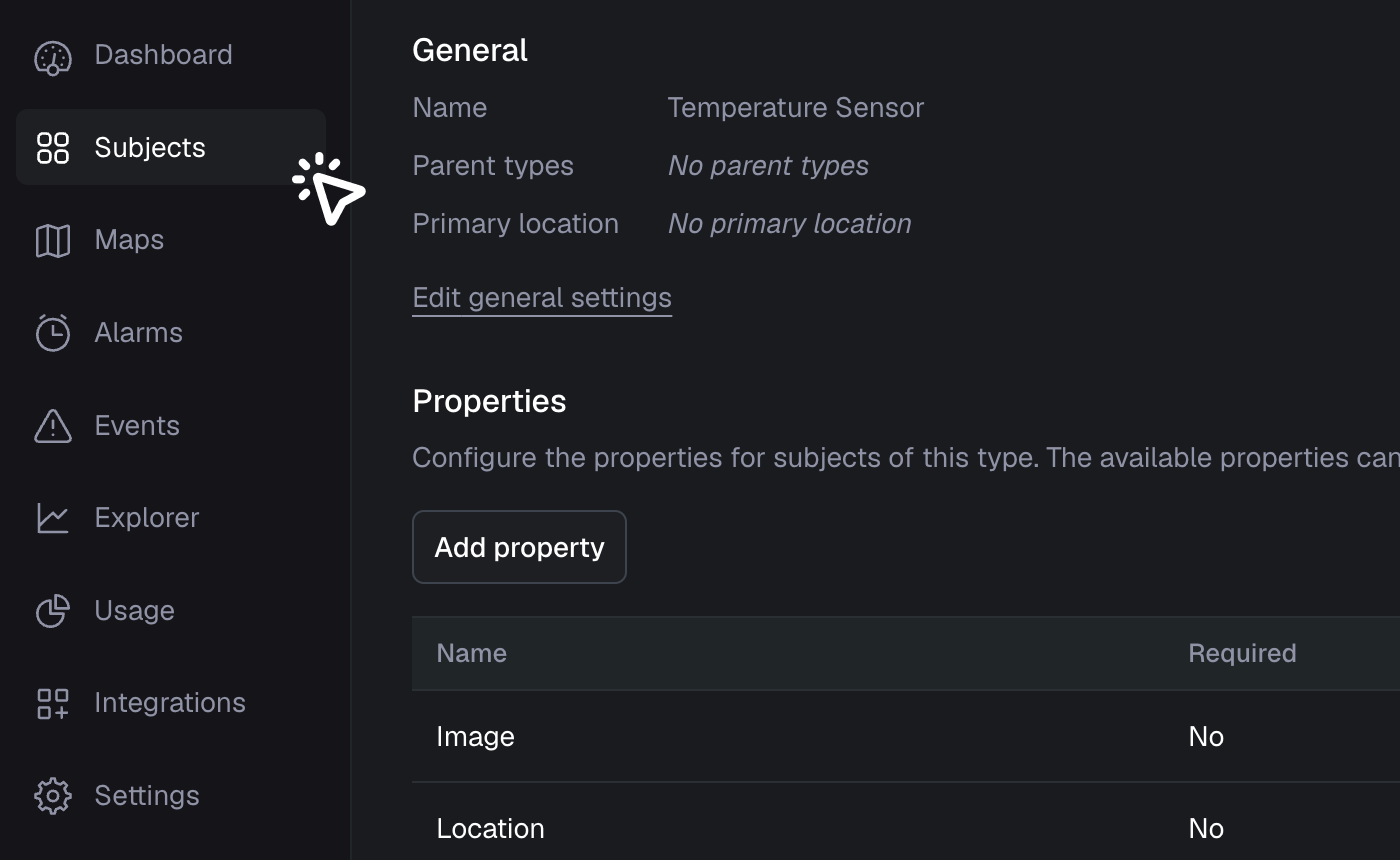
- Add a new property by clicking "Add property"
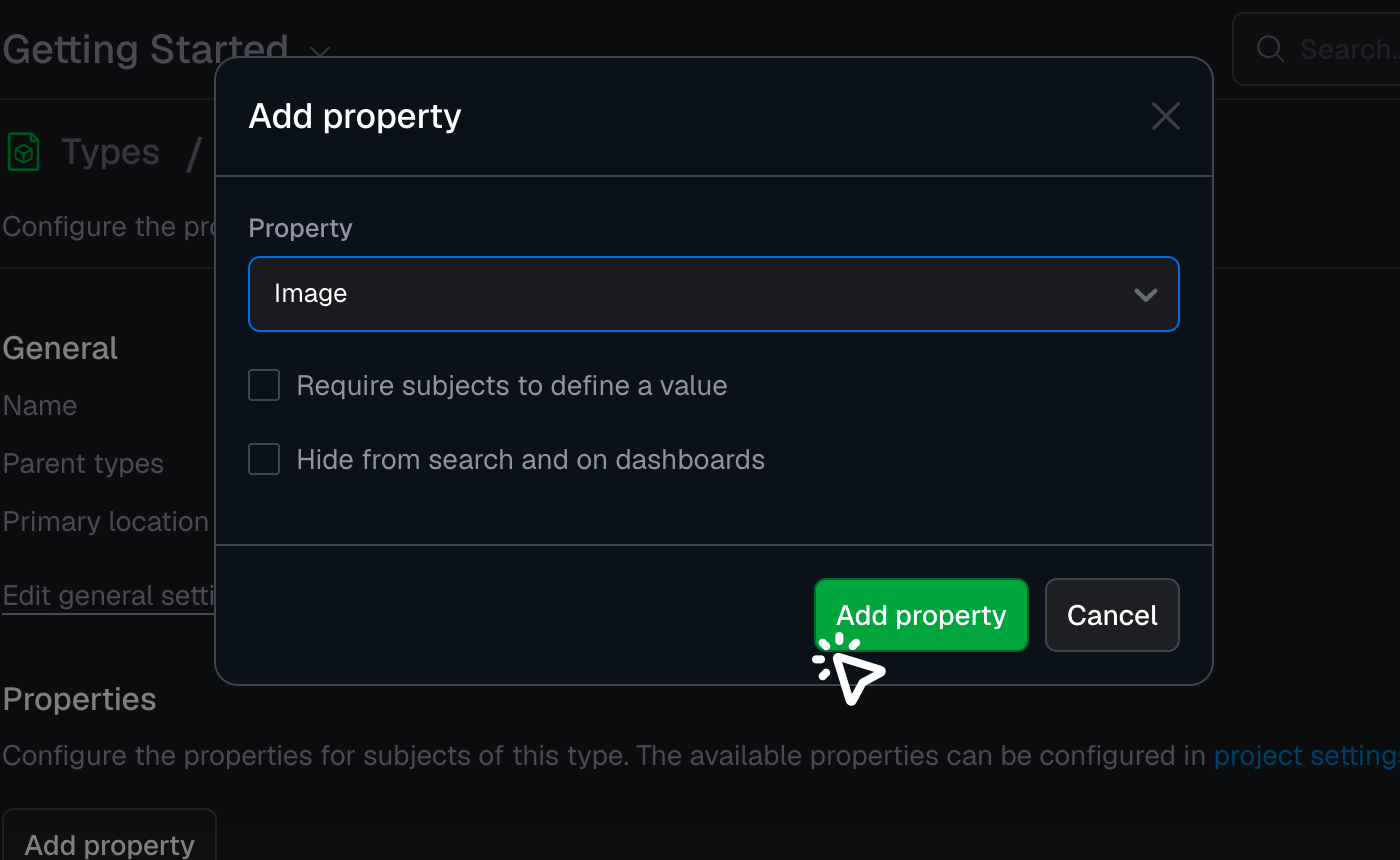
- Select the image "property" and click on "Add property"
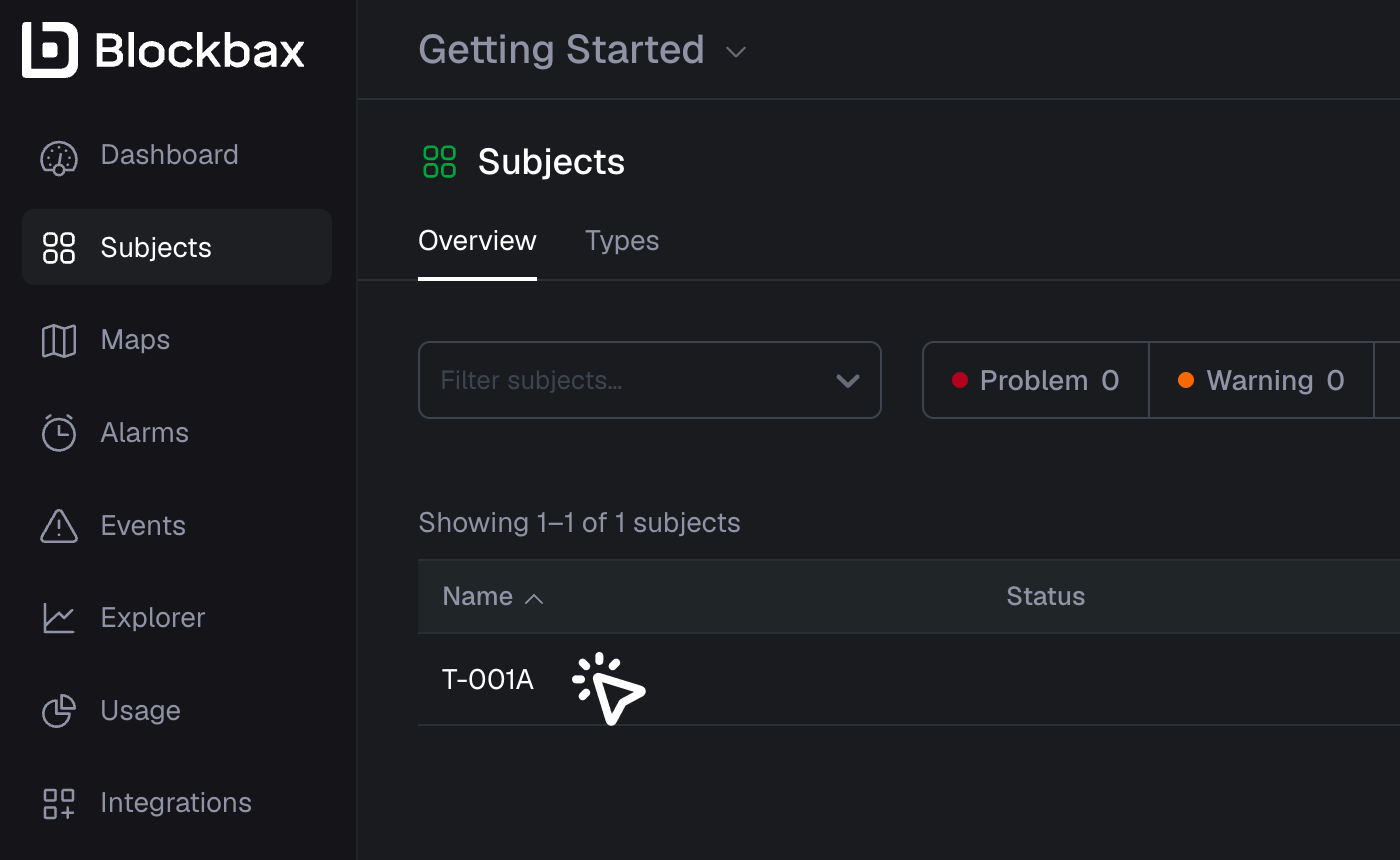
- Let’s go back to the "Subjects" overview
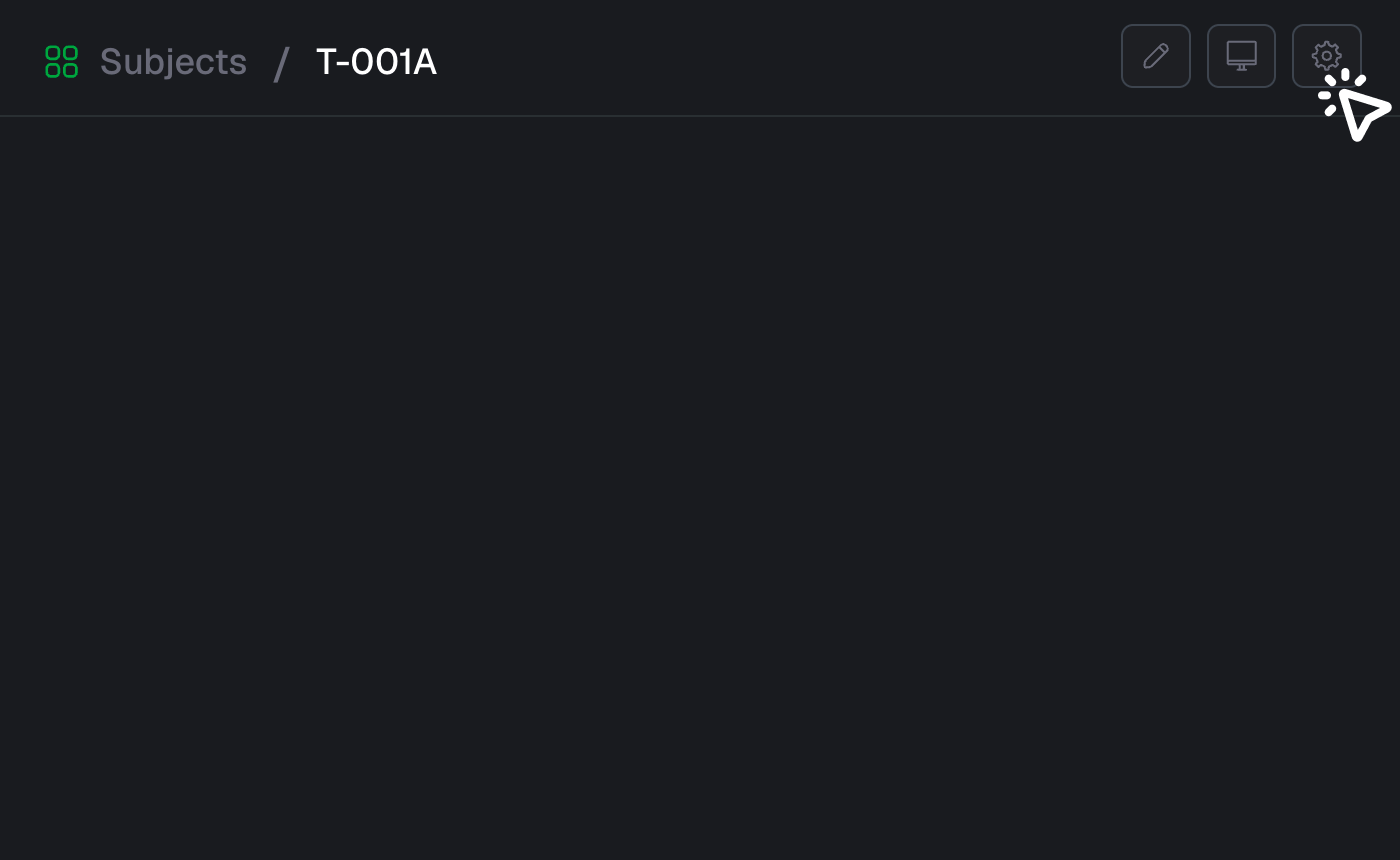
- Click the subject you would like to upload an image for
- Enter "Edit subject" mode by clicking the cogwheel
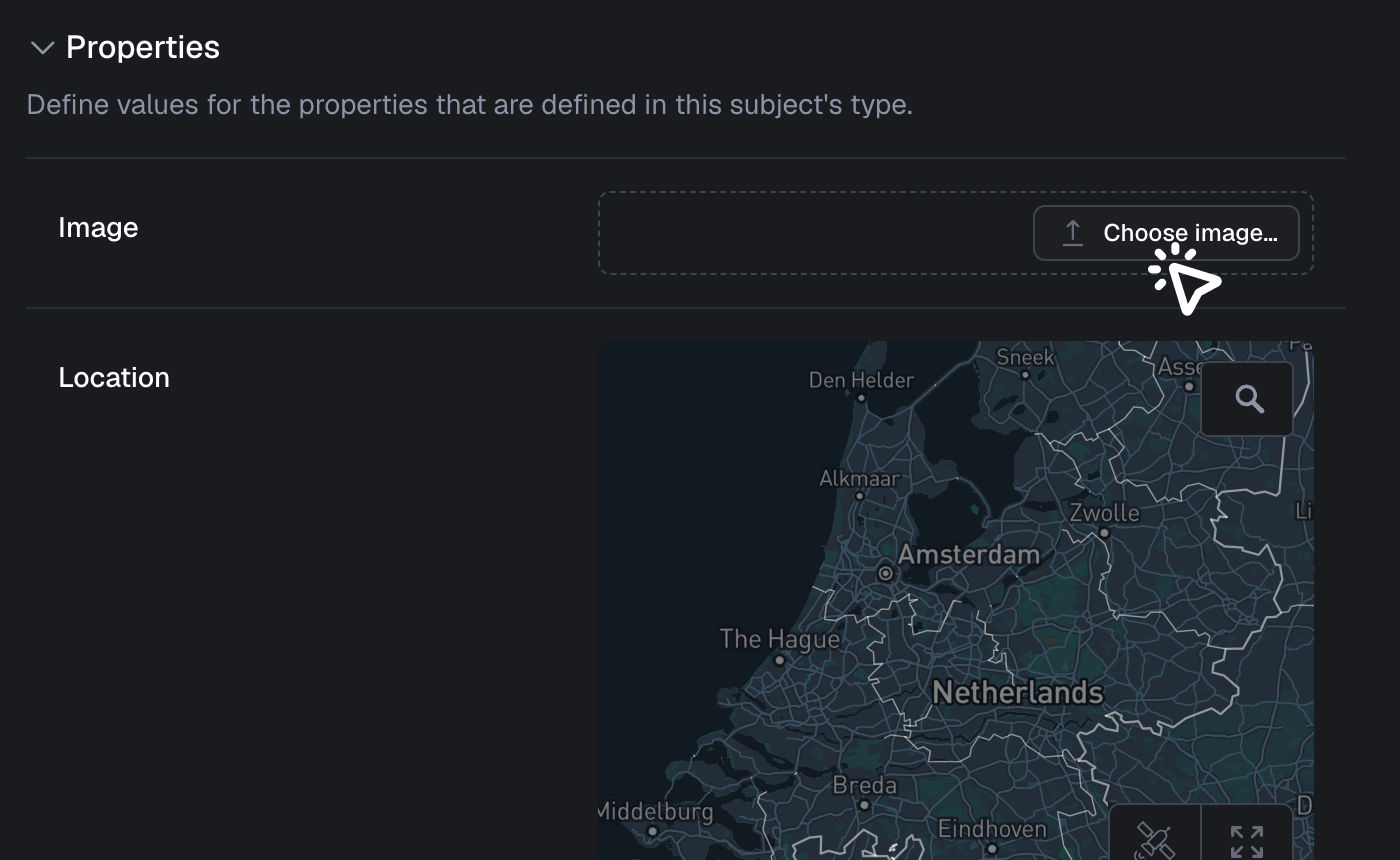
- Drag and drop your image, or click the "Choose image" button. Save your changes
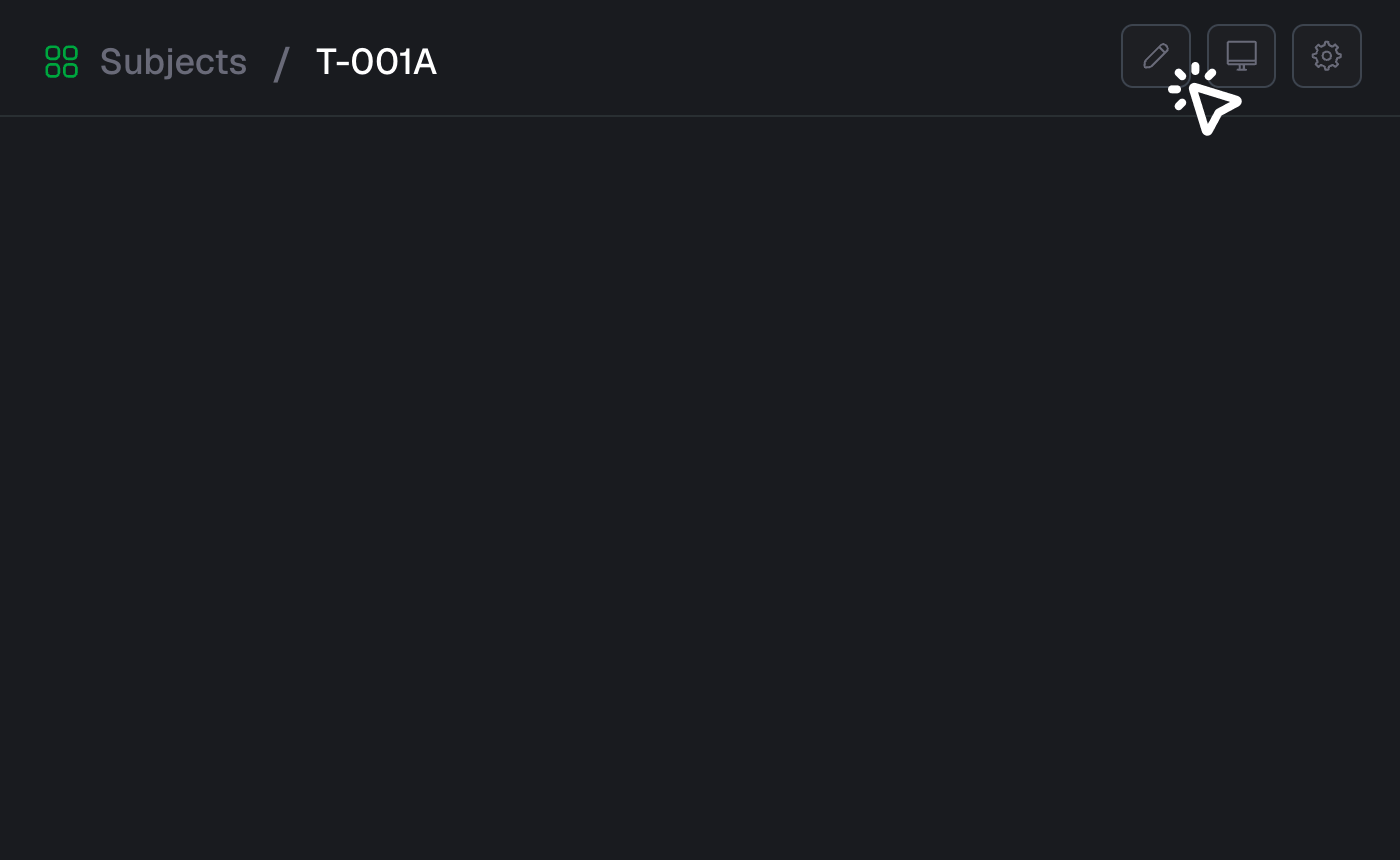
- Go into "Edit mode" by clicking the pencil
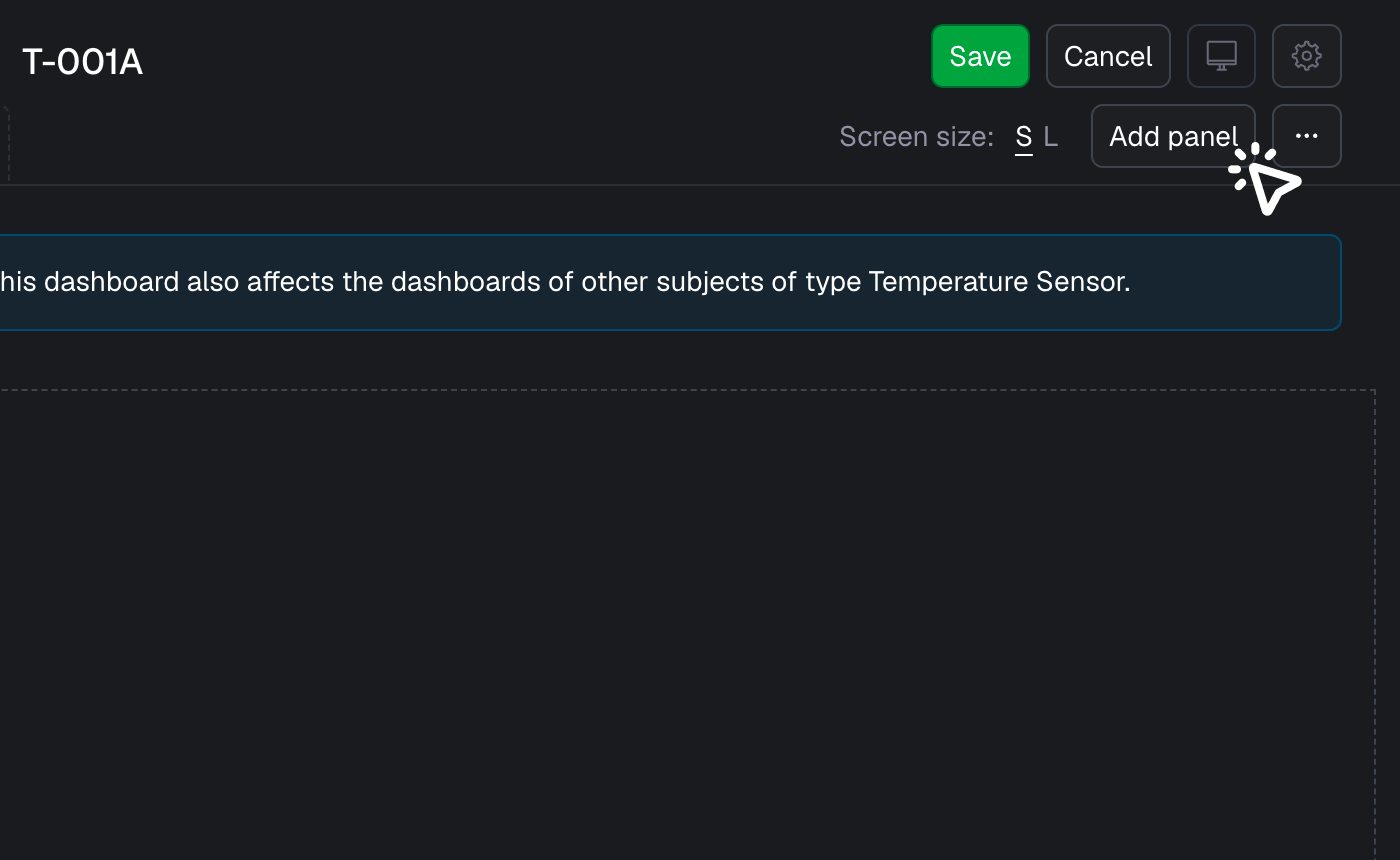
- We want to add a panel to our "Dashboard"
- Select the "Image" widget type and prototype
- Select your "Image" property and click on "Add panel"
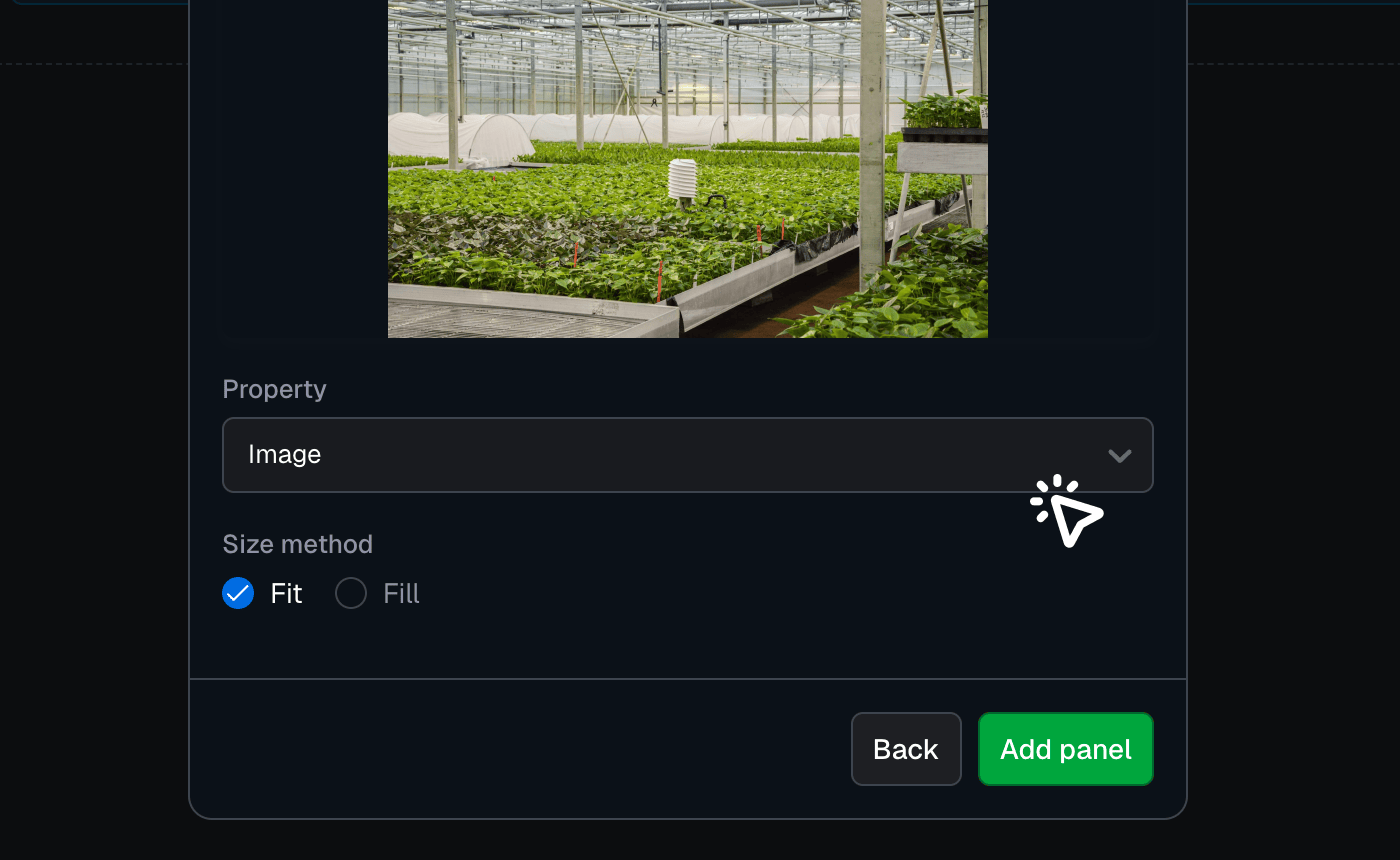
- Resize and drag your image panel if needed. When you’re happy with the size press "Save"
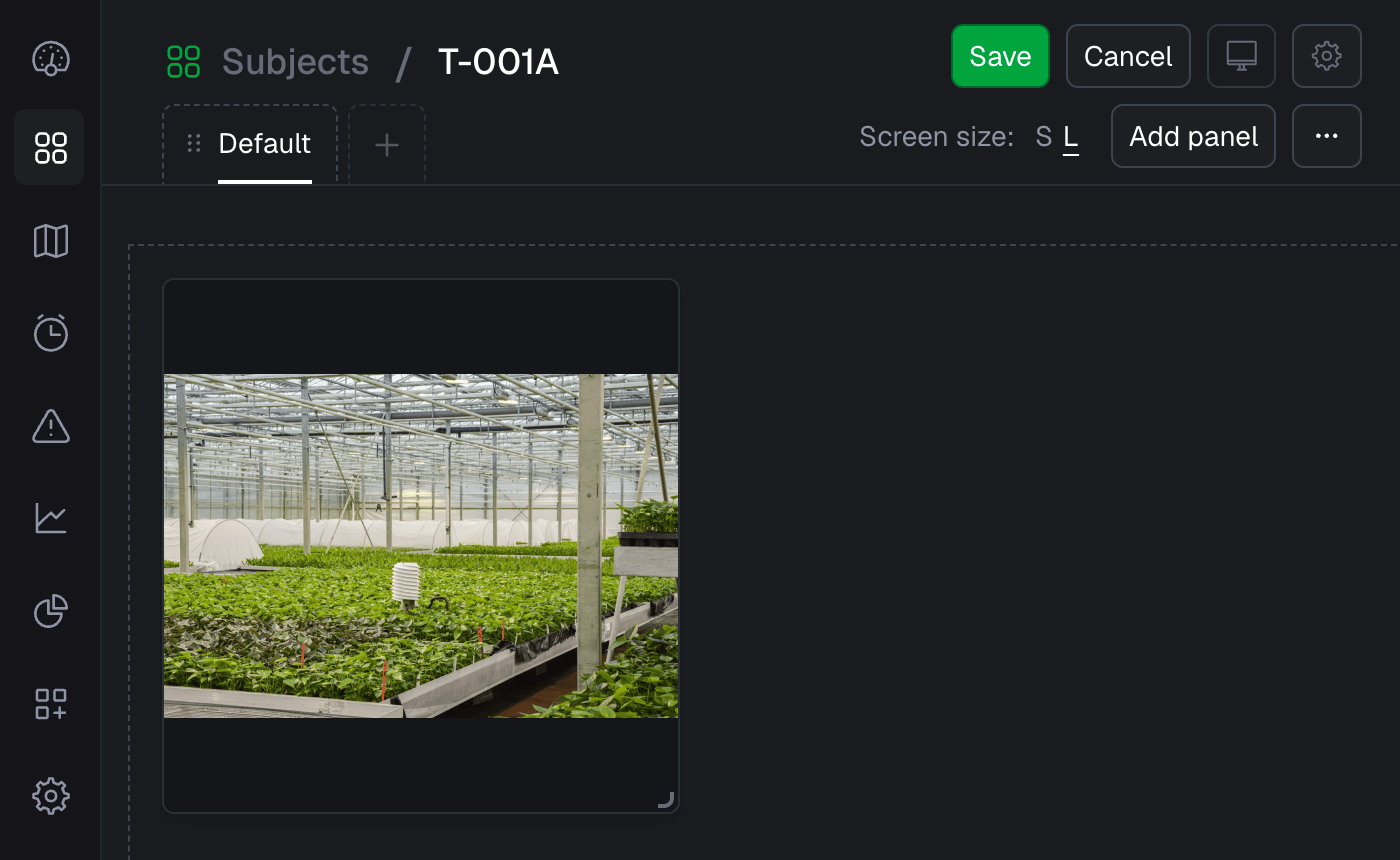
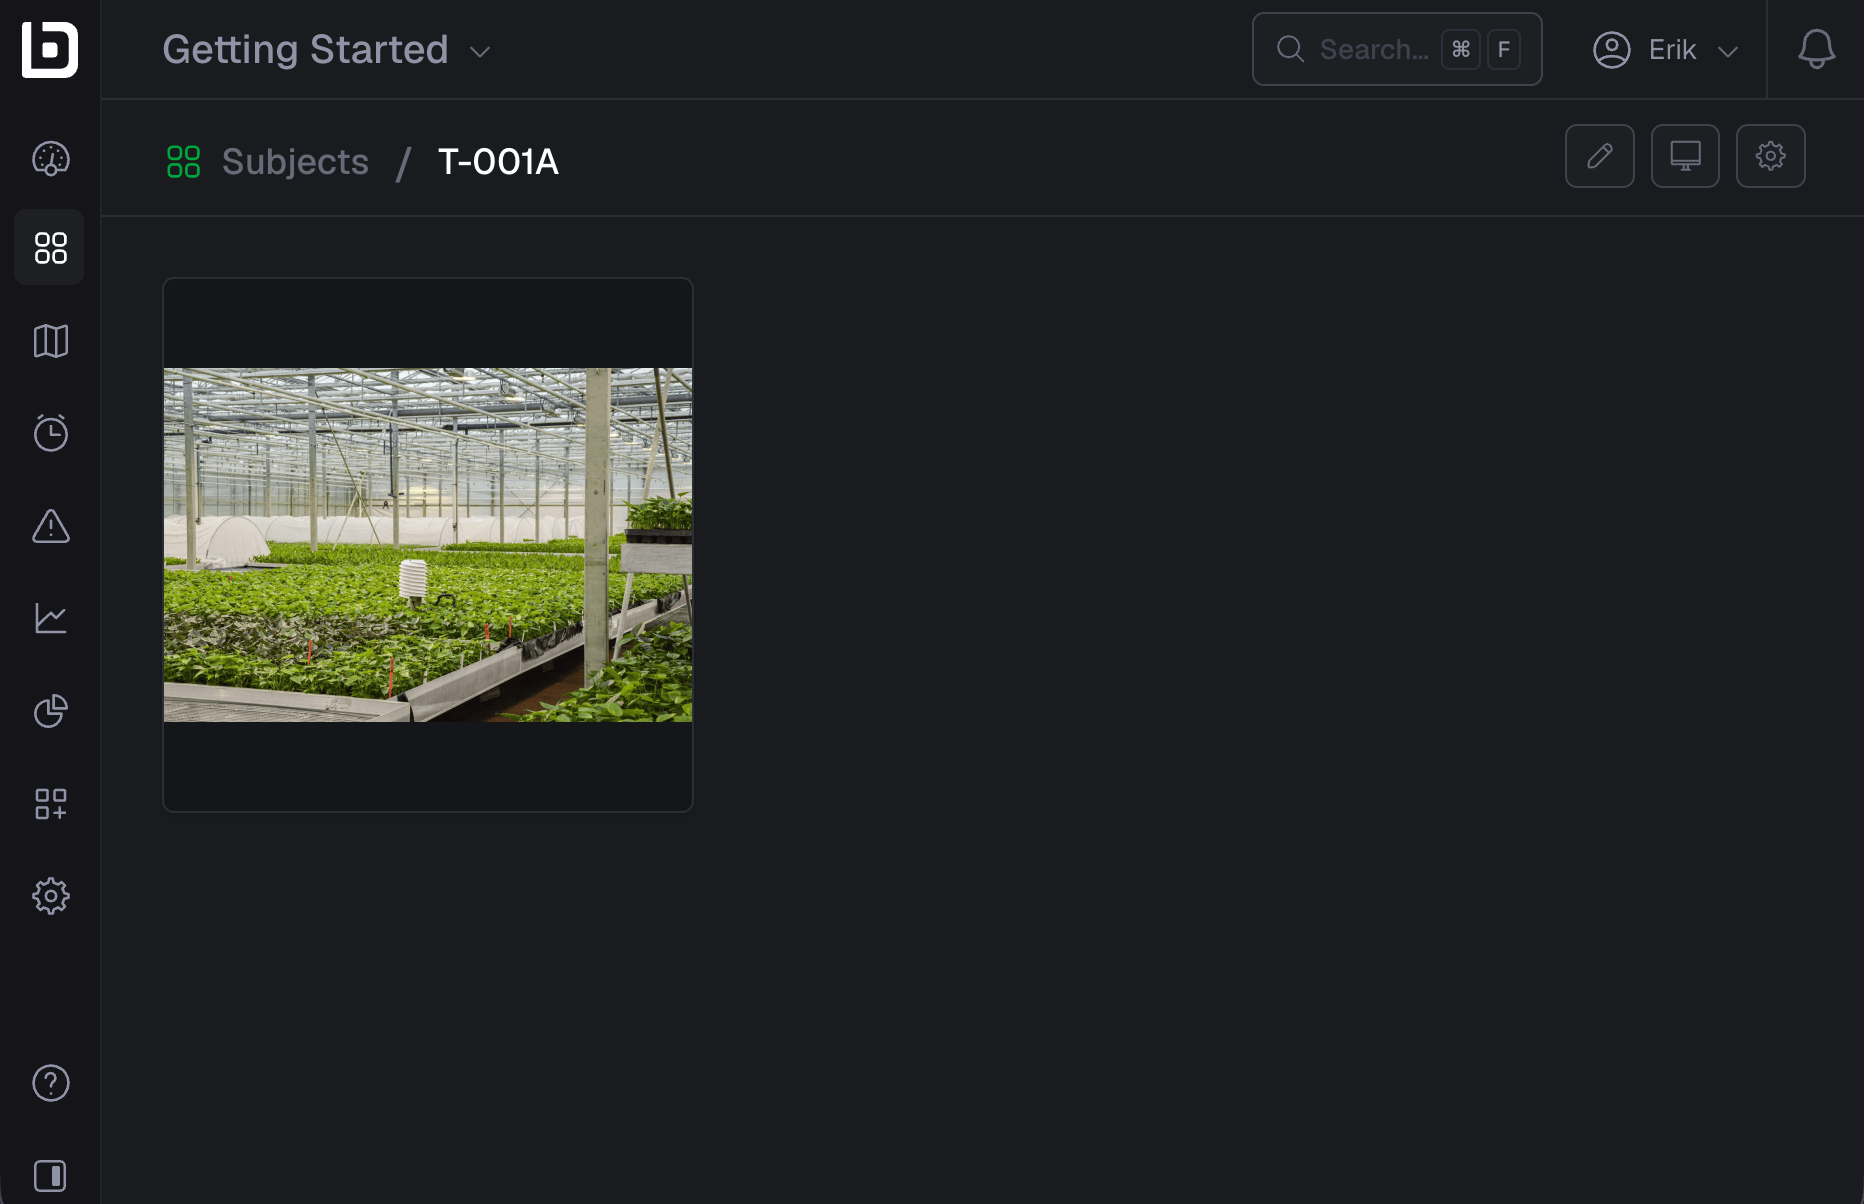
- The image has been added to your dashboard
Congratulations, you have just learned about uploading images to a dashboard!