March 15, 2022 · 7 min read
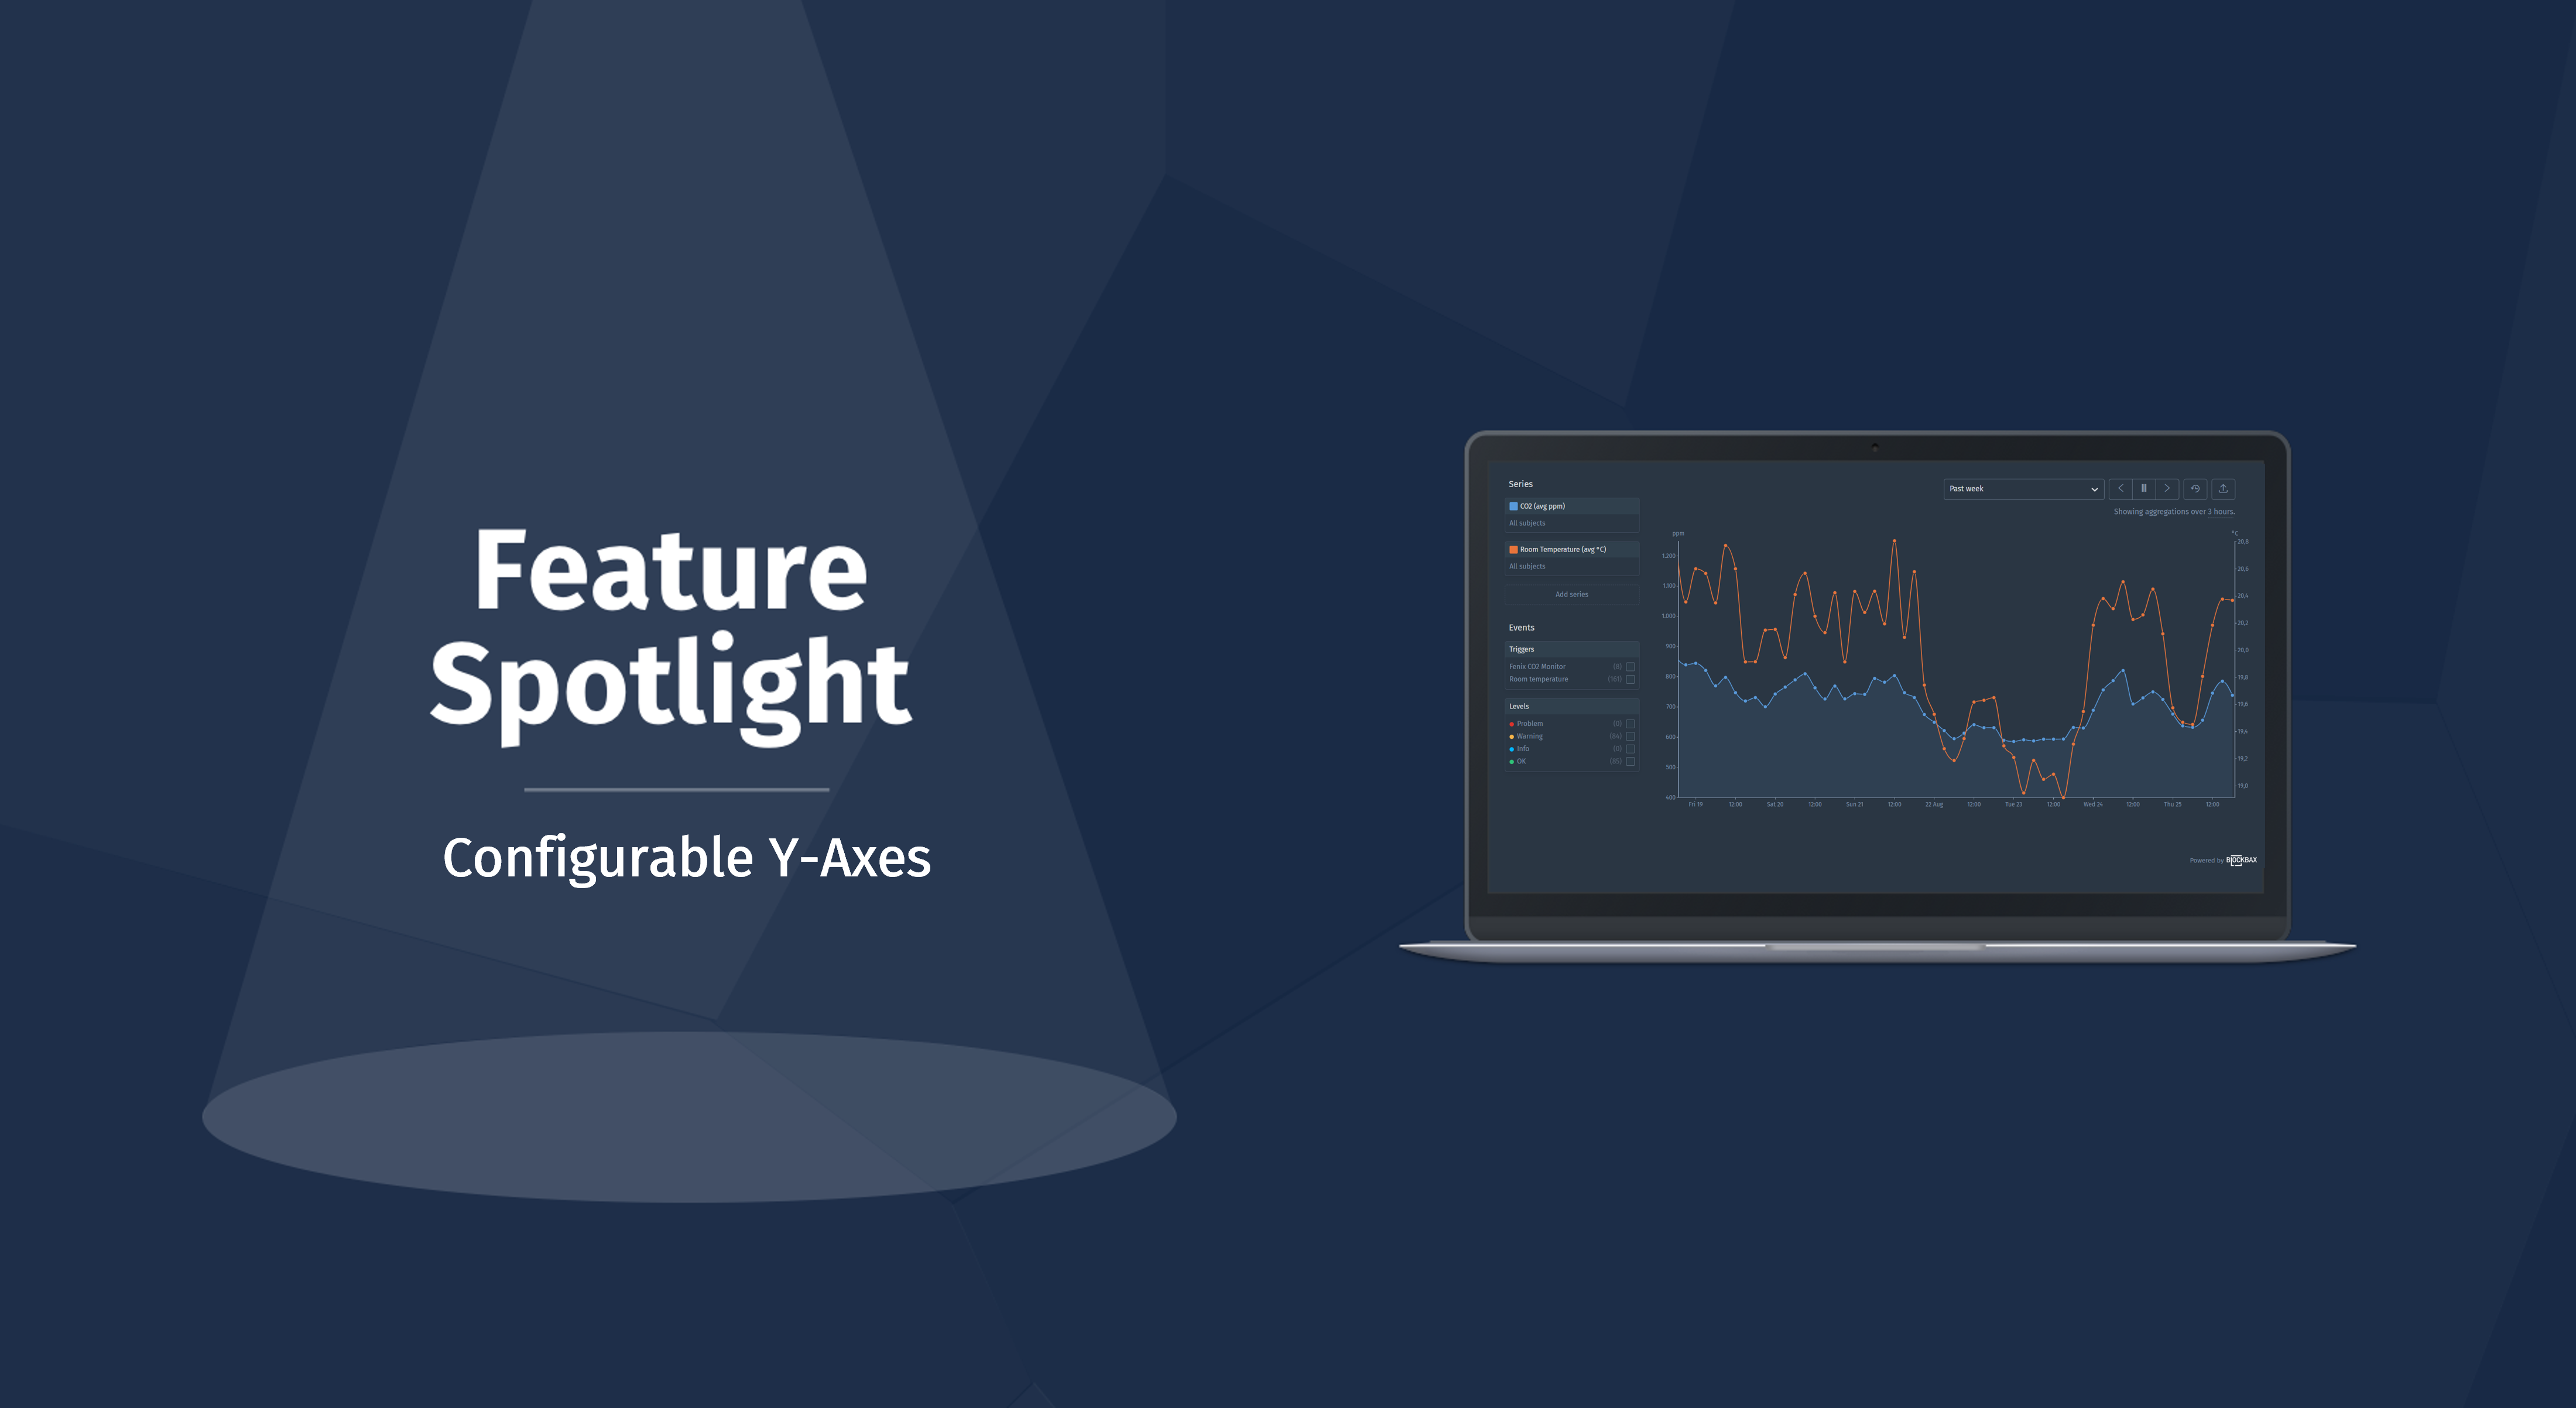
Blockbax Platform highlights

We 💚 fast and frequent releases. New features are added on a daily basis, and this blog series will showcase our favorite new features. This blog’s highlights:
- Inbound connectors
- Kiosk mode
- Heat maps
- Personal access token
- Event trigger descriptions
- Single sign-on (SSO)
Inbound connectors
A big new addition to the Blockbax Platform is a feature that has recently been released in beta, namely the Inbound Connector functionality. Inbound connectors will offer more flexibility when it comes to the ingestion of data. Inbound connectors are custom integrations that can be used to ingest measurements into the Blockbax Platform if the payload differs from that which is expected by our standard integrations. You are able to define a payload conversion script right as a JavaScript function and even test the payload script.
The feature is full of functionalities that allow you to add measurements, perform advanced functions through the use of library functions and also define log messages when necessary. To get a better idea of the full power, head over to our documentation to learn more.
Below you can see a defined payload conversion script that is tested to ensure the payload would be ingested correctly into the Blockbax Platform:
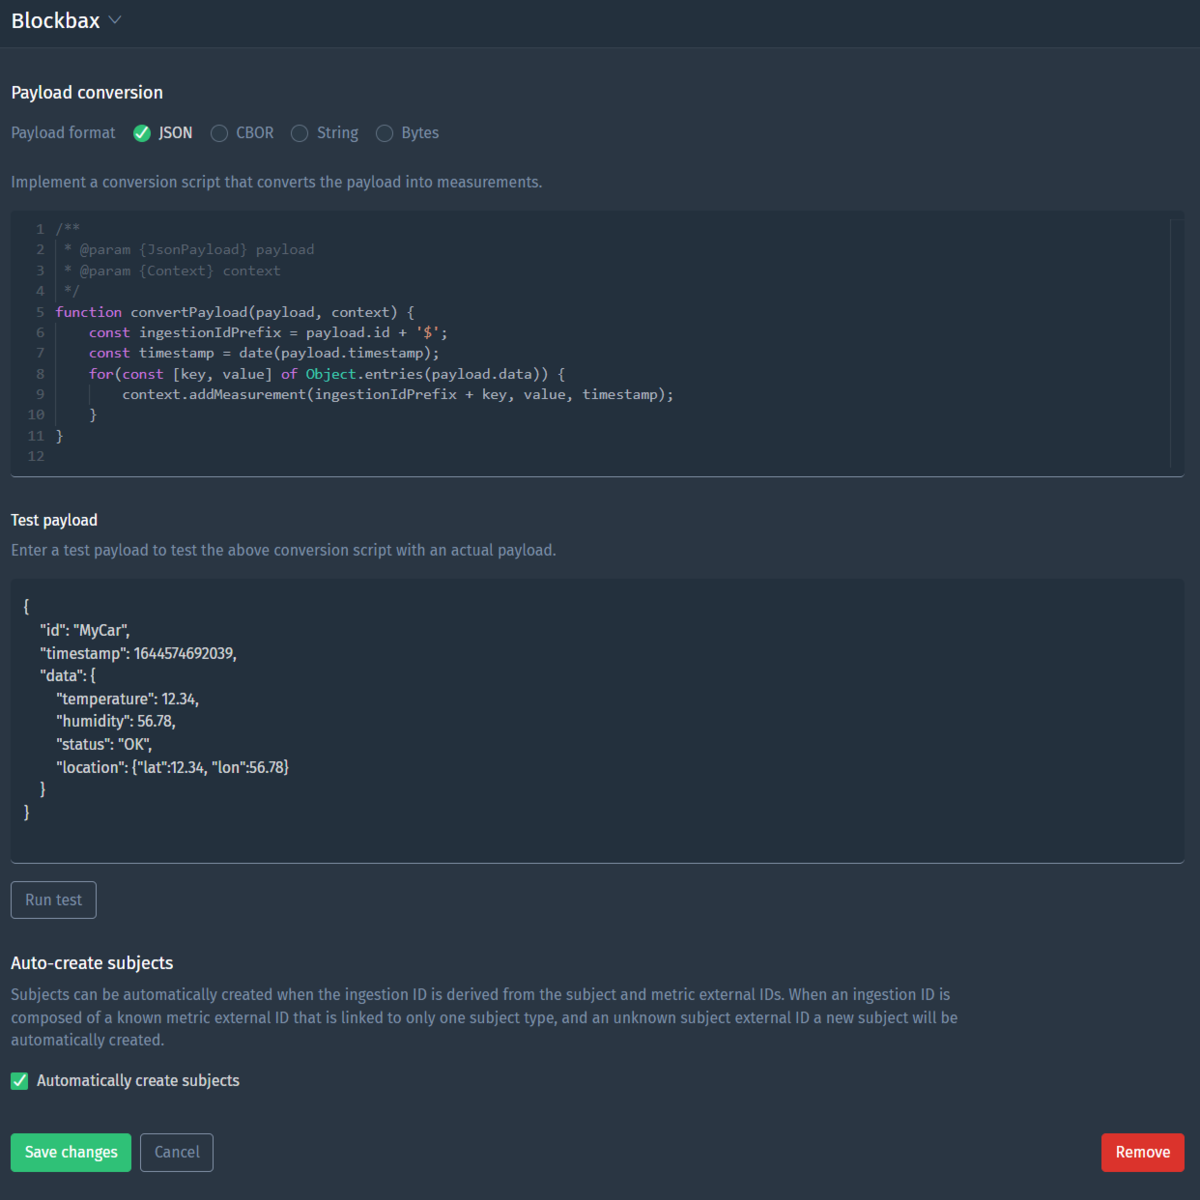
This is a large step in allowing our users to have more flexibility regarding the ingestion of data towards our platform. We’re beyond excited to announce this feature and we’re sure some of you may be eager to give it a go. If you’re interested in trying it out, feel free to get in touch with us.
Kiosk mode
Have you created a dashboard that you want to show at the entrance of your building on the big screen without any distractions? Now you’re able to enter kiosk mode to show the dashboard without the navigation, controls and any other dashboard tabs.
Look for the button in the top right of a dashboard: ![]()
When clicked you will enter kiosk mode. In order to exit out of kiosk mode, simply hit Escape.

Heat maps
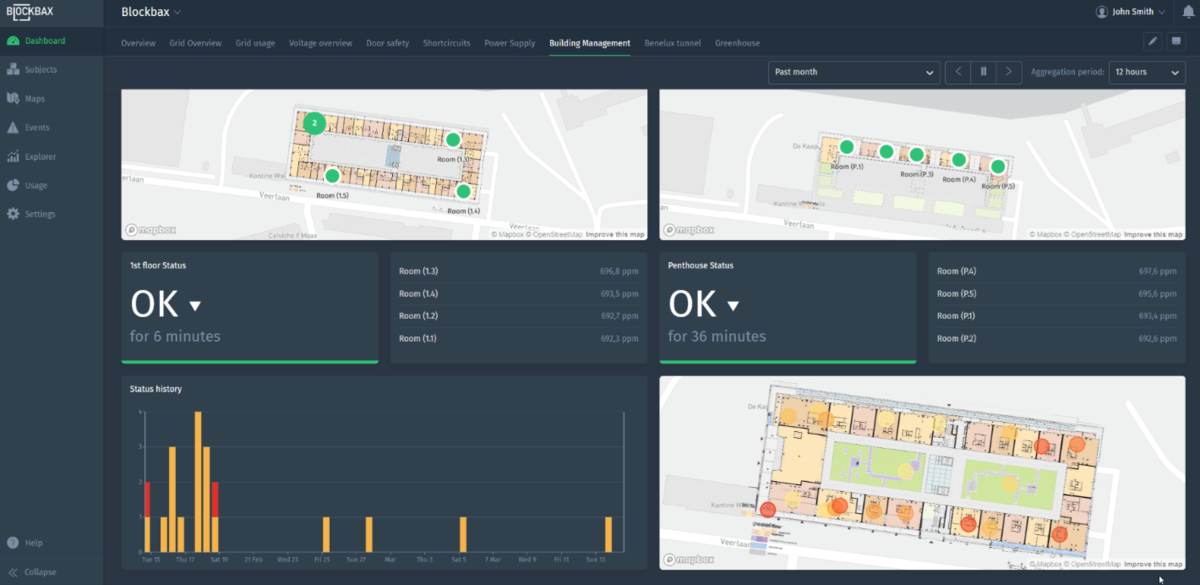
We’ve updated the map widget to extend its capabilities. Historically you were only able to select Subject status for the data you wished to display. We’re happy to announce that you are also now able to show measurement values for subjects at their current location on the map. This creates a kind of heat map.
When adding the map widget to a dashboard, select the Measurements option and head to the next page to configure the options. Here you will find the configuration options such as caption, metric, subjects, time period and minimum and maximum values. One new option you can also see is the Color palette selector where you are able to select your desired color palette based on some presets we’ve provided you.

We didn’t stop there, we added some new delighters! You can now easily zoom in and out of maps on your dashboards by simply clicking Control, or Command for Mac users, and scrolling up or down to adjust your zoom level. This allows you to easily get more context right from the dashboard tile!
If you feel the need to see the configured map up close, we have you covered as well! We’ve released a new button to expand the map widget to full screen. You can expand it by clicking on the icon with two arrows on the top right of the desired map widget.
Have a look below to see it in action!
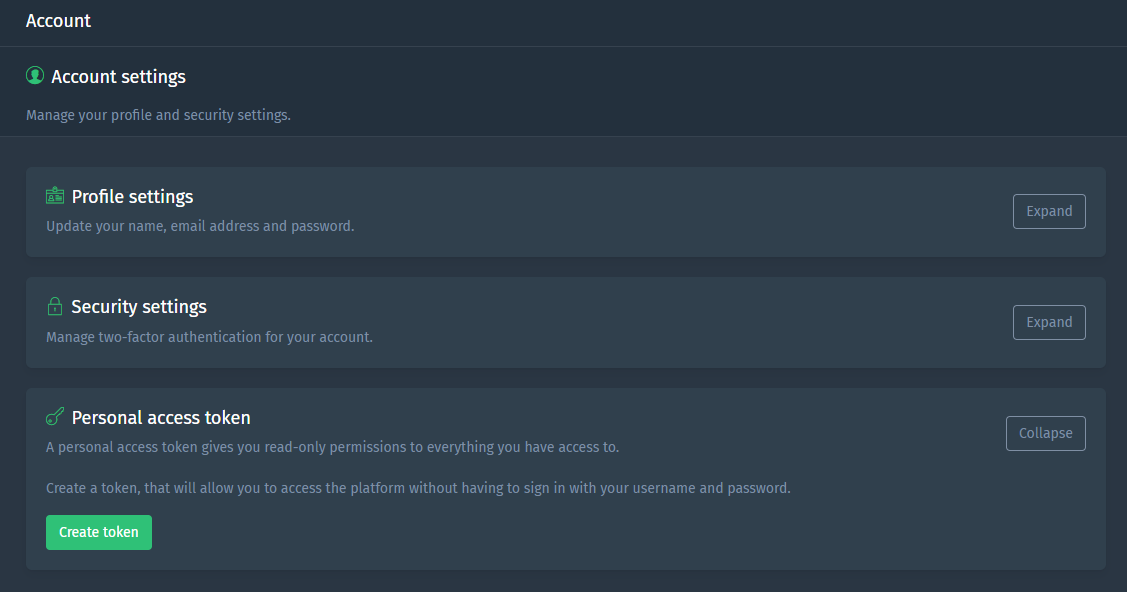
Personal access token
If you want to share that same dashboard with colleagues that do not have access to your Blockbax project, you can now also share your dashboards with a personal access token. This personal access token can be created to grant access and read rights to users without having access to the platform, and can of course also be revoked within the platform. People that use the personal access token will receive read rights based on the permissions of the user that is sharing their personal access token.
In addition users can use this personal token also for accessing our HTTP API. Head over to our documentation to learn more.
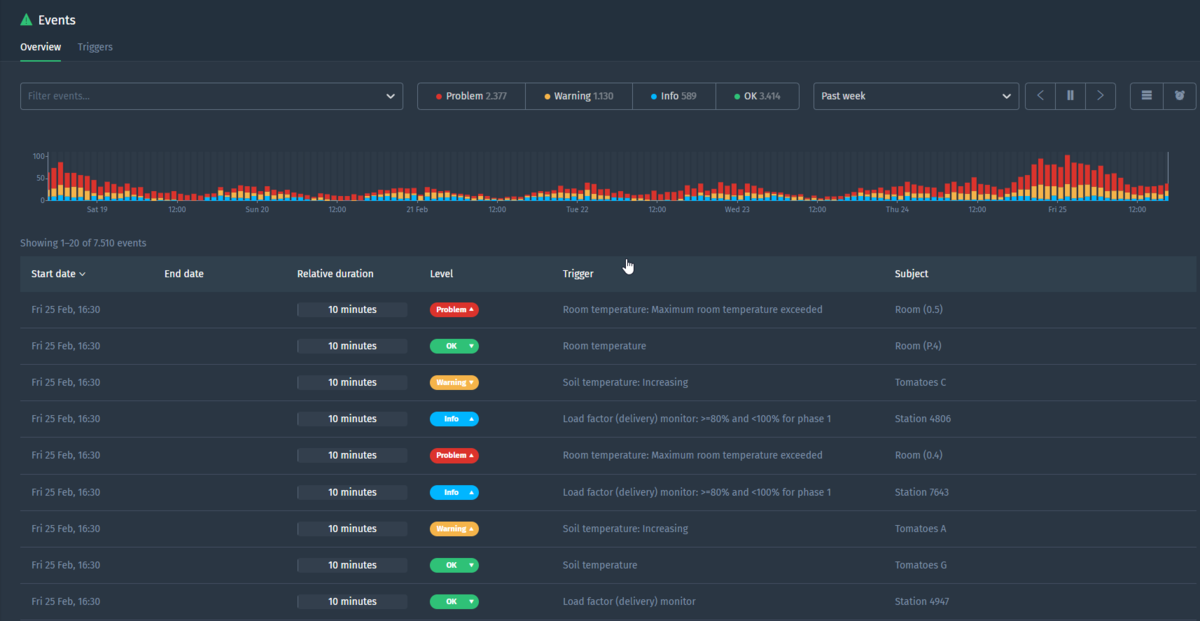
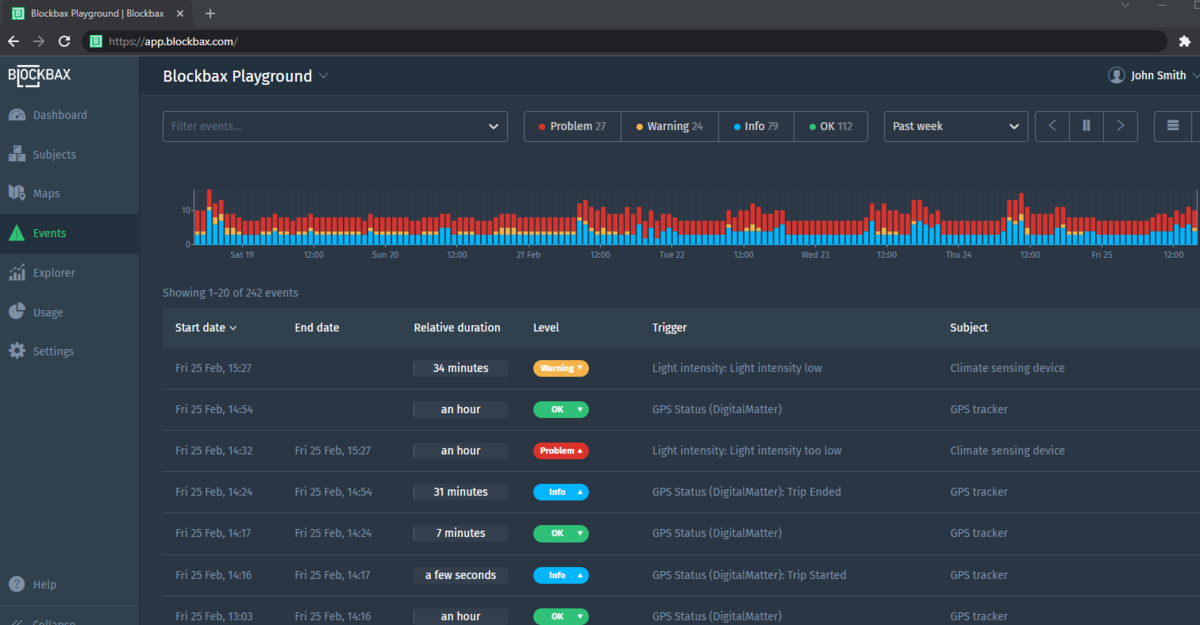
Event trigger descriptions
You ask, and we deliver! We received feedback and requests to make events more descriptive so as to show the condition that has been matched on a certain trigger. Instead of only showing the trigger name, we now also show the description of the rule that was matched in the event in combination with the trigger name. This allows for a quicker overview of the reason that an event was triggered. You can then of course click through to the exact trigger to examine the exact thresholds that were defined for the event rule. Alongside showing these alerts on any configured dashboards, event overview and event detail pages, we also extended this to be shown in web, push and email notifications.

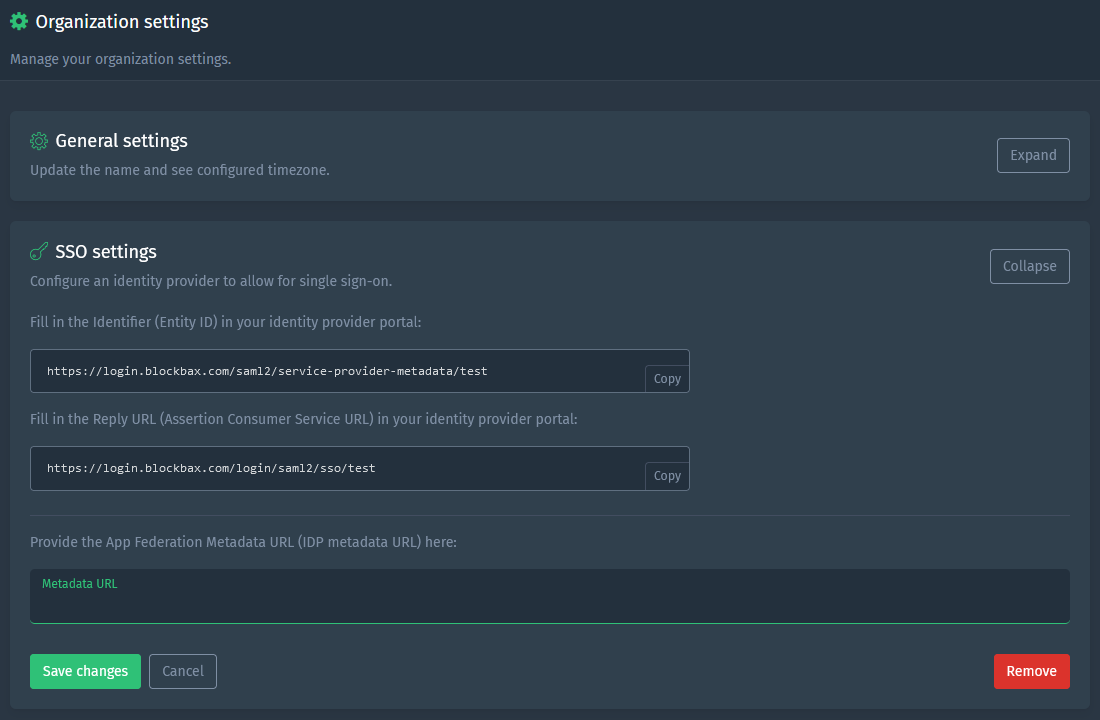
Single sign-on (SSO)
Want to log in to our platform from the comforts of your own identity provider? As an organization administrator you are able to configure SSO by providing your identity provider metadata URL, assuming that you have configured it on the identity provider side. From there you are able to define default roles for the different projects within the organization for users logging in for the first time. Head over to our SSO docs to learn more.
Pro-tip: Control + click to open in a new tab
Another pro tip comin’ at you! Ever find yourself wanting to open multiple subjects or events from their respective overview pages in their own tab? You can simply control + click to open them in their own tabs and explore them individually.
Ready to try it out?
All features and improvements mentioned in this blog are available to use right now! Are you new to Blockbax and do you want to see it in action? You can reach out to us and we will get back to you quickly.
Enjoy using all these cool new features and stay tuned for more editions of this blog series for more new features that we are currently building!
Cheers,
The Blockbax Team.