August 12, 2020 · 4 min read
Revamped event triggers
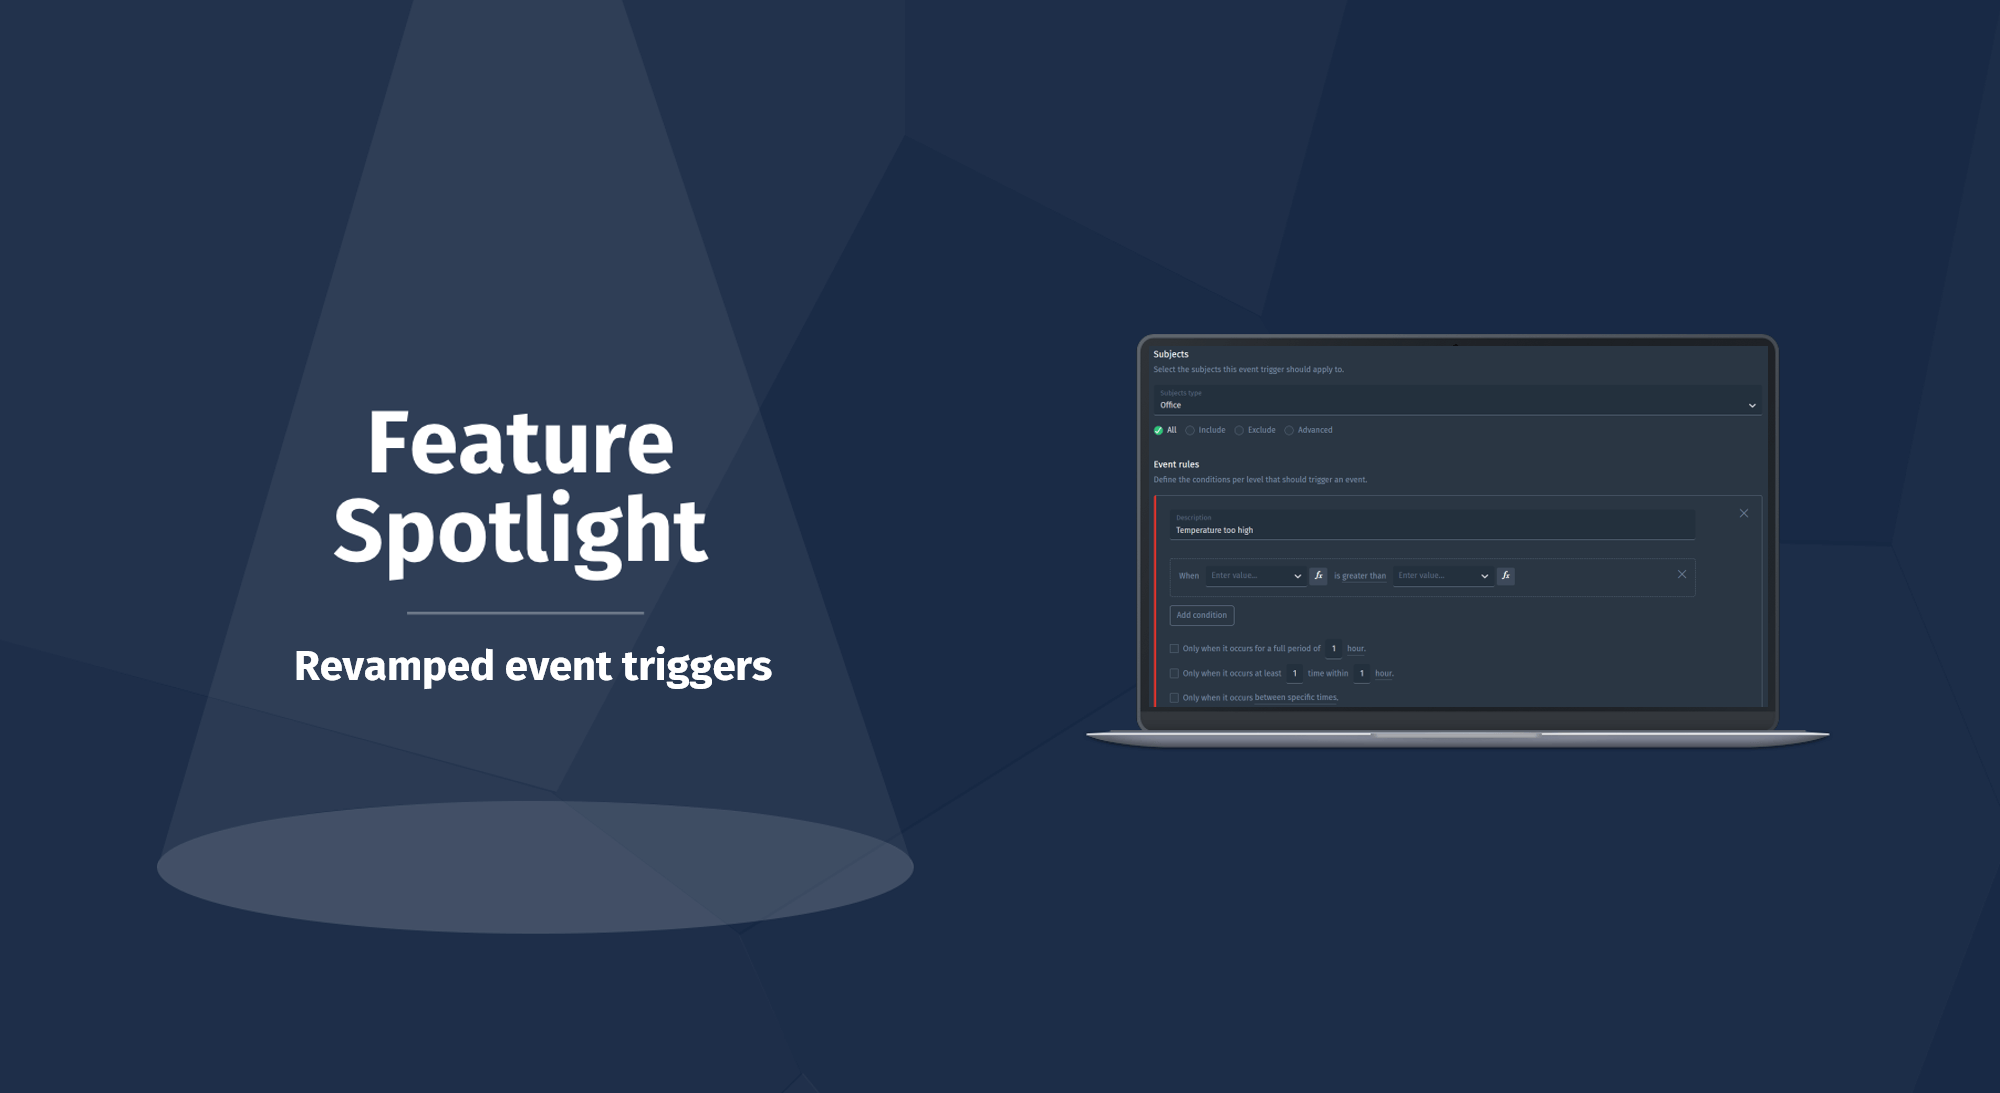
We have revamped event triggers so you can apply fully-fledged business rules on your data without needing a single line of code. These business rules produce events that start a process, update a system or simply notify someone that needs to take action.
The purpose of an event trigger
One of our core principles is to empower domain experts to make their sensor data actionable. This is brought to life with event triggers: an engineer, a farmer, a controller, or any other person in the field can update a trigger with the most up-to-date knowledge.
This blog shows examples of implemented business rules that explain the powerful possibilities of our revamped event triggers and to provide you with ideas on how to use them. A detailed description on how to use this functionality can be found in the event trigger docs.
Choosing subjects
In some circumstances you want to apply an event trigger to all subjects and sometimes you do not. You can now simply choose subjects one by one or select a group of subjects that share a certain property: for example all subjects that are in the city of Rotterdam.
Configuring event level conditions
Configuring event level conditions is the most important aspect of event triggers. This is where your business rules are applied to your data. You can go nuts, you can keep it simple, or anything in between. In the end it depends on what you want to accomplish and what the data allows you to do. Let us elaborate and inspire you with some examples.
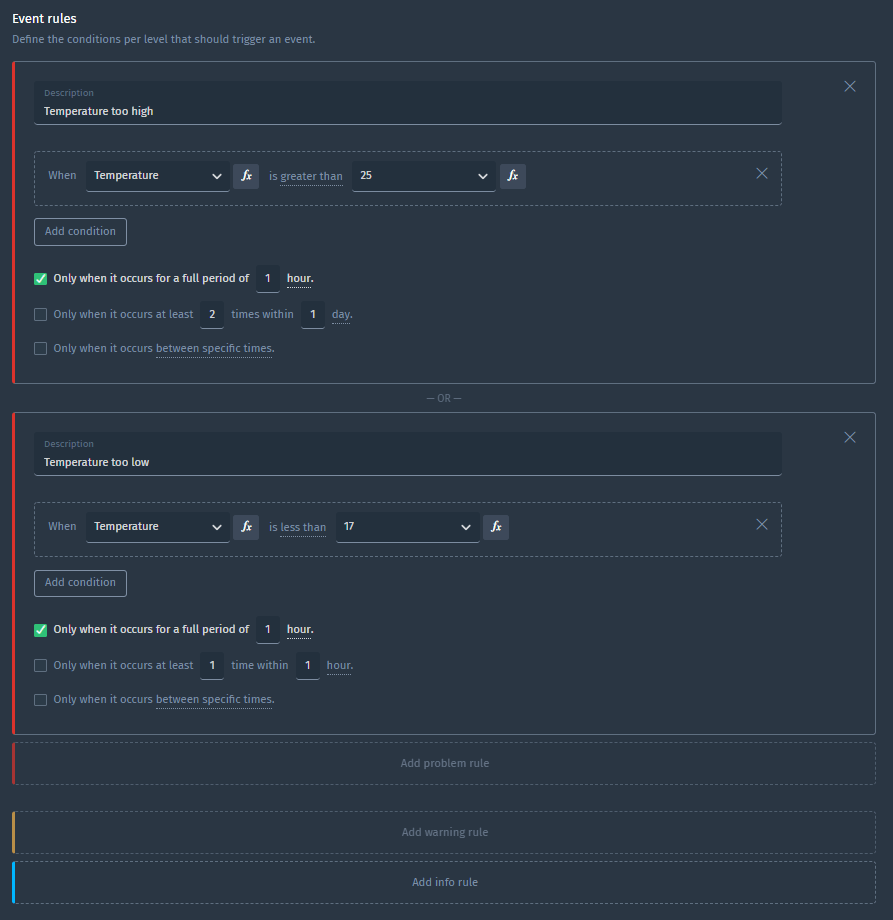
Example 1: Too high or too low temperature trigger
This is a simple threshold condition to trigger a problem event. For example, this is used to get informed when a machine is overheating, when a room is getting too warm, or when your plants threaten to freeze.
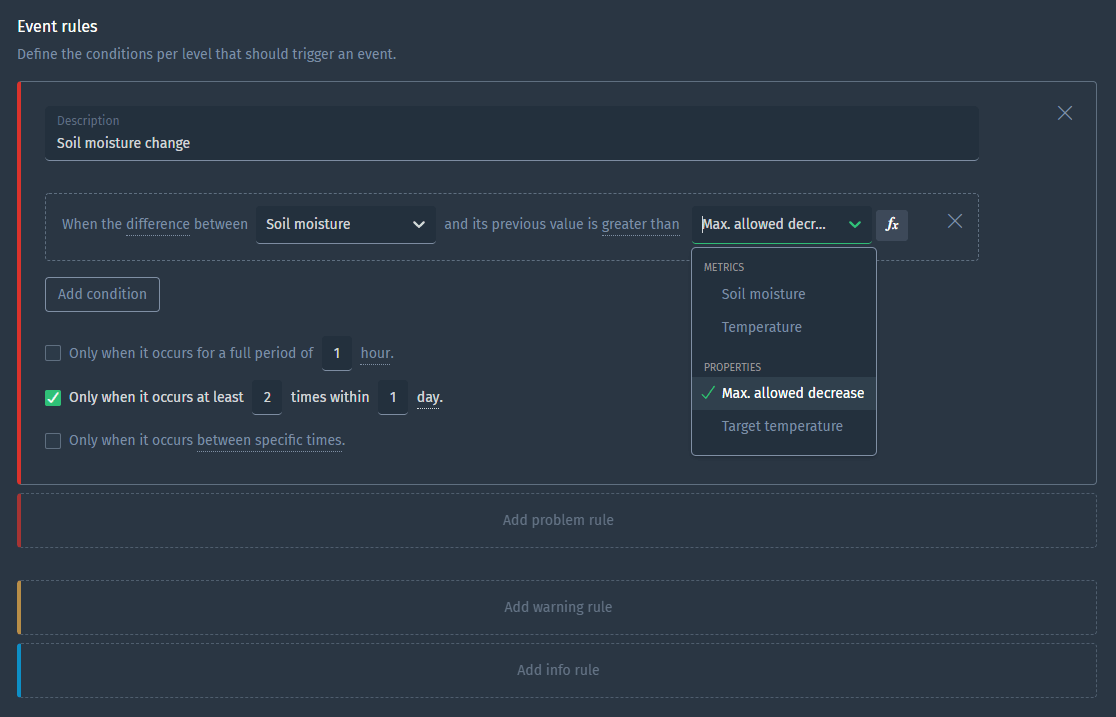
Example 2: Decrease in soil moisture trigger
This is a change condition where a metric and a property are used as inputs to trigger a problem event. For example, this is used to get informed when the moisture of a plant is decreasing too fast, or when the temperature in a room is increasing too fast relative to its previous measurement.
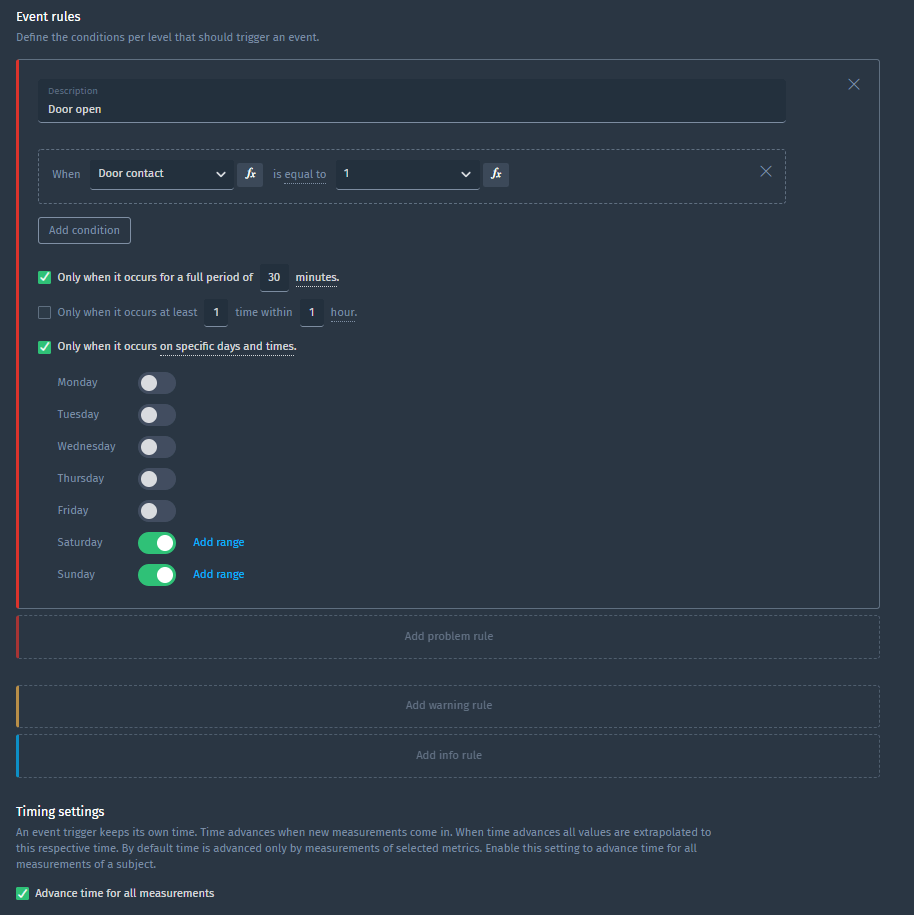
Example 3: Open door trigger after 30 minutes in the weekend
This is a threshold condition where time constraints and advanced settings are applied to trigger a problem event. For example, this can be used to detect open doors of a building during the weekends.
Background on the advanced setting
The sensor in the example only sends its door position when it gets in contact with the door or when it looses contact with the door. Imagine an ‘open door’ measurement at 11:00. The next measurement received by the platform might be ‘closed door’ at 13:00. By default, triggers only work when they receive a measurement of the metrics used in that trigger. In this case you would get informed at 13:00 which is two hours after the door initially opened. What if you want to generate an event after 30 minutes?
Luckily, the sensor also measures and reports a temperature value every 5 minutes. The solution is to enable the advanced time setting which causes the door status to also be evaluated when a new temperature measurement is received. See the checked box in the screenshot above.
Our documentation provides more information about these advanced settings.
Ready to try it out?
The revamped event triggers are available to use right now! Each customer and partner can start using this new feature in their project. Are you new to Blockbax and do you want to see it in action? You can reach out to us and will get back to you soon.
Enjoy using this cool new feature, and stay tuned for future feature spotlights to come 💚!
Cheers,
The Blockbax Team.
