December 10, 2019 · 4 min read
Calculated metrics
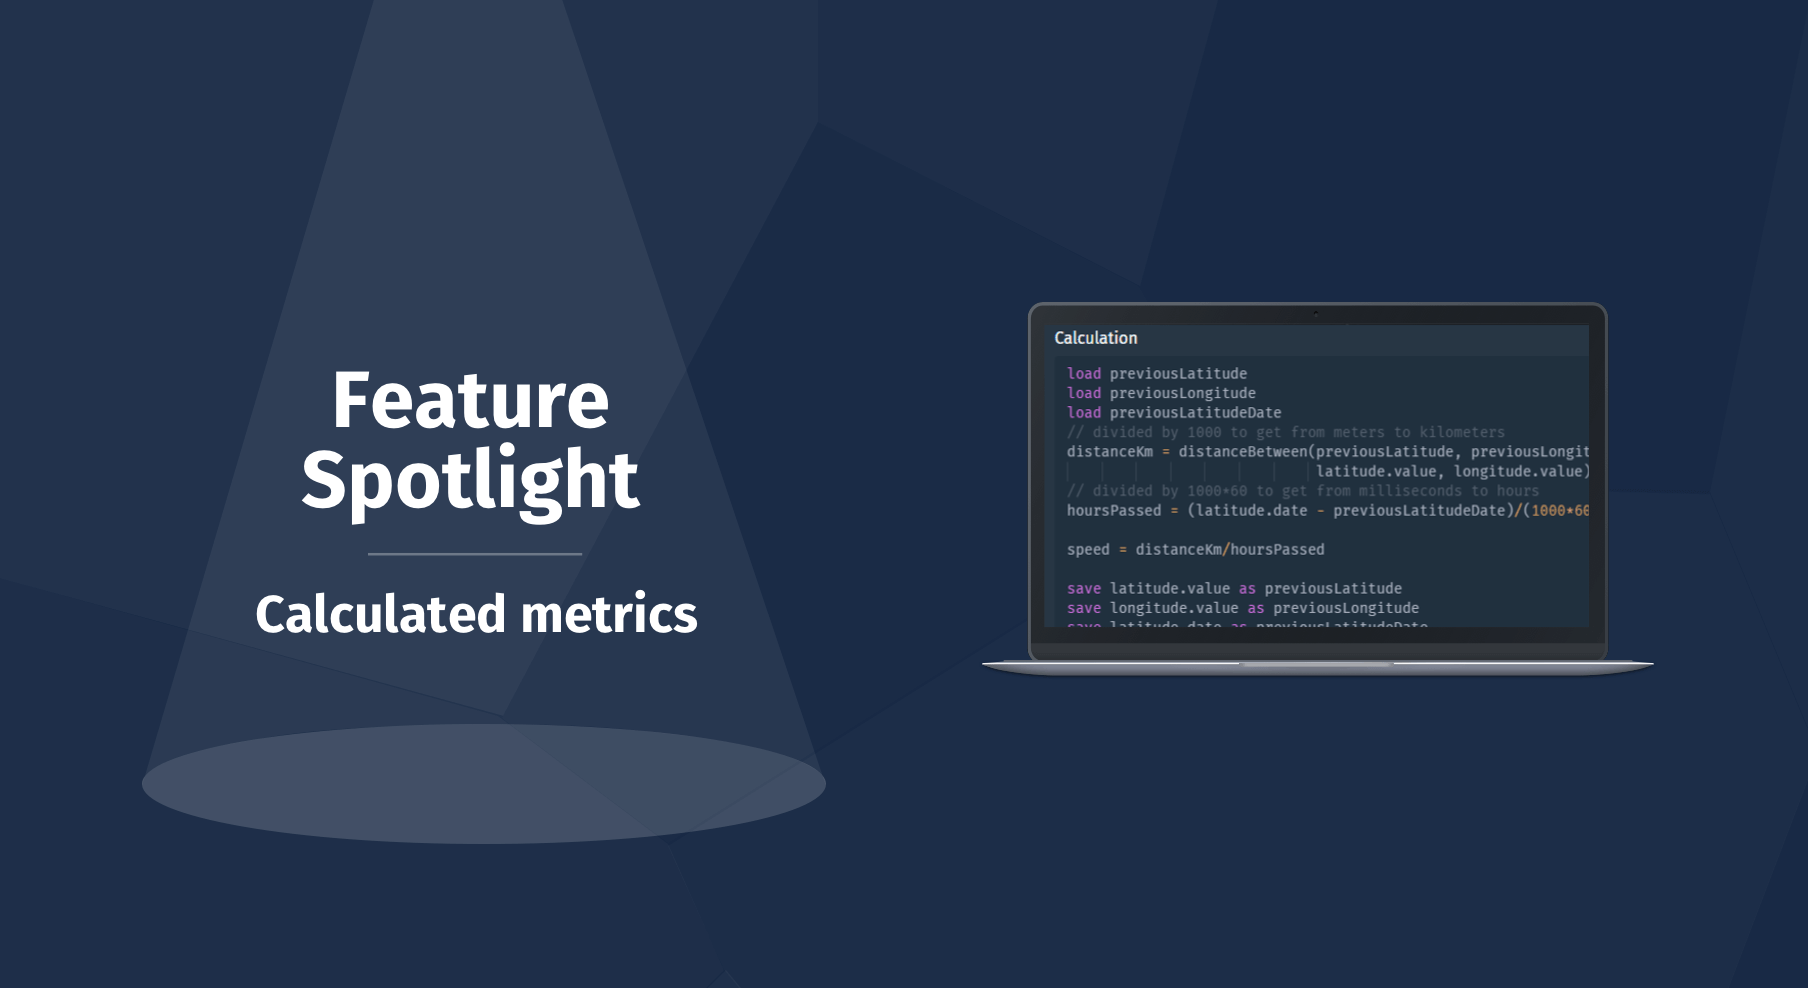
A calculated metric is a user defined real-time calculation based on other metrics and numeric property values. This blog shows the power of this new feature by examining a virtual case. We will first introduce the case and then show via a hands-on example how a calculated metric can be used to solve it.
The case: Harbor vessels
Rotterdam has the largest port in Europe with sixty vessels focused on mooring and unmooring of ships. The harbor needed a solid foundation for the transmission, storage and analytics of all vessel data. The digital performance monitoring of the vessels provides many insights when oil pressure, cooling water temperature and other metrics can be analysed in real-time.
The vessel’s system reports its position in latitude and longitude, but there is a need to get actively informed when vessels are leaving or coming back from their docking site. This information will give the harbor operators a better overview of the vessels activities and for instance allows optimization of the vessel schedule.
The solution: Geofence events
The solution is a combination of the existing event trigger feature, and the brand new calculated metric feature. The latitude and longitude of a vessel are published as ingested metrics. The latitude and longitude of the docking site are configured for each vessel as a subject property. The calculated metric will calculate the distance between the docking site and position of the boat. The event trigger can then generate events when the vessel is getting close to the docking site or leaving the docking site (to moor a ship). This is often described as geofencing.
The implementation: Calculated metrics
A calculated metric can be created under a subject type like any other metric type. You can select metrics and properties that serve as arguments for the calculation. The calculation itself can be freely defined by the user in a “Excel formula” way. We advise reading our extensive docs for calculated metics to get to know it in more detail.
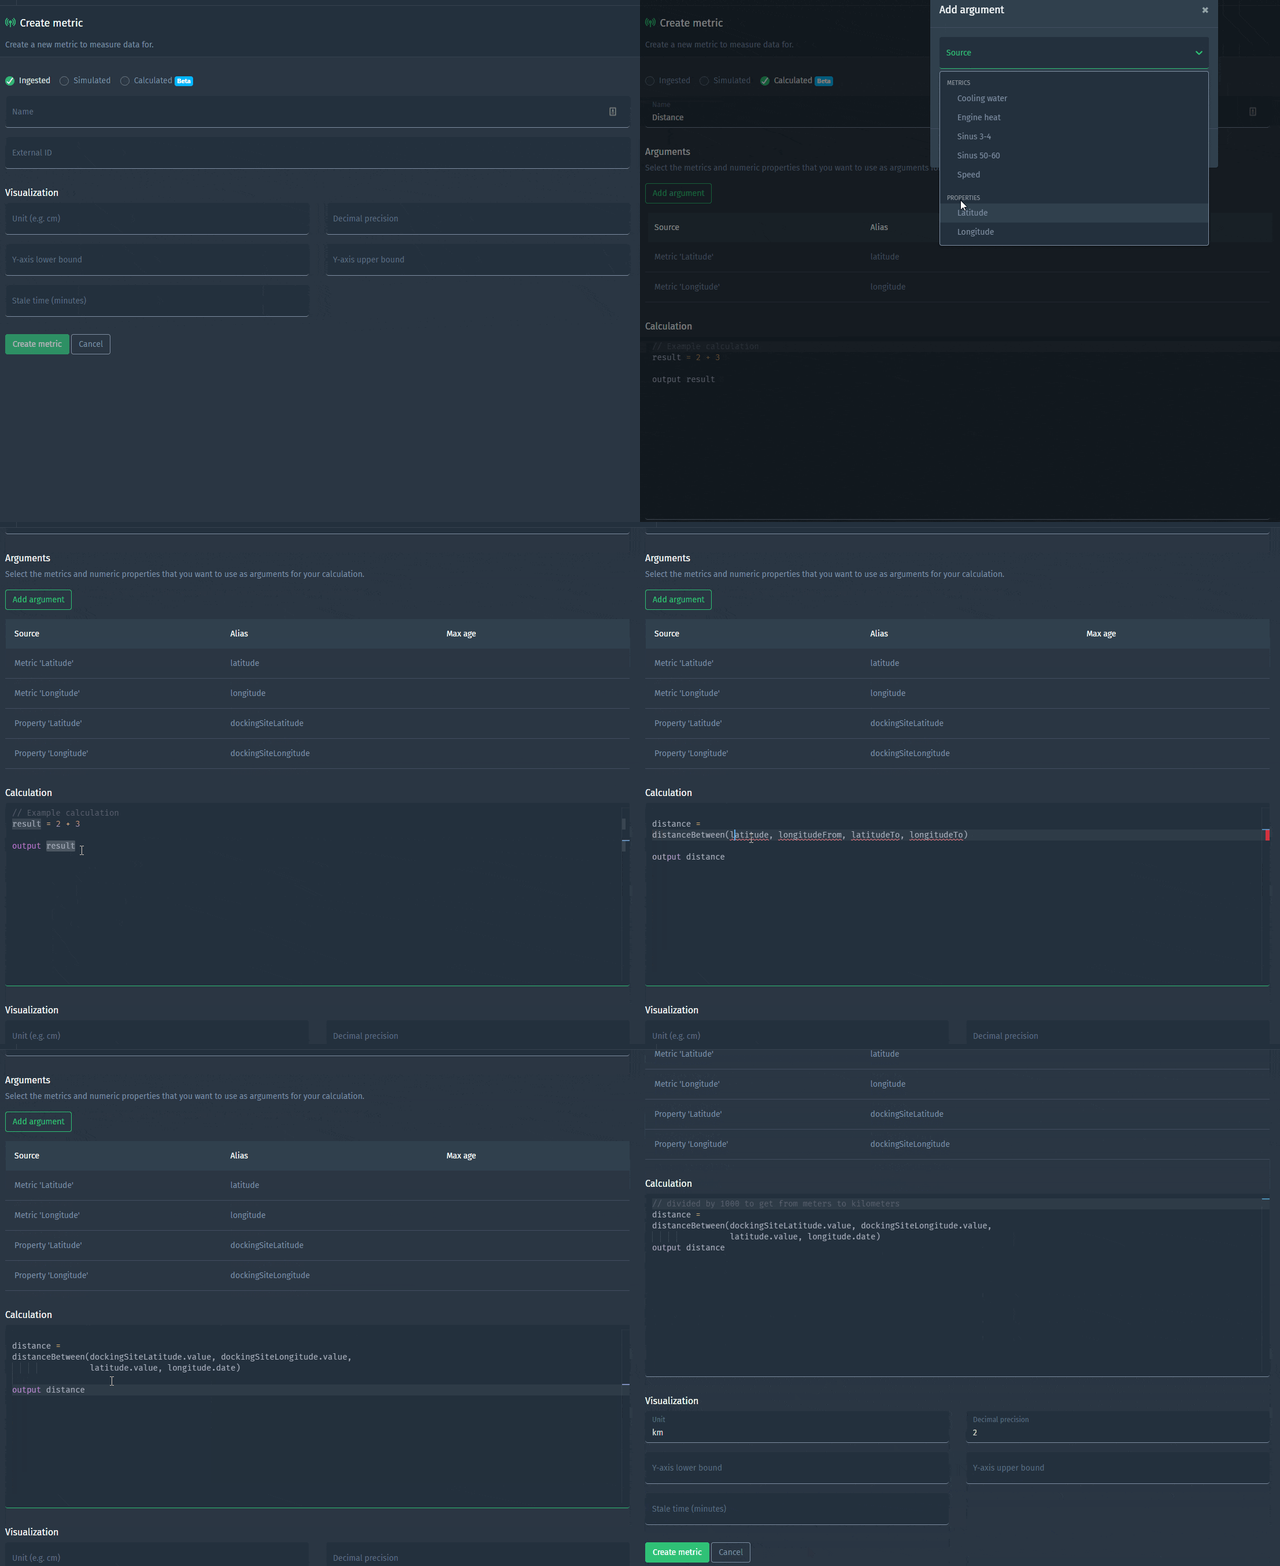
In this case we need to compute the distance between the vessel location and the docking site based on latitude and longitude data. There is a convenient function called distanceBetween that allows doing just that. This short animation shows how the calculated metric that computes this distance is defined:
This is the calculation as shown in the animation:
// divided by 1000 to get from meters to kilometers
distance =
distanceBetween(dockingSiteLatitude.value, dockingSiteLongitude.value,
                latitude.value, longitude.value)/1000
output distance
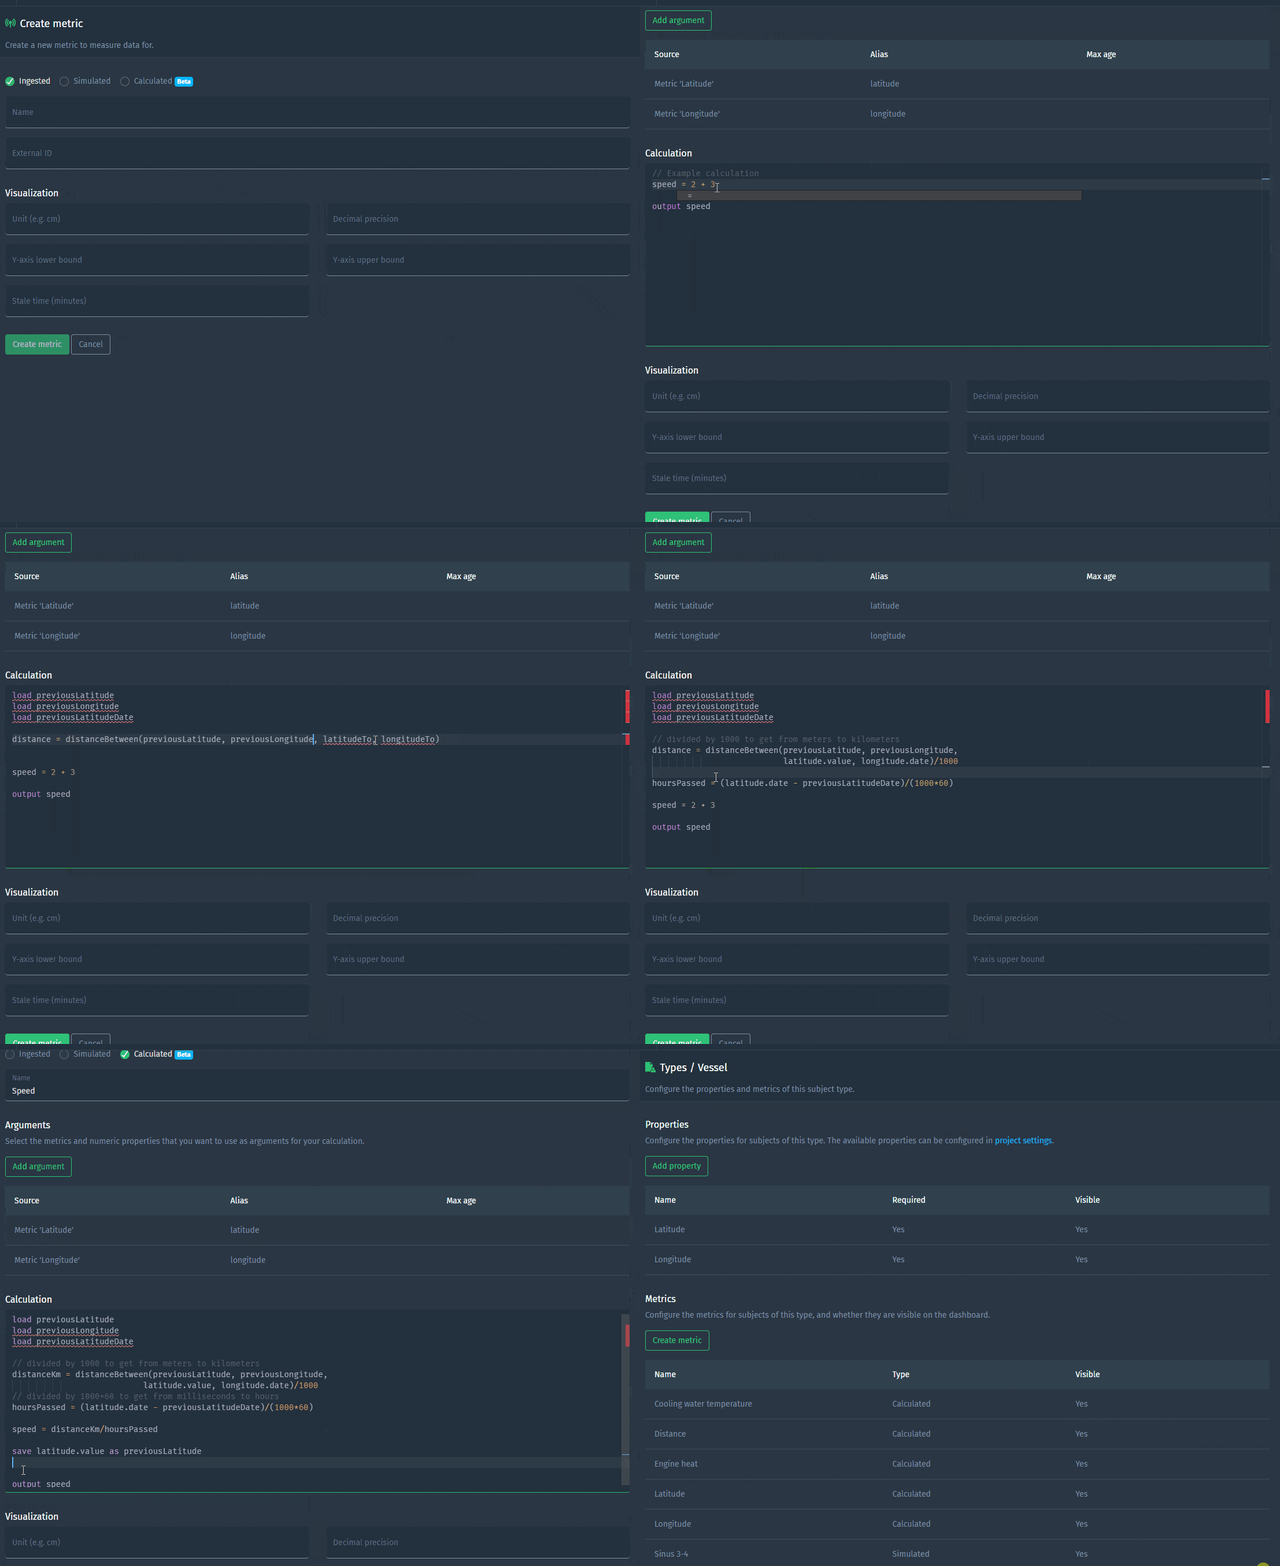
In addition to the distance between the vessel and its docking site, it would be useful for the operators to have access to the current speed of the vessel. One easy formula does the trick!
And this is the calculation for speed as shown in the animation:
load previousLatitude
load previousLongitude
load previousDateLatitude

// divided by 1000 to get from meters to kilometers
distanceKm = distanceBetween(previousLatitude, previousLongitude,
                             latitude.value, longitude.value)/1000
// divided by 1000*60 to get from milliseconds to hours
hoursPassed = (latitude.date - previousDateLatitude)/(1000*60)

speed = distanceKm/hoursPassed

save latitude.value as previousLatitude
save longitude.value as previousLongitude
save latitude.date as previousDateLatitude

output speed
The docs about loading and saving provide more detail on how to load and save values to allow calculations to use previous values.
The result: Improved asset utilization
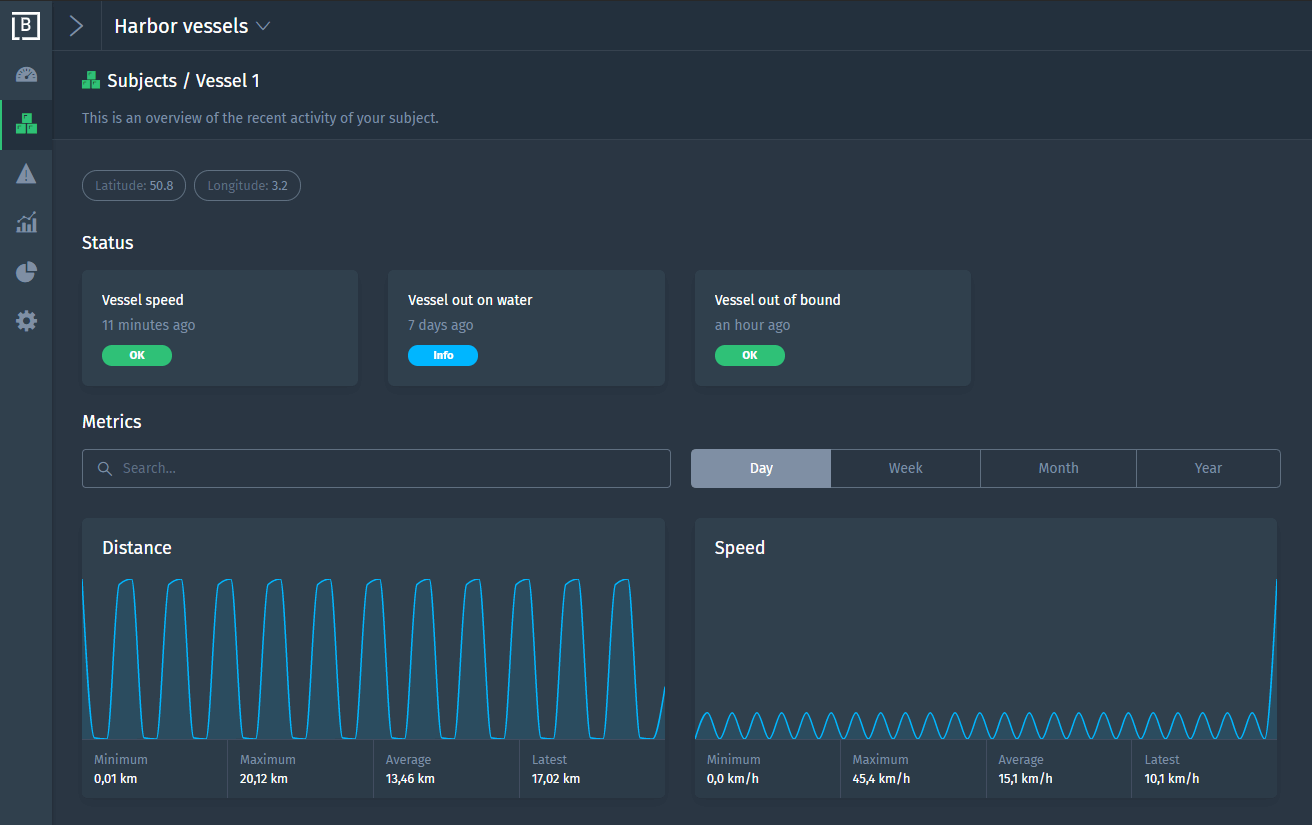
Getting the latitude and longitude from the vessel created the opportunity to calculate the vessel’s distance to its docking site and the speed of the vessel. This distance and speed are used to trigger relevant events for the harbor operators. This information will give the harbor operators a better overview of the vessels activities and for instance allows optimization of the vessel schedule.
Enjoy using this cool new feature! And stay tuned for future feature spotlights to come.
Cheers,
The Blockbax Team.


